Step 4a – Installing the Septic Tank and Gravelless Chambers

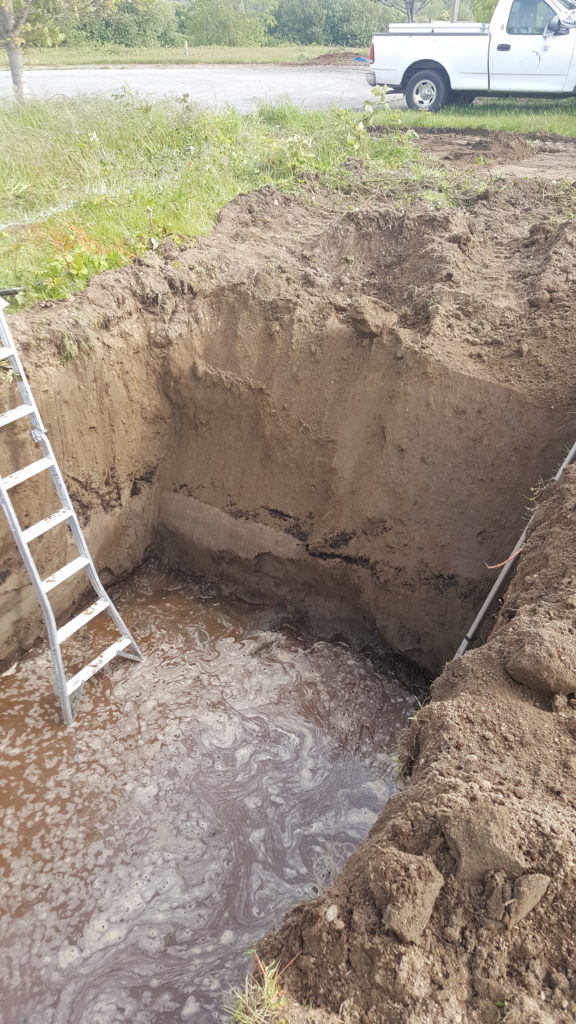
An exciting day today as I started installing the septic system. The experienced backhoe operator I hired was able to dig the enormous 9’x15′ hole to a depth of 77 inches in less than an hour. I would have liked to do it myself and I realize now after having seen it done that with the right person checking the depth for me I could have done it but it would have taken me at least 5 times as long. The hardest part about digging a hole that deep is that you aren’t able to see the bottom of the hole from inside the cockpit of the excavator so you’re basically digging blind. Although my goal is to do nearly everything myself, sometimes building your own home involves knowing when you are uncomfortable doing something and hiring a skilled, experienced worker.

Once the hole was dug I climbed down on a ladder and made sure it was nice and flat. We hit the water table around 6 feet down so I was working in about 6 inches or so of water. Once I was sure I had made a nice bed for the tank I climbed back out and we got started on digging the field. This part could have very easily been done by hand since the depth of the drain field is only 7 inches but since the excavator was already there it made quick work of the field. The field is 9’x35′ and must be flat and level so the first step is finding the lowest spot and digging down 7 inches from there. Once that is done it’s simply a matter of matching that depth to the remainder of the field. I used a 6 foot level and also a rotary laser level to check the depth, and a rake and shovel to fine tune things.

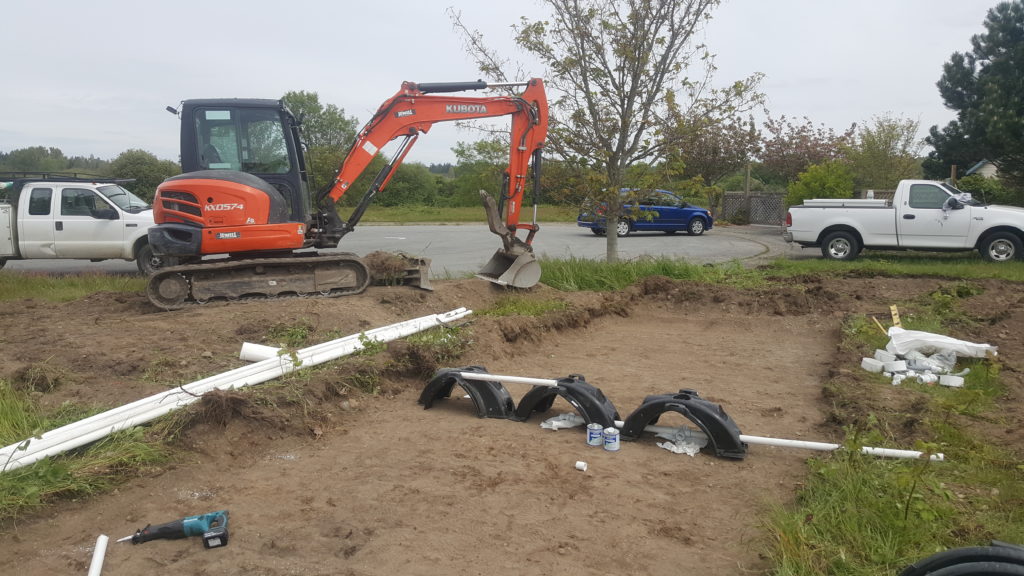
The pipes that disperse the effluent to the drain field are made from 2″ PVC that is reduced to 1.25″ PVC using 2 cross fittings and a tee fitting. You can see above how the 2″ pipe enters the field from the right side of the picture and is attached to the 1st cross fitting underneath the black tunnel. There will be another cross fitting underneath the 2nd tunnel and then a tee fitting under the last tunnel. This allows the 2″ pipe to branch out into 6 different 1.25″ pipes as you can see below and effectively disperse the effluent into the the field evenly.

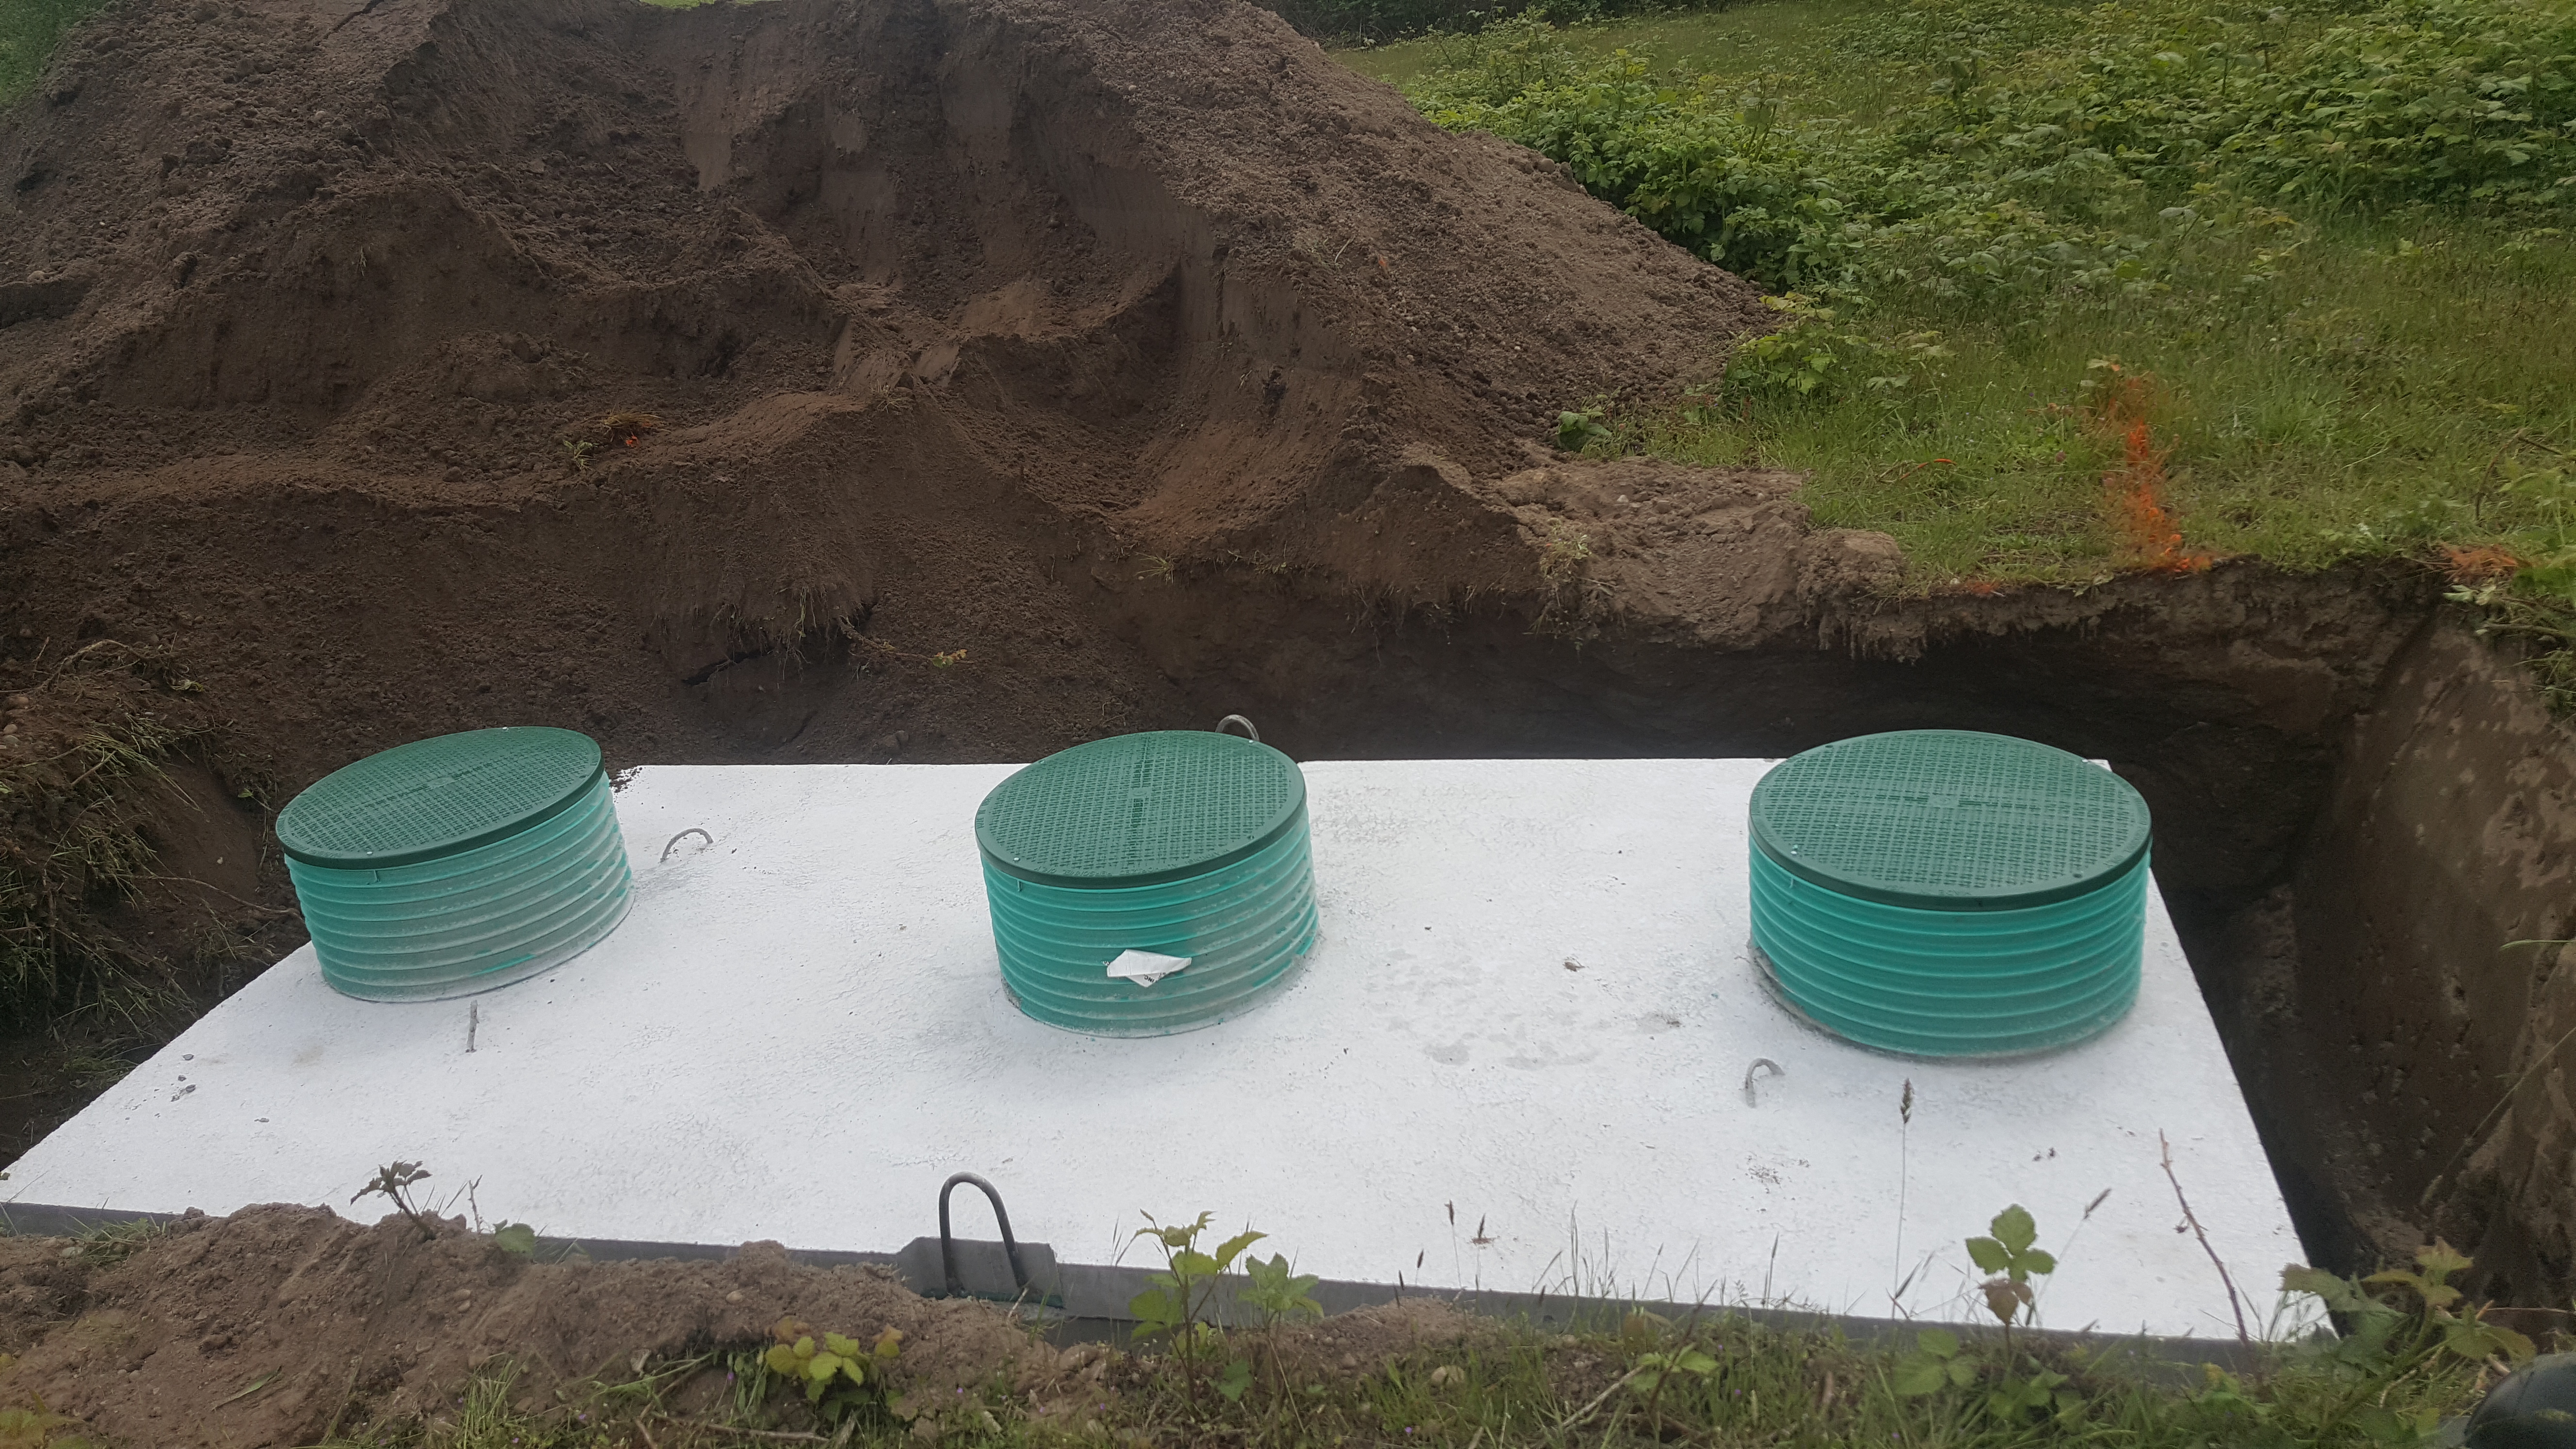
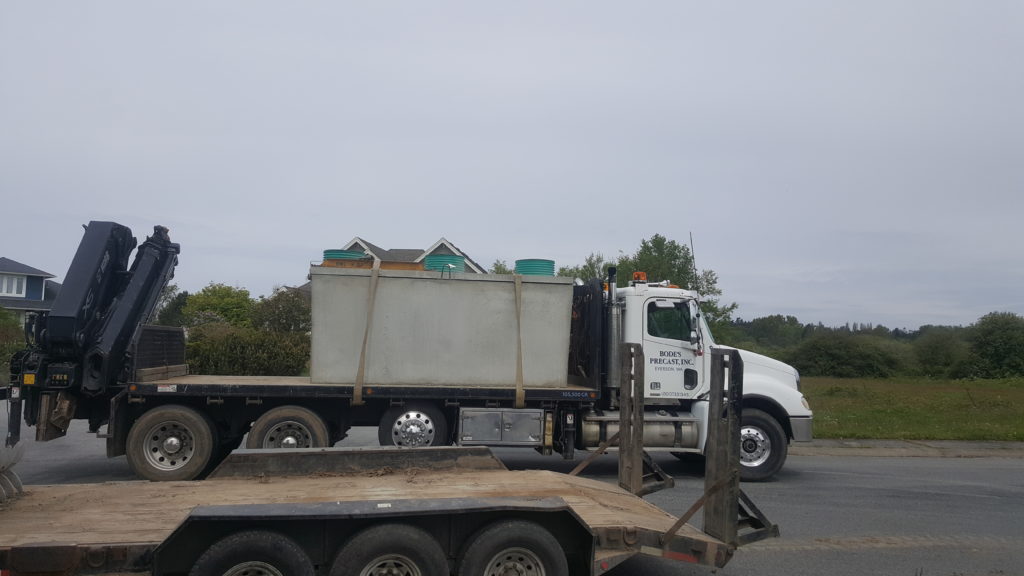
The PVC is very simple to glue together with primer and cement. Once they are glued, an 1/8″ hole must be drilled at the top of each 1.25″ pipe every 2′, starting 1′ from the place it tees off from the main 2″ pipe. Those pipes are then covered with the large black gravelless chambers. This allows the effluent to spray out of the small hole at the top and again, cover as much of the area of the entire field as possible. The gravelless chambers are exactly what they sound like. Instead of covering the PVC lines with gravel, you use the plastic chambers. They are cheaper and much easier to install than shoveling gravel. The chambers help direct the effluent sprayed from the pipes into the soil and also ensure that the pipes will be protected from human activity above. Around this time the septic tank manufacturer arrived with the tank on the back of a flatbed. The driver used a small crane on the back of the truck to hoist the massive tank into the air and carefully lower it into the hole we had prepared.

I had a hose all ready to start filling the tank with some water as soon as it was dropped. This helps to give it some added weight and ensure it settles into the soil. The backhoe operator also added soil around the sides but left the top and the inlet and outlet ports on the sides exposed. He also graded the lot for me so as soon as I get my building permit I will be ready to paint some lines in the dirt to mark out the foundation. In my next post I’ll add some pics of the inside of the tank as I connect the electrical panel to the pump and finish the installation of the septic system.
Advice? Questions? I'd love to hear your feedback or help you out in any way I can!