Step 12 – Wall Sheathing

With the roof underlay on, the structure is now safe from direct rain, but there is a ton of wind here in Point Roberts thanks to the proximity to the ocean, so wind blown rain is still a threat. Installing the wall sheathing will solve that problem, at least for the short term.
Many builders apply the wall sheathing to the studs before they even stand the wall up. This would have required me to rent some heavy equipment, so I decided against it. Another good thing about installing the sheathing now as opposed to earlier in the build, is that I was able to wait until I was sure that the interior of the structure was nice and dry. If I had attached it earlier before the roof was on, rain would have soaked everything from above and then the sheathing would have blocked all the wind from drying everything out.

The wall sheathing serves several very important functions besides acting as a blocker to wind blown rain. Most importantly, it provides the necessary wall bracing to adhere to building codes. Second, it functions as the integral part of the outer air barrier, which is crucial to achieving net-zero. Last, it will provide nailing support for the exterior rigid insulation.
Sheathing the walls solo, like the floor and roof sheathing, required a few creative bits of ingenuity. The 4 foot high and 8 foot long sheets weigh a little over 45 pounds, and the top row of sheathing must be installed 20 feet up in the air. Just carrying one of these sheets is cumbersome, let alone figuring out how to hold it in place and nail it with only 2 hands. On top of that, I had to figure out how to apply a bead of caulk around the edges of the sheets and at window openings, and keep in mind that some of this would need to be done on a ladder. The task at hand was quite daunting, but after thinking it over for a bit I was able to come up with some techniques that worked surprisingly well!
Before the sheets could be installed I had to attach some blocking halfway up each wall, in between all the studs. This is required for wall bracing to ensure the sheathing is fully attached to the structure. I had several extra 2×6 studs from a minor mistake I had made when ordering the framing lumber, so I ripped them in half and then cut them to fit between the studs. Each block was end nailed to the stud on one side, and then toe-nailed on the other side.

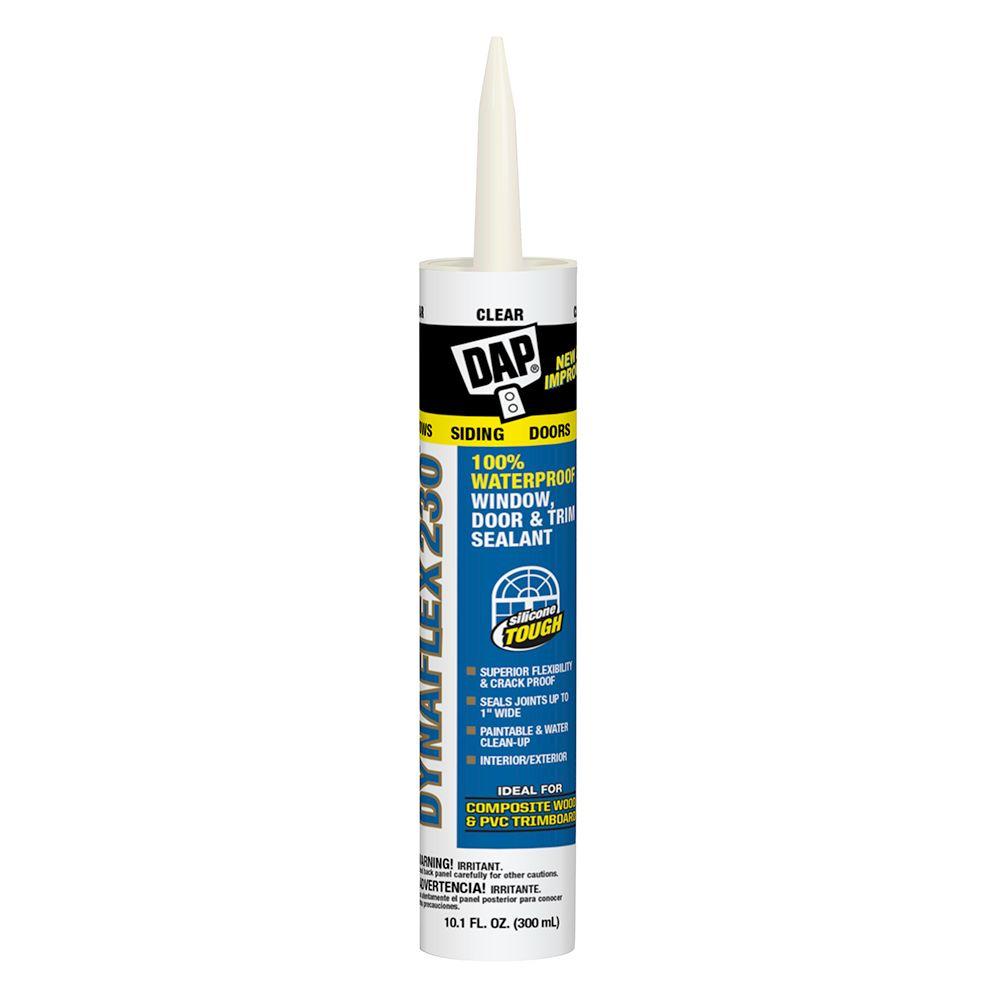
Attaching the first row of sheathing was obviously the easiest. I snapped a chalk line halfway up the bottom plate and then sank a few 16d nails just below it so that if I rested the board on the nails, the bottom of the board would line up with the chalk line. Next, I grabbed a sheet of plywood from my stack and drew a line every 2 feet. This would make knowing where the studs were for nailing much easier. Next, I grabbed my caulking gun and used Dynaflex 230 to lay a bead of caulk along the top of the bottom plate, the bottom of the blocking, and the two studs where the ends of the sheet would be. I also caulked all the way around any window openings that would be under the sheet I was installing. After that it was a simple matter of lifting the sheet onto the nails at an angle so the top of the sheet wouldn’t smear the caulk, then positioning it precisely, and last pushing it into the wall and nailing it down. Each sheet was nailed every 6″ along the edges and every 12″ on the lines I had drawn.

Installing the next row wasn’t a whole lot more difficult. I sank 16d nails on each stud just over the top of the previous row of sheathing. This will leave a small gap between the rows which will allow for expansion due to heat and moisture. I marked lines every 2 feet to line up with the studs and caulked just as I had with the sheets in the first row. Then I hoisted the sheet up on top of my homemade scaffolding and then used a ladder to get myself up on the scaffolding as well. From here I could install the sheet just like the first row by angling it onto the nails, positioning, and then pushing it to the wall and nailing it down.
The third row got a little more tricky. I installed more blocking, snapped a line marking where the top row of sheathing should go, marked lines every 2 feet on the sheet, and caulked. Then, from the second floor inside the house, I clamped my winch to the top half of the stud that would lie in the middle of the sheet, and used a c-clamp to attach the belt to the sheet of plywood. Then I cranked up the winch until the sheet was at the right height, positioned it from inside the house on the second floor, and reached around with my nail gun to tack it down. Then I removed the c-clamp, went downstairs, and climbed a ladder to finish nailing down the panel.

On the gable ends, I was able to install the final row just like the third row by simply moving the winch up to the gable end truss and attaching it there. On the other two sides I had nothing to clamp the winch too! After trying in vain for quite some time figuring out how to do it on my own, I realized this might be one of the times I needed to call a friend over. I drilled holes in a couple of scrap blocks and nailed them to the frieze blocks, and ran one of my nail stakes left over from the foundation through the holes. Then I ran a rope around the nail stake so both ends dangled down at the bottom of the house. I attached one end of the rope to a c-clamp around the plywood, and left the other end dangling.

When my friend arrived, I caulked the area where the sheet would go and then he stood on the second story and hoisted up on the rope while I simultaneously pulled in the slack at the bottom. Once the sheet had reached the top, I nailed a second stake into the ground and tied off the rope so we could both let go and the board would stay in place. At that point I climbed the ladder with my nailgun and gave him instructions on which way to nudge it so it was perfectly positioned and then nailed it down.

It may look pretty boring now, but the interior is protected from the elements! The exterior of the plywood sheathing will definitely still get wet, but the water won’t leak through and the inside will stay nice and dry. I will wait until it gets a little warmer in a couple months so I can be sure that the outside of the house is completely dried out, then I will install the exterior foam, water barrier, furring strips, windows, etc. In the meantime, it is nice and dry inside and I will be starting on the plumbing!
A huge thank you to my friend PJ for his help, both with coming up with the idea on attaching the bar to the house and for his strength helping to hoist the sheets!
I see you used plywood instead of OSB for exterior sheathing. I too lean toward plywood but my contractor says OSB is just as good and less expensive, what made you choose the plywood? Great Job by the way!
Thank you, Chris. Your contractor isn’t lying. OSB is catching up to plywood when it comes to strength and durability while still remaining cheaper. I used plywood because I knew that building solo, the house would be exposed to the elements for a couple months before I was able to add the vapor barrier and it rains quite often here. Since you are having a crew build the house, your contractor is not lying to you. Just ask him what type it is and do a quick check on the manufacturers website because all OSB is not alike. Thank you again for your comment!