Step 22d – Install Dense Pack Cellulose Insulation
While cellulose isn’t the top performing type of insulation, it definitely gives you the most bang for the buck. That means less money up front, but also less money over the life of the house in heating and cooling cost. Additionally, most cellulose consists predominantly of recycled materials (mine advertised “up to 85%”). So when it comes to “saving sustainably”, you can’t do much better than cellulose insulation.

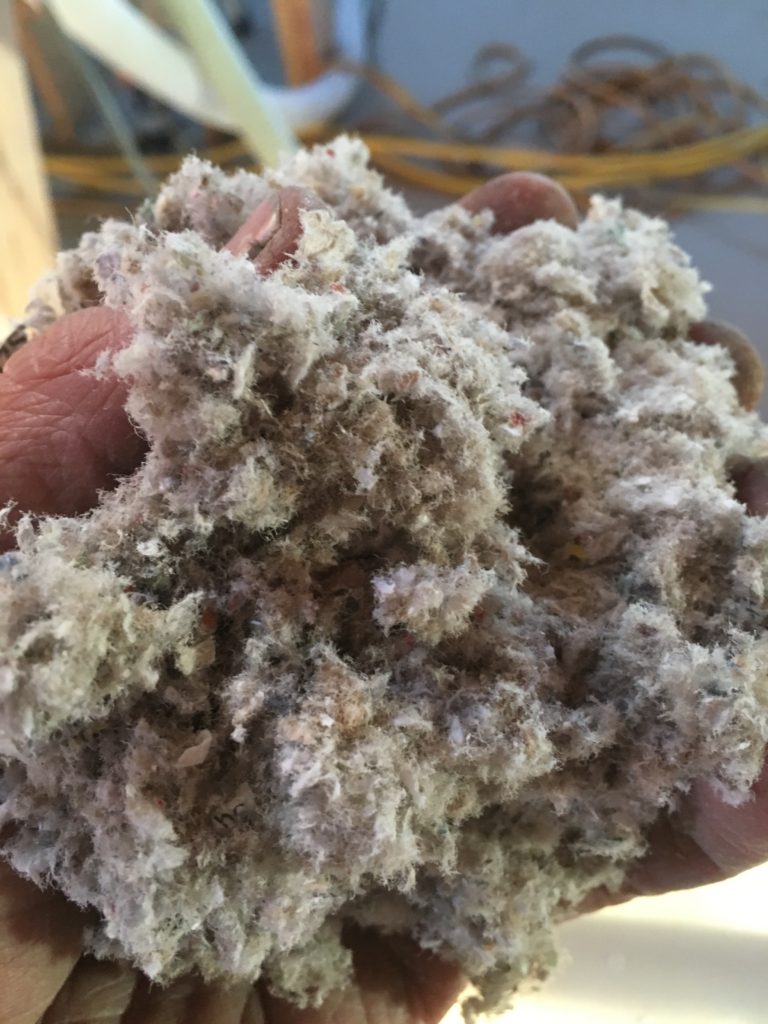
Cellulose insulation consists of mostly shredded, recycled paper (usually newsprint) treated with a fire-retardant (usually borate). It is predominantly installed in attics because it is cheap, easy to install, and effective. All you have to do is blow it in with a machine like a reverse vacuum and let gravity allow it to settle. For walls however, batts are still the most commonly installed form of insulation. They don’t perform nearly as well as cellulose but installation is much easier. The other alternative which is especially popular in the greater Vancouver area where I am building is spray foam. Builders like spray foam because it is also very easy to install, and can be installed in very small spaces like cathedral ceilings. It also has a high R-value so it makes it easy to meet the energy codes of British Columbia. However, there are two main problems with spray foam. First, it is extremely expensive. Second, most use hudroflourobarbons as blowing agents, some have been reported to off-gas, and all are nearly impossible to remove after installation, which translates to: they aren’t very sustainable.

So why is cellulose more difficult to install in walls? Well, while gravity works in a good way for blown-in cellulose in the attic, it doesn’t work so well in the walls. Over time, gravity works on the cellulose in the walls and you are left with completely uninsulated sections at the top of the wall. There are two ways to combat this, the first is to moisten the cellulose and spray it into the wall. The moisture activates the adhesives found in the cellulose and it sticks together even after it dries. This is the most effective way to install cellulose, but it is also the most difficult as the moisture content needs to be just right. The second way is to pack it in so tightly into the wall that it won’t move hardly at all, even with gravity acting on it for years.

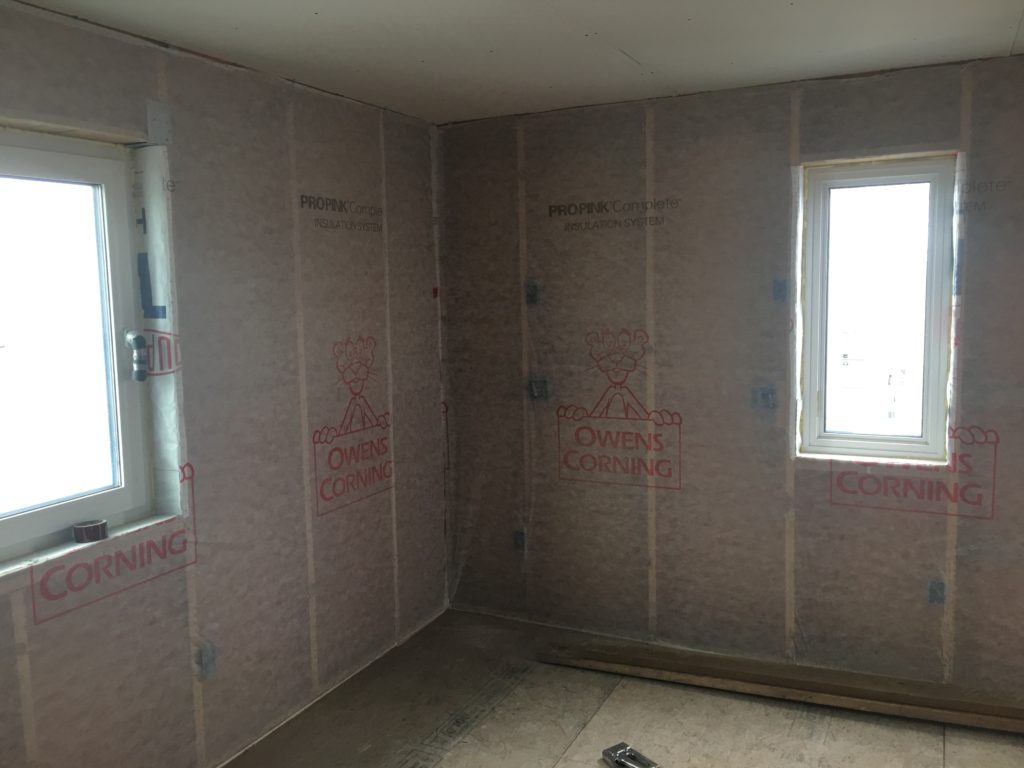
In order to prevent the cellulose from falling out of the stud bay while you are packing it in so tightly, fabric is stapled to the studs. This completely encloses each stud bay so you can pack the cellulose in tightly without worrying about it coming out. The fabric is attached to the studs with staples, and the fabric manufacturer recommends using a rapid-fire stapler, which is an immensely enjoyable tool to operate. Unlike an ordinary power stapler, there is no need to press the stapler to the wall to fire it. All you need to do is squeeze the trigger. This makes it a relatively dangerous tool, but it makes installation of the fabric a cinch.

With the fabric stapled taut to the face of the studs, it was now time to blow in the cellulose. I was extremely fortunate to have found the Bellingham Performance Center while searching for a dense pack blower for rent. Not only did they rent me the blower door, rapid fire stapler, and dense pack blower, they also gave me a ton of free advice. A HUGE shout out to Chris Clay and the team at BPC! If you are looking to be trained as a weatherization contractor, I can assure you that you will receive excellent training from BPC. The blowing machine they rented me was the perfect size for my house. I was able to wheel it inside and position it in right in the center of my 175 bags of insulation.

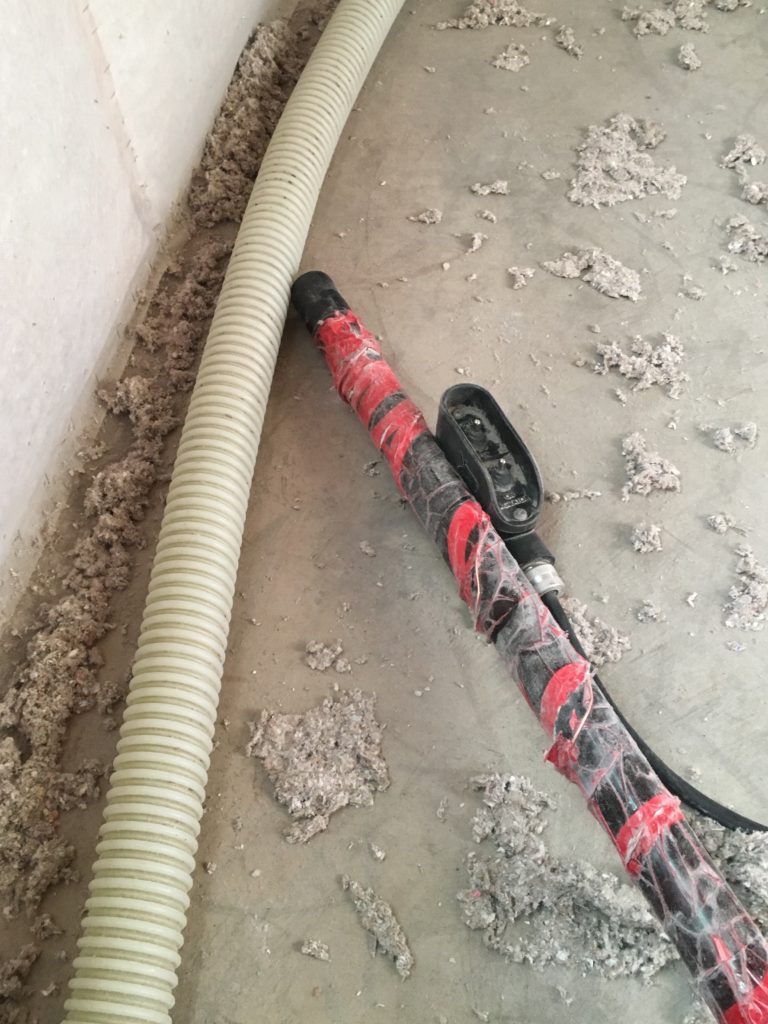
One person is positioned at the machine’s hopper loading the bales, and two other people are required at the other end of the hose. One person cuts a small slit towards the center of the stud bay and sticks the hose in all the way to the bottom while the other person mans the remote controls for the machine. Once the hose is in position, the blower and agitator are switched on. The blower powers a fan that moves air through the hose, while the agitator pushes the cellulose from the bottom of the hopper into the hose. The hose is moved from one side of the bay to the other until the fan starts to whine, signaling that it doesn’t have enough power to push more cellulose into that section. At this time the hose is pulled up a little and the process is repeated. When the bay has been insulated up to the slit, the hose is turned upwards to blow the top half of the stud bay.

Once the entire stud bay has been filled, the fan and agitator are turned off and the hose is withdrawn. Heavy metal rollers are run down the center of the stud bay to compress the insulation even more. It is important to feel around for any areas of the stud bay that are a little short on insulation and if necessary, make another slit in that location and blow in some more until a mattress-like firmness can be felt consistently across the entire stud bay.

I really can’t imagine how I could have possibly done this all on my own. A huge shout out to my father-in-law, Jose, who was doing the thankless job of manning the hopper and my friend Michael, manning the remote.
0 Comments on “Step 22d – Install Dense Pack Cellulose Insulation”