Step 15c – Install the Main Plumbing Supply
There are several key components of a well installed plumbing system that I had yet to install, mainly a backflow preventer and a pressure reducing valve. The backflow preventer ensures that water from my house has no chance of flowing upstream and entering the city water supply. It seems counter-intuitive for that to be possible, but pressure differences are incredibly powerful, and you’d be surprised at how powerful they can be.  For example, if there is a break in the main water line, or a fire truck is using a considerable amount of water to put out a fire, there will be a massive drop in pressure in the main line which can have the effect of pulling water from my private line into the public line. I’m spending money on running my water heater, so I certainly don’t want any of that hot water to escape the house. The backflow preventer will ensure that doesn’t happen. The pressure reducing valve is equally as important. Public water in my town, like most other towns, is powered by gravity alone. The water reservoir is located on one of the highest lots in town, and gravity forces it down through the main line and into the homes. Being near the ocean at one of the lower lots in town, my water pressure is extremely high. I get an average of 120 pounds per square inch of water flowing out of my meter. Most plumbing pipes and fixtures are designed to operate with water pressure between 40 and 90 psi. Without the pressure reducing valve, the high pressure water can contribute to premature failure of the water supply pipes and fixtures.
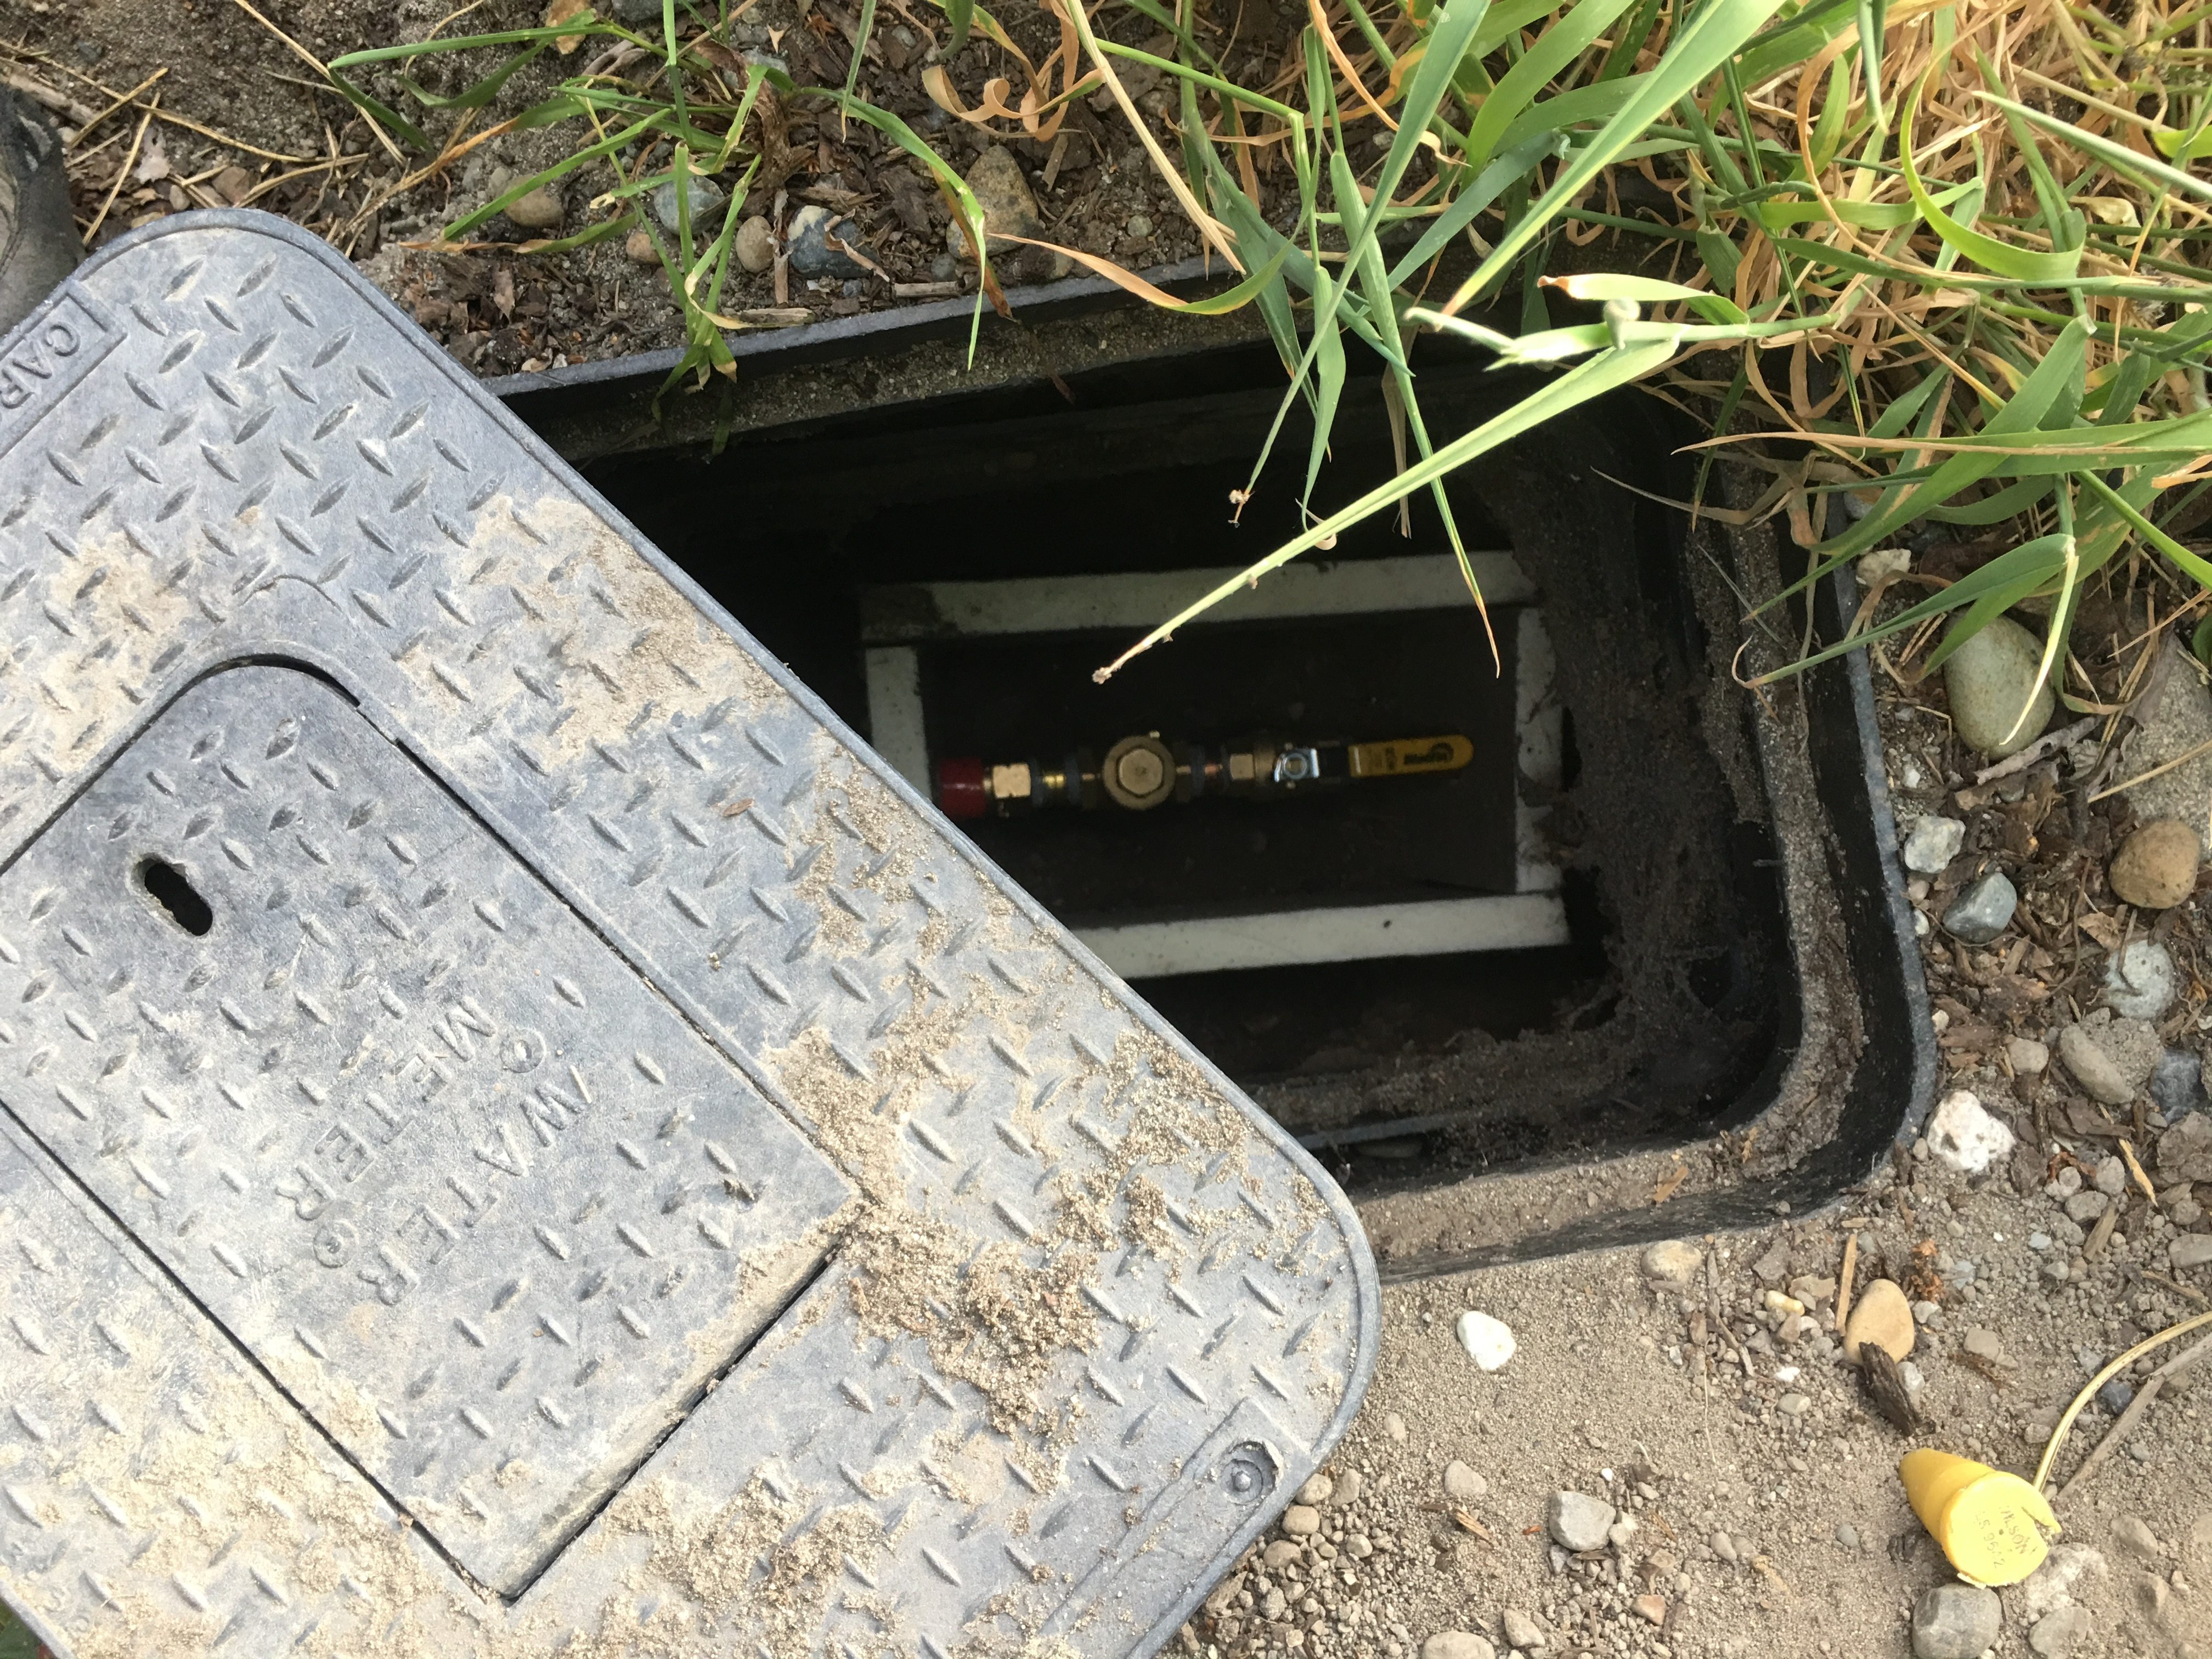
I installed the backflow preventer right next to the water meter where the main public water line becomes my private line. You can see it above as the circular section with the hexagonal shape on top. It is actually a very simple device, with a metal flap that swings open to let water through in one direction but closes off if there is any pressure going in the wrong direction. I did install a shutoff valve between the backflow preventer and the meter(which you can’t see off to the left), so that if I ever need to change out the backflow preventer I can do so. The water can also be shut off on the other side of the meter, but that shutoff valve belongs to the water company. You can see how I installed a cozy box of polyiso foam to ensure that the pipes won’t freeze during the winter. I could just use dirt to insulate the pipes, but then it would be difficult to access the shutoff in an emergency.
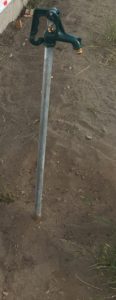
 From there, I used PEX to pipe the water to a yard hydrant next to the house. Using yard hydrants instead of hose bibbs is yet another small way to save sustainably. Many houses have hose connections, called hose bibbs, which take up valuable space in the exterior walls. The yard hydrant is buried in the ground, leaving the walls available for energy and money saving insulation. As an added benefit, the yard hydrant is designed so that you don’t need to worry about water freezing inside of it and breaking the pipes on a cold winter night.
Once the PEX passes through the yard hydrant, it enters the house and the main manifold, which I located underneath a small bench in the foyer. It tees off to a line that goes to two other yard hydrants in the side yard and front yard, and then goes through another shutoff valve, and then the pressure reducer valve. I put the yard hydrants upstream of the pressure reducer valve since it’s a nice benefit to have powerful hoses for watering and cleaning. I installed the shutoff valve to allow me to turn off all the water to the interior of the house without going all the way out to the shutoff valve I installed near the meter. Once going through the pressure reducing valve, the line tees off again with one line going to the cold fixtures and the other going to the water heater.
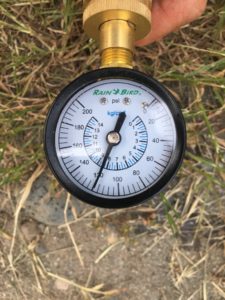
The final step before the plumbing inspection was to pressure test the water supply. I had already pressure tested the DWV system. The goal is to spot any leaks before the drywall is installed as it is a lot easier to fix now than later. To complete the pressure test, I simply hooked up the water and used the pressure reducing valve to bring the pressure to 90 psi. The local building code only requires the lines to be tested to 50 psi for 15 minutes, but I wanted to be extra cautious.


Using the yard hydrant, that is brilliant. Great way to get stuff out of your walls (your insulation cavities that is).