Step 23b – Complete Drywall Installation
Hanging the drywall on the interior walls was slightly more complex than on the exterior walls because there were curved walls, drywall arches, and niches to deal with. That’s the great thing about building your own home though. You get to include all of the beautiful, custom features that you have always wanted.

I designed the house to have a curved wall to wrap around the spiral staircase. This should be one of the more aesthetically pleasing elements of the house, but it was a bit of a pain not only to frame, but also to hang the ceiling drywall above it and now to hang the wall drywall on it. Drywall does bend, but not enough to wrap around this wall. In order to make it work, I first scored the back side of the sheet every one and a half inches. Next, I sprayed the back side liberally with water, working it into the scored areas especially. The moisture dampens the gypsum, allowing it to flex more. I wrapped it around the wall and pulled it tight with some clamps, and then left it to dry. A few hours later I was able to remove the clamps and the sheet remained curved. At this point I was able to lift it into place on the wall and attach it with drywall screws.

The arches I designed to cover the ductwork are created the same way, but don’t require water because they are bending away from the back side of the sheet instead of towards it (concave curve as opposed to convex). The drywall snaps at each of the scored lines, but the paper on front remains intact, allowing it to curve. The important thing is to ensure all of the screws are put into the gypsum, not just the paper. For the smaller drywall arches, I used 1/4″ thick sheets. I also used 1/4″ drywall on a couple end walls where they were just capping the stud.

The large curved wall that wraps around the spiral staircase also had this type of curve where the drywall is bent away from the back side, and I created these in the same manner. Hanging these sheets was difficult because they needed to be installed in the area where the floor between the first story and the second story is cut out. This means there was nothing to stand on and with my temporary stairway, there wasn’t a good place to set up a ladder, either. Like many other times in the build, it involved a bit of frustration followed by coming up with a solution and working my way past the problem to finally achieve success!

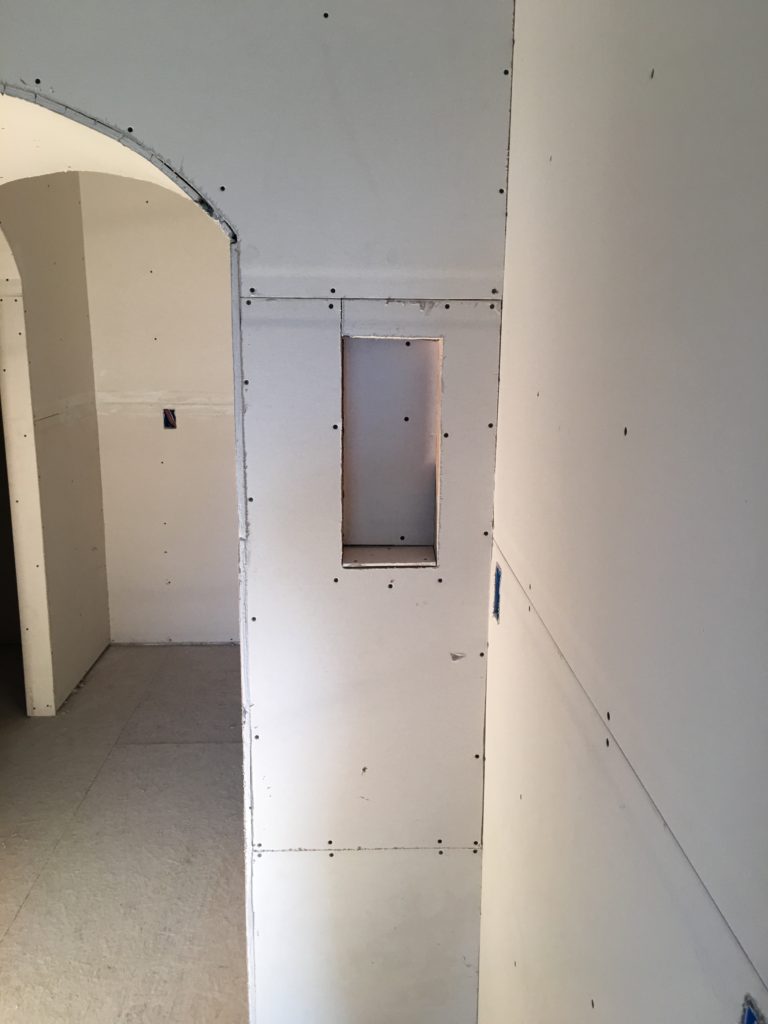
I built a niche into one of the walls, which can be used to store pictures. Before installing the drywall, I nailed a couple blocks between two studs so that a square was framed out in between them. After installing the drywall, I simply cut out the part of it that fell between the two studs and blocks. Last, I attached drywall to the front, back, and sides.

In the master bedroom closets, I had installed some of the ductwork for the ERV so it was a great place to use some of the smaller scrap pieces. On the left side of the picture you can see that I left the ducts exposed in the utility room. This room is where the water heater goes and will not be accessed often so I wasn’t worried about leaving the duct exposed.
Advice? Questions? I'd love to hear your feedback or help you out in any way I can!