Step 6c – Install Inner Forms, Plumbing and Bracing

I could save a lot of time and some money by pouring the concrete for the footings and slab at the same time, in which case I would be done with the formwork now. For several reasons, I decided to pour them separately, so I needed to add an additional set of forms before I pour. The double pour will allow for more control, hopefully resulting in a smoother, more level slab. It also allows me to insulate the inside of the footing wall, instead of the outside. You can always add insulation to the outside of the wall anytime you want to, but you can never add it to the inside once the concrete has been poured.

I set up the second set of forms exactly 8″ apart from the first set to create the 8″ stem wall required by the local building code. The set up method was no different than that of the first set of forms: stakes in the ground, forms nailed to the stakes, scrap wood screwed to the forms to hold them tight to each other with no gap in between. I attached the two forms together with the precise 8″ gap using some scrap wood. I placed these scraps at the exact locations where my anchor bolts will go. This way, I can use the scrap wood to hold the bolt while the concrete cures around it. The conventional way is just to throw the bolts in wherever you “think” you might need them as the concrete is curing. This often results in bolts ending up where studs or plumbing is supposed to go and needing to be cut and replaced, so the method I’m using is much more efficient. It is yet another example of how planning things out in detail before building your own home can save you a lot of headaches. Once the second set of forms were attached and level with the first set, I began straightening them out using the bracing shown above. The boards may not look pretty, but they are free and I can’t see spending money on temporary bracing. When it comes time to pour concrete, we will be banging the forms with hammers trying to work the air pockets out of the concrete so I need to ensure the forms won’t move around at all.

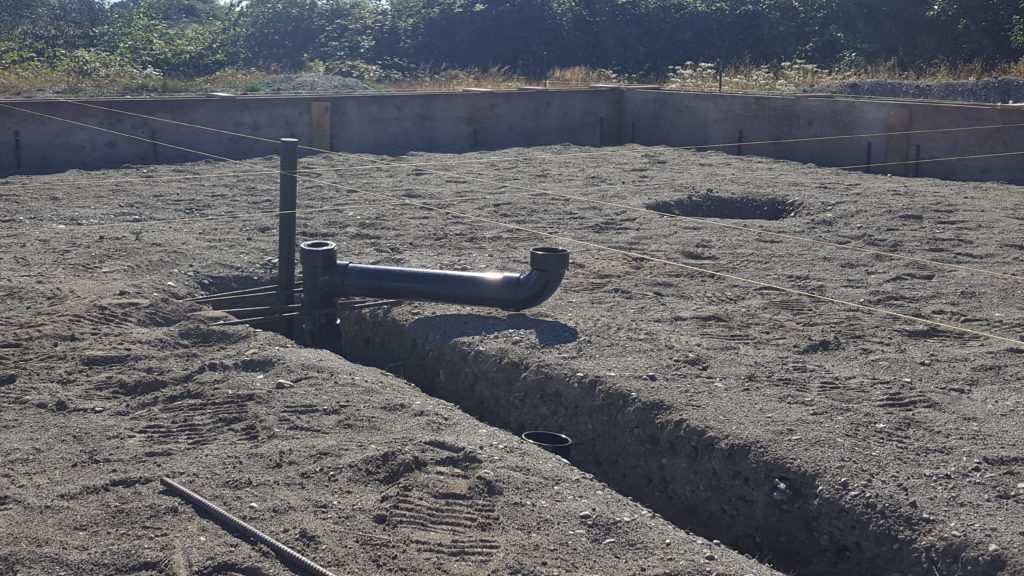
With the forms perfectly marking out the edges of the house, I now had a reference to place the plumbing. Here you see the plumbing for a toilet which has to exit the concrete slab at the precise location where the toilet will go. Notice that there is not a trap in the pipe because toilets have traps built into them. When I connect the plumbing for the tub you will see that there is a u-shaped trap under the concrete that will hold a pocket of water and ensure that the gases from the septic tank don’t enter the house. When bracing the main pipe here, I will need to maintain a downward slope of 1/4″ for every foot of pipe all the way through the line to the septic tank. I used the builders level again to make sure that I was starting at the right spot. Using the spec sheet that came with the septic tank, I know that the inlet is exactly 17″ below the top of the inspection ports that are visible from above.

The edge of the forms where the main sewer pipe will exit the concrete is a little less than 10′ from the inlet port, so the pipes must exit that spot 2.5″ above that height (10′ at 1/4″ per ft= 2.5″). From there it gets much easier as I just had to slope the pipe at 1/4″ per foot until the end of the line.
Advice? Questions? I'd love to hear your feedback or help you out in any way I can!