Step 5b – Overview of the Permitting Process

A huge box was checked off today as I picked up my building permit from the county office. It had been approved by the plans examiner a week earlier but it wasn’t official until I had it in my possession, ready to present to any inspector who might request it. The entire process was unknown territory for me, and I couldn’t find much information about it online, so I thought it might be good to describe in detail what it was like and what I will do differently if I build another home in the future.

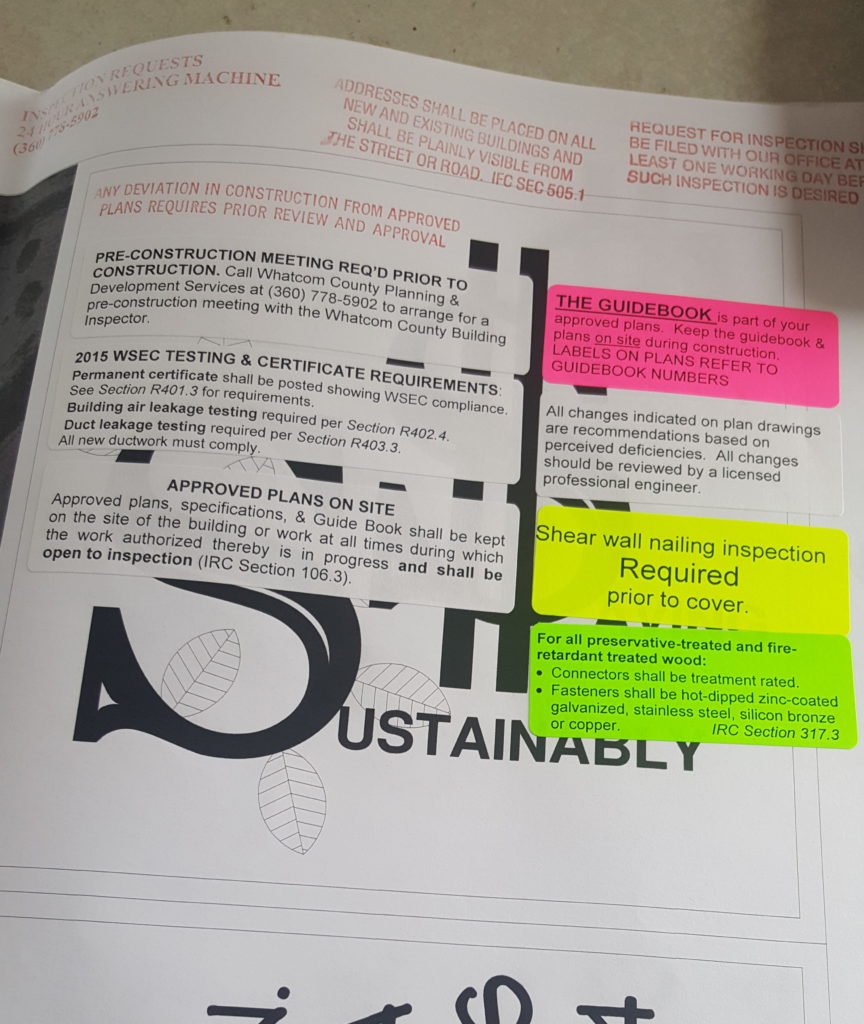
The county website does a great job describing how to apply for a permit, but there isn’t any information describing what happens after you apply. I wasn’t sure at all how much detail they wanted on my plans other than what they listed as being mandatory. My mentor had a ton of extra information on his plans describing precisely how the building would adhere to code so I figured I had better do the same. I spent countless hours painstakingly drawing out the fine details of my design using CAD. Looking back, it seems that for the most part, these efforts were completely unnecessary. The building department added several stamps and stickers to my plans that said the exact same things I had already written on them. My advice to someone building their own home would be to just give the plans examiner exactly what they are asking for and nothing more. This gives you more flexibility to change things if you choose to do so during the course of the build.

The first step was called a permit pre-screening. They take a quick glance at what you want to build and check to see if there are any additional concerns that will need to be addressed. It was during this meeting that I was told I would need to conduct a natural resources assessment. After the NRA was complete and my site plan was submitted, the county sent me a NOAR (Notice of Additional Requirements). This email notified me that the setbacks I had noted on my site plan were not sufficient and needed to be bigger (60′ instead of 50′). I made the appropriate changes and resubmitted my plan, and a little over a week later I received an email that I had passed and was free to schedule an “intake appointment”.

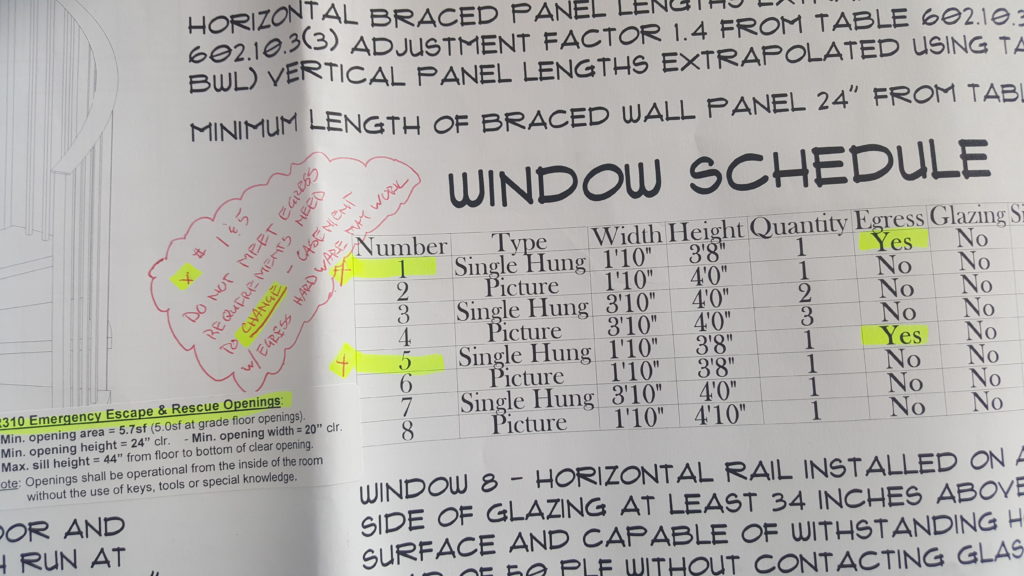
I went through the permit application checklist on the county website and made sure I had all the required documents ready, and then scheduled my appointment. Unfortunately, the earliest available date was over two weeks away! If I had it to do over again I would have scheduled this the second I received notice and then prepared my documents while I was waiting for the date of the appointment. The intake appointment was much less formal than I imagined. I unrolled my plans on the counter and the plans examiner looked them over briefly and then let me know I would need engineering. I explained this encounter in a previous post. They were able to schedule me another appointment just a week away and I used the time to make the adjustments to my plans that he had requested. The second appointment was much the same as the first. The plans examiner unrolled my plans and checked to see that the changes had been made. He also spotted one additional mistake but said that they would just make a note of it on my plans. (I had used the rough opening of my egress, or emergency exit, windows to comply with the minimum opening area of 5.7 square feet instead of the area of the actual window opening) They gave me approval and said that they would notify me when the permit was ready to be issued.

I received a call almost two weeks later that they had found one additional mistake with the rear setback. (I would have disputed this but they had already come up with an easy solution) Basically, I was allowed to shorten the setback if I agreed to plant a couple rows of pine trees at the back of the lot, something I would probably have done anyway. A couple days later I received an email letting me know that the permit was ready to be picked up. When I looked over my plans I saw that in addition to the stamps and stickers, they had marked several things as needing adjusting. The first were the windows that I had made mistakes on. The second was on the foundation plan, where they had added a 16″ x 16″ square for a reinforced section of the foundation. This was to carry the load from the opening in the floor for the spiral stairway. I had specified the correct amount of support on the floor joists but hadn’t carried the load all the way down to the foundation. I’m sure they could have forced me to get this engineered but instead they basically engineered it for me saving me a grand!

Looking back on everything, this is a process that I would have started a lot earlier in the game, even though I hadn’t fully completed my design at the time. There was plenty of time to finish in the weeks of waiting and there were also plenty of opportunities to make alterations. Even now with the plans stamped and approved, the inspector has already told me that I can still make adjustments as long as he approves them. The entire process of getting a building permit with no experience as a builder was surprisingly easy. The county was very easy to work with and never gave me a hard time even though I made several mistakes along the way. They even helped me correct some of my errors! I’m sure this isn’t the case at every county building office but it is the experience I had. Now I can focus on getting going on the foundation!
Advice? Questions? I'd love to hear your feedback or help you out in any way I can!