Step 6 – Dig and Prep for Foundation

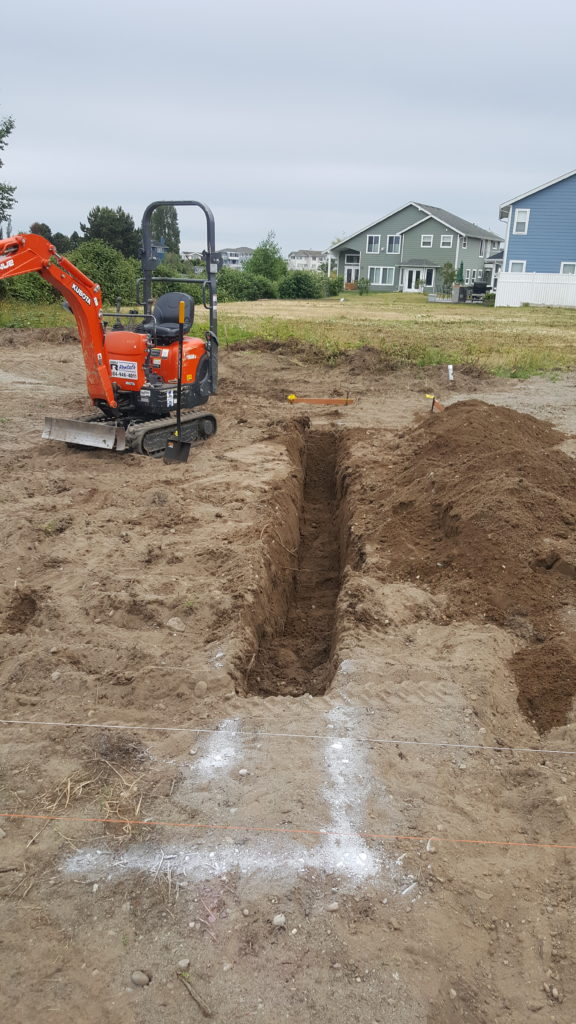
With the permit approved to build on my own home it was finally time to break ground! I had already planned a mini excavator rental and surveyed the lot extensively so I knew where and how I wanted to orient the house. The end result of my work will be the picture above. You can see the perimeter footings forming a rectangle and the other trenches that run through it will be for plumbing, electrical, and HVAC.

Before digging, I needed a game plan. I set up some makeshift batter boards with 2 foot nail stakes and scrap wood and then stretched string lines between them to mark out the inside and outside of the trenches. I measured carefully to ensure the strings were spaced the correct distance apart from each other and also measured the diagonal distances between the corners to ensure that they formed perfect 90 degree angles. You want to ensure that you are leaving enough space between the trench and the batter boards to fit the mini excavator. Once I was sure the lines were straight and square, I notched the batter boards where the strings crossed the board so I could remove them and reset them without measuring again.

Next, I marked underneath the string lines using inverted spray paint. Unfortunately, I had already gone through one can before I read that you can just use cornmeal to mark the lines. I bought a bulk bag and put some in a container with a spout on it and just poured it over the string lines. It fell past the string and made a neat line on the ground – yet another way of Saving Sustainably. Once the lines were marked I removed the string lines and hopped on the mini!
.jpg)
When I was planning out my build, I thought seriously about just buying a mini excavator. They have great resale value and are incredibly handy. You can not only use them to excavate, but also to raise walls, move dirt around, or just move heavy objects. In the end, I’m glad I decided against it. The thrill of operating one of these machines is an experience I was happy to have, but by the 4th hour or so I was losing interest. It takes about an hour to get pretty good on the controls, so of course the learning aspect of that was an enjoyable challenge, but once you have it down the digging becomes monotonous and I’m not a fan of diesel fumes. If I had it to do over again I would just use a skid steer to clear the topsoil and level everything and then I would dig the footings by hand. That having said, my soil is pretty sandy here so I’m sure I would feel differently if I was dealing with a more clay-like substrate.

After the footings were dug, I used the mini to move the “spoils” to a location out of the way where they will remain until I finish building and will use it to “backfill”. I did use some of them to add on to my septic field mound just to give it a more rounded, neat look. I used my builders level to painstakingly level the interior and ensure that my footings were dug to the proper depth. You can see below how I made a little jig to hold the grade stake in place so I could walk back to the level and check the depth. A rake, shovel, and wheelbarrow also made moving the dirt easier.

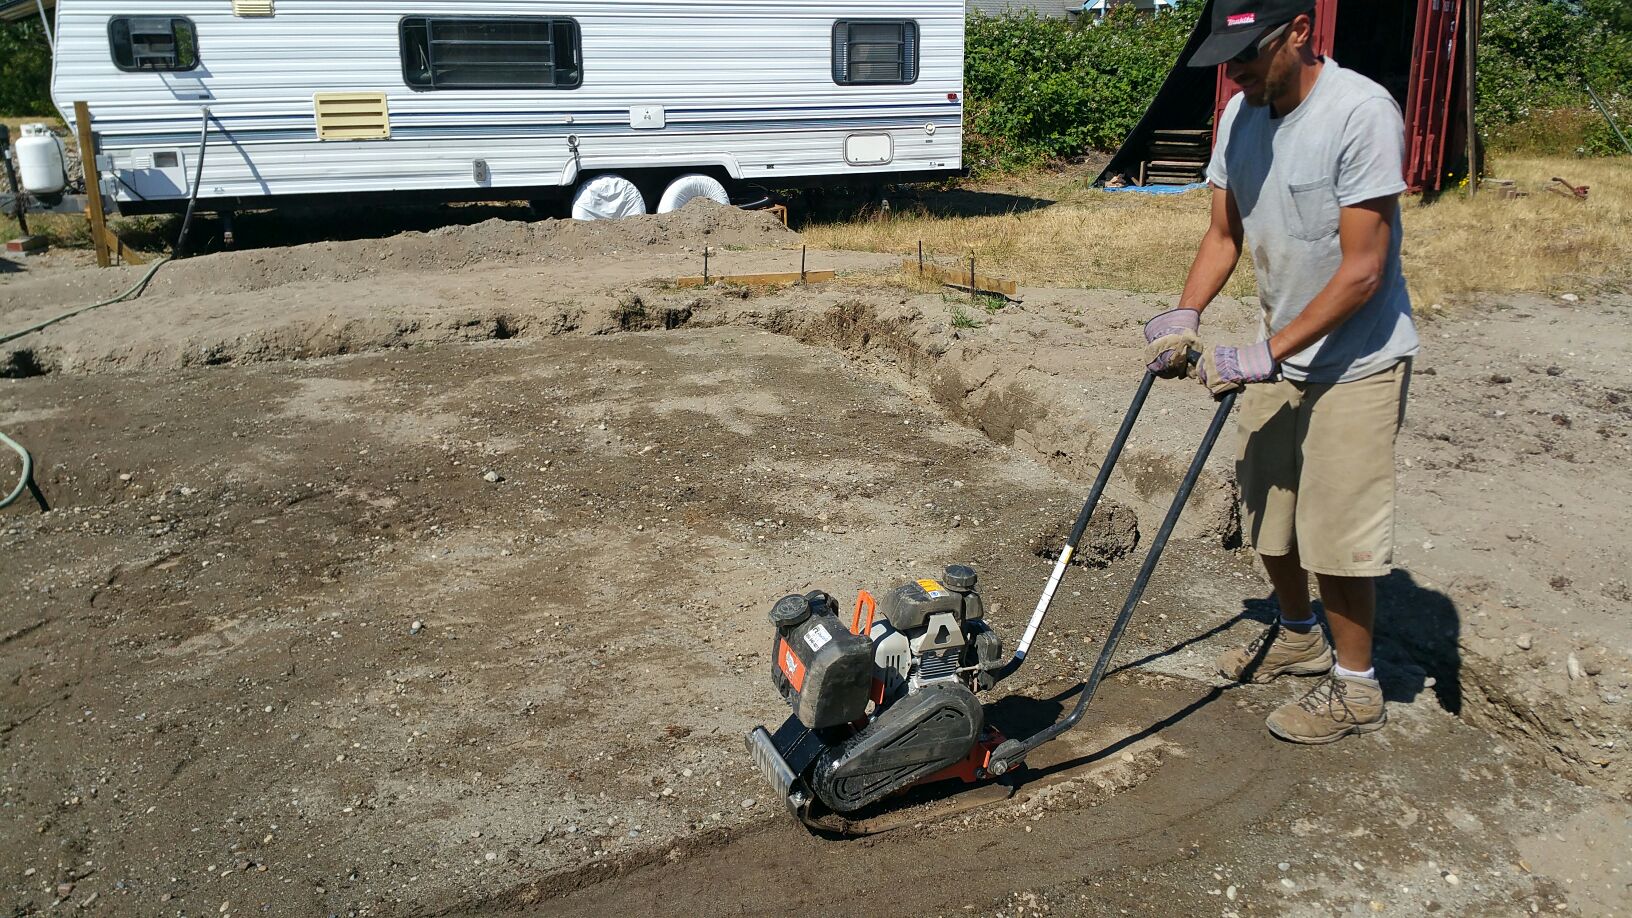
Once I was certain the interior was level, I rented a plate compactor and ran it around inside all of the trenches as well as on the interior. The compaction will reduce the amount of settling in the soil and make cracking of the foundation less likely.

Now the only thing left as far as digging is concerned is just a few small trenches for utilities (HVAC, water supply, electrical) It’s very gratifing to see the design I have been working so hard on slowly becoming reality.

Advice? Questions? I'd love to hear your feedback or help you out in any way I can!