Step 8 – Frame the First Floor
After spending the weekend spraying the new slab down every hour or so, it was finally time to get the walls up! This process of “wet curing” concrete can add up to 50 percent more strength when done for 3-7 days because it prevents the water inside the concrete from evaporating. While many contractors immediately begin framing the house the day after the concrete is poured with no problems, I played it safe and waited until the 3rd day to get going.

The first step was to “snap lines” (see pic above) where the walls would go. This will help me to ensure the bottoms of the walls stay straight and square to each other. I took several measurements of the footings, including the diagonal measurements from corner to corner, to decide where to start. The footings came out really good, but not perfect (this is my first solo build, after all!) There will be a few small areas of concrete that stick out a bit or don’t come out far enough. This is no problem at all structurally and visually it will be covered up by the siding, but in taking these measurements I was able to position the walls to minimize it as much as possible.

The exterior walls will be framed on 2×6’s, so the first lines I snapped mark where the inside edge of the bottom plates will go, 5.5 inches in from my starting corner (for those not in the know, a 2×6 is actually only 5.5 inches wide on average) Snapping lines is done using a chalk reel, which is basically a spool of string inside of a metal casing. The casing has a sliding door so that you can fill it with chalk, that way when you pull out the string it gets covered in it. I would put the end of the string on my mark on one end of the footing and weight it down with my sledge hammer, then allow the chalked string to unroll as I walked to the other side. By pulling the string taut against the concrete and then lifting it just an inch, the line snapped back down leaving a neat line of chalk behind.

Once I had marked all the exterior walls, I grabbed the first sill plate from my pile of lumber and cut it down to 20′ (most lumber yards give you an extra 1/2 inch or so). I lined it up on my line and marked out the anchor bolt locations, and then drilled them out. (Remember that the bolts were embedded in the concrete footings so just the top part is sticking out) Then I placed it over the bolts and made sure it lined up just right. I repeated the procedure all the way around each wall until I had all 4 done. With the placement of the exterior walls now set, I was able to measure out the locations of the interior walls and snap those lines as well. It will be much easier to mark them now and serve as a sort of map to where my interior walls will be going.

I had to call a friend over to help me carry the 32′ long LVL top plate from the lumber pile over to the slab, and we set it on edge next to the bottom plate, which I had also turned on edge. I used some clamps to hold them together perfectly lined up, and then used a tape measure to mark out the stud locations every 2 feet. I had ordered the studs precut so that saved me a lot of time. I just had to carry them over from the lumber pile and then inspect them and “crown” them. Lumber being a product of nature is never perfect. Sometimes they have significant bends or waves in them and I will save those for later. The straighter ones I will use now, but even the straighter ones have a bit of a curve or “crown” in them. I lined the crowns up all going the same direction which will make it easier to straighten them out later in the build.

Once all the studs were laid out on my marks it was just a matter of nailing them together. Building codes offer several different ways to satisfy nailing requirements, and the one I chose will be 3 16D nails to connect each stud to the top and bottom plates. I took my time and carefully aligned each stud to ensure that it didn’t stick out on either side of the top plate. It is situations like these where even with my lack of experience I can guarantee I put together a better wall than 90% of the framing crews since they are focused on speed over quality.
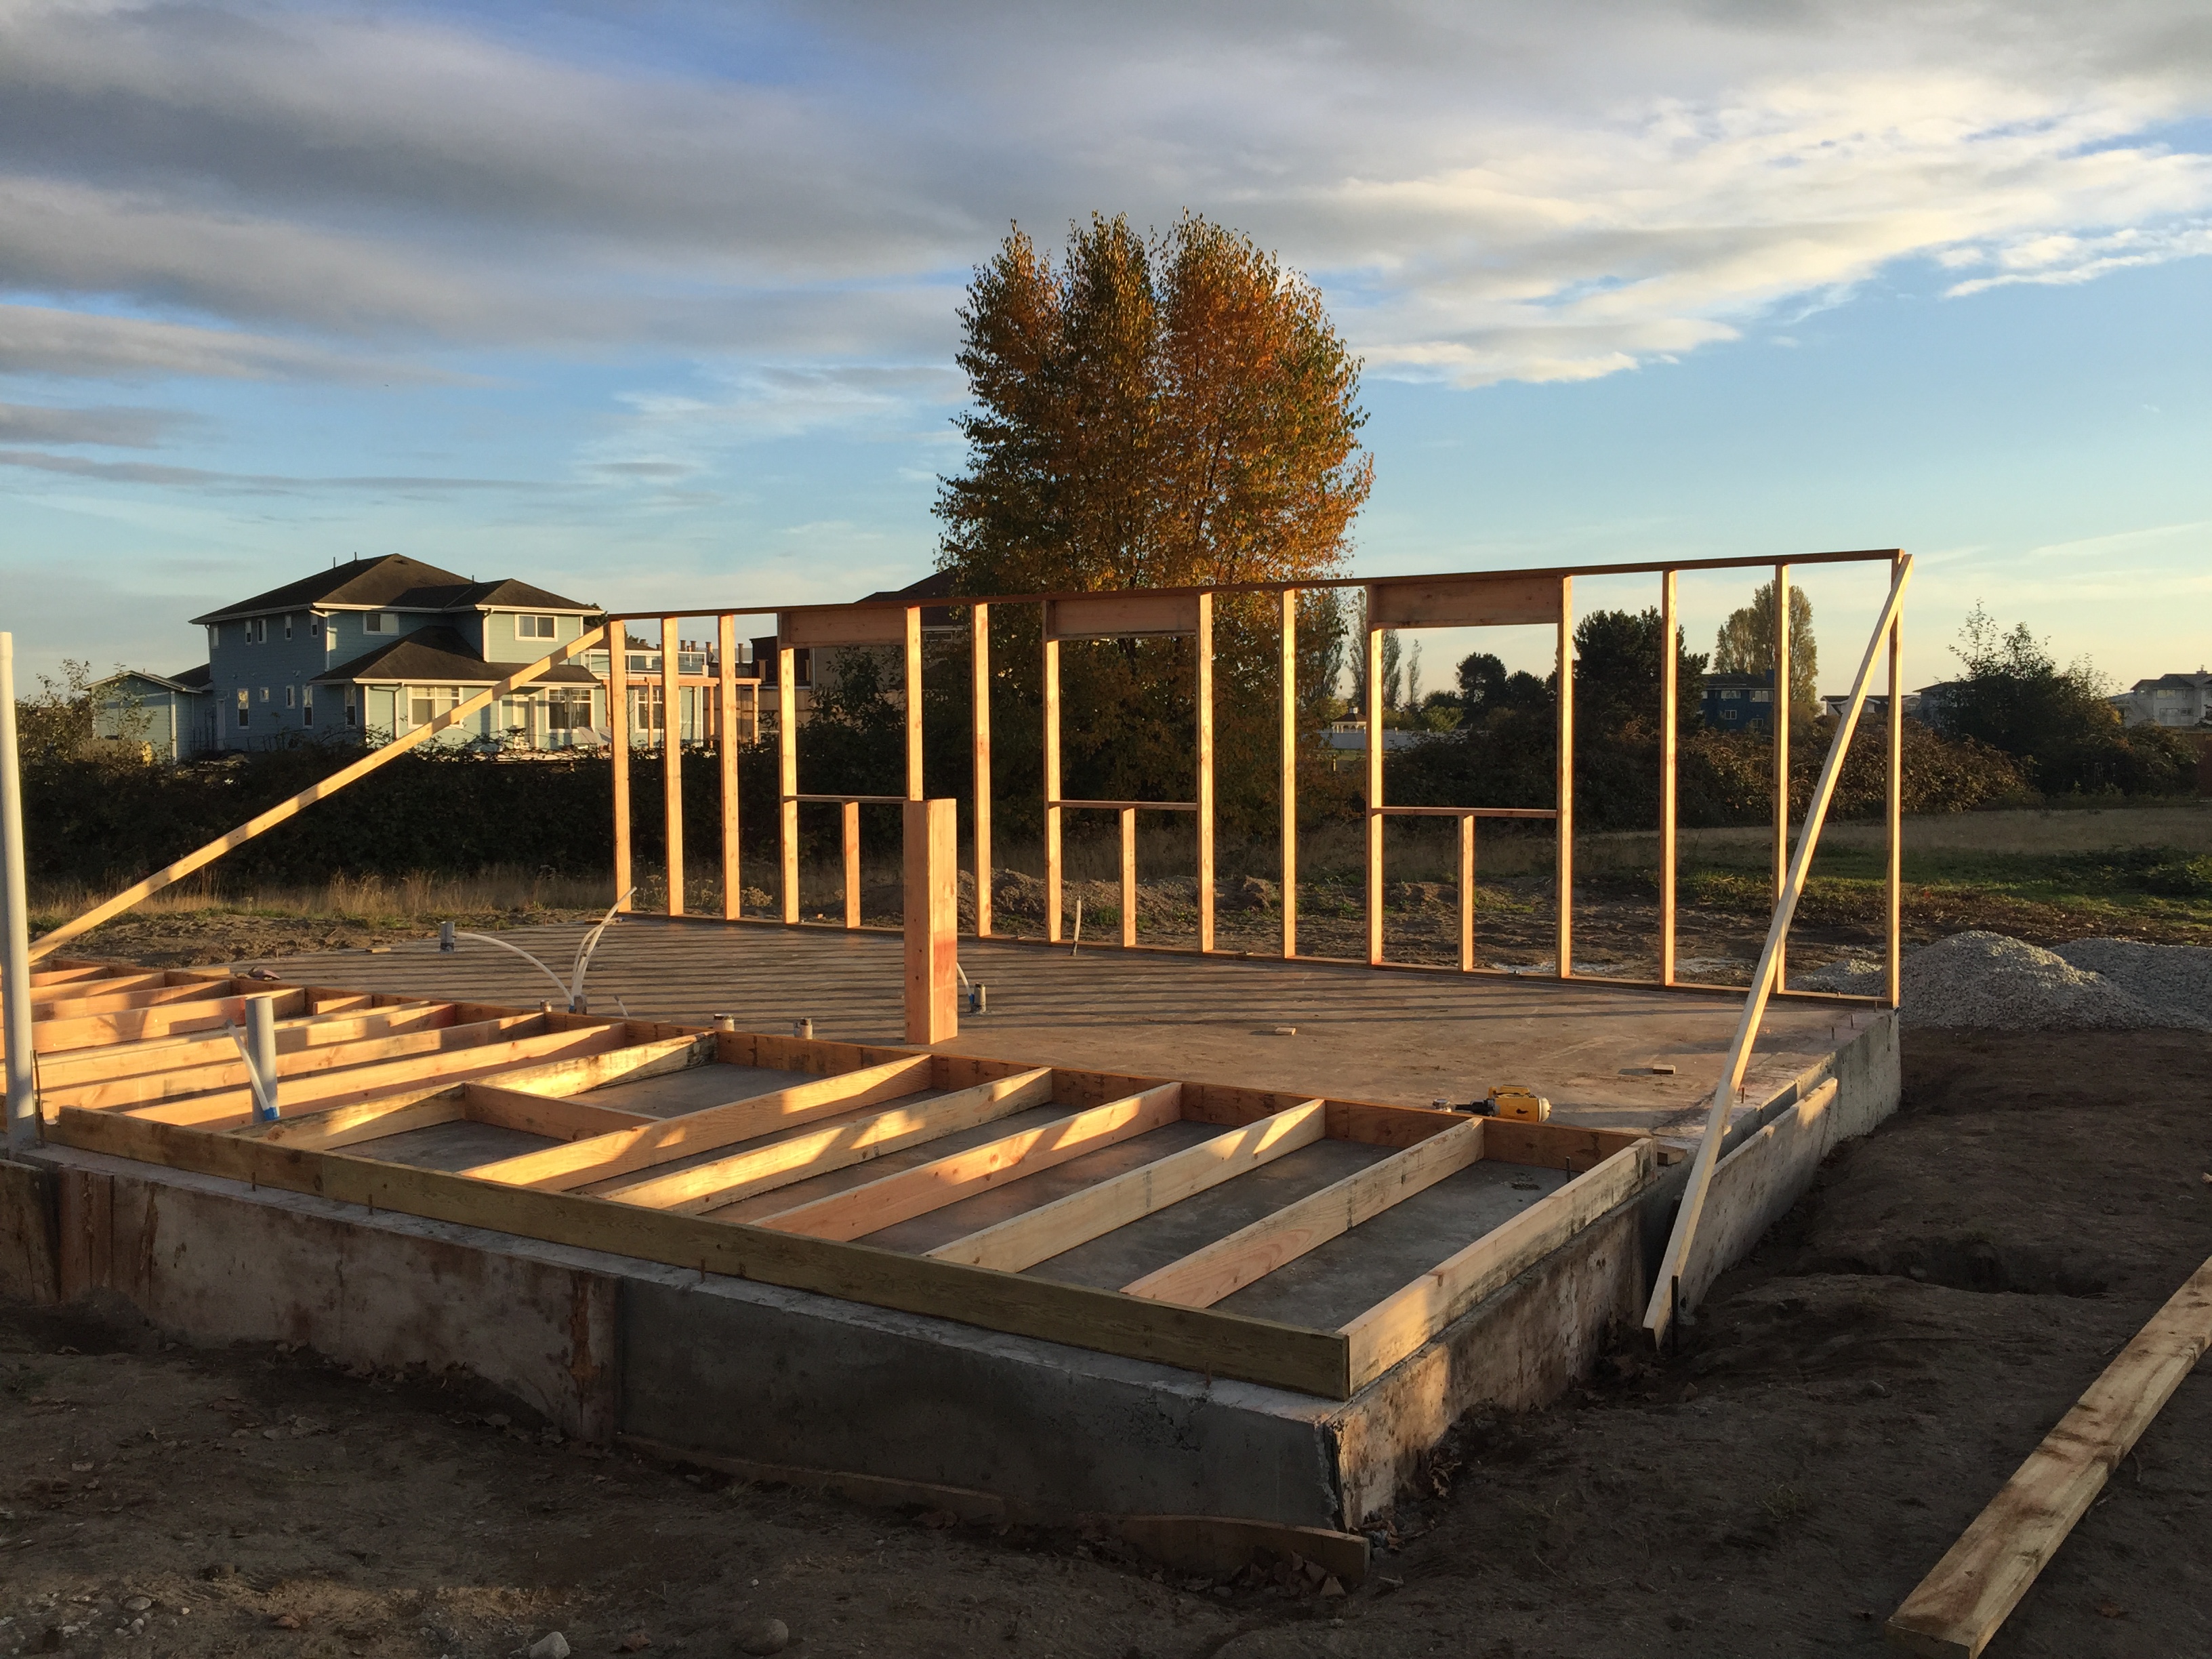
For the window openings, a larger piece of lumber must be used to carry the load from the opening that is missing a stud to the studs on either side of it. Again, building codes dictate several ways to satisfy these header requirements, and for mine I chose a single 2×10. I will also be utilizing some metal hangers to carry the weight of the header instead of shorter studs called jack studs, although you can see that I did use jack studs for the entry door in the pic below.

Once all the lumber was nailed together, I unrolled some “sill gasket” and placed it over the footing where the wall will be hoisted. I also nailed some long 2×4’s to the top of the wall. As we raise the wall, these boards will swing out and brace it. The wall was very heavy but with a few friends we were able to get it airborne with ease. Once it was vertical, I staked down the bracing boards and then screwed the nuts down over large square washers on the anchor bolts.

Within a couple days I was able to finish the remaining 3 walls and raise them into place as well. It’s so much fun to see my vision becoming reality!

This blog is amazing (found it on reddit). Keep it up man, good work so far!
From the pictures it looks like you did the framing yourself? I am certainly curious if you had any helpers for framing everything including the roof gables?
Yes, Andrew. Anytime I have needed help I have noted it in the posts. Most everything is doable on your own if you are creative and not pushed for time.
I’m curios as to the amount of time framing the first floor walls took.
If you had to redo it, working mostly alone as you did, how many work hours do you estimate framing and standing the walls would take, with everything pre-cut and no sheathing?
Thanks for this blog, it’s an excellent read!
Framing is one of the easiest parts of the build. Using precut studs and a solid framing gun, you could probably frame up a wall in 30 minutes or so, depending on how much time you put into your building plans. There are, however, several issues. First, you can only frame so many walls without standing some of them up and getting them out of the way, and if the wall is too big for you to lift on your own, that requires finding help at the right time. Also, this assumes that you spent time laying out lines for the placement of those walls and, if building on a slab, laying out your bottom plates and marking and drilling anchor bolt holes. You will need a bit more time for measuring, cutting, and nailing double top plates if you are going that route. In short, there are a lot of variables there, but I will say that framing is always the most impressive thing for people to see that aren’t familiar with building because it goes up very quickly, but it looks like you did a lot of work. Thank you for your question and positive feedback!
Nice, I just found this blog, I hope to do that myself one day..
Are your stud 24″ on Centre?
Yes. It really is sad that more homes aren’t framed 2×6 @ 24 OC. The building codes allow it and you will save tons of money every year on heating/cooling for the life of the house.