Step 16b – Install the Windows
Windows allow heat to enter the home via radiation from the sun, and allow heat to both enter and exit the home via conduction (windows are much better conductors of heat than insulated walls). To mitigate this issue, I paid top dollar for triple pane, highly efficient windows. As you can see below, they have a U-value of 0.15, which correlates to an R-value of 7. While this is not half as good as the R-value of the insulated wall of the house (R25), it is much better than the R-value of an average effiency window (R3). This means that my windows don’t conduct heat quite as well as the average window, but far better than my wall. I will undoubtedly lose more heat through the windows than any other part of the house. The solar radiation, on the other hand, is a good thing in my climate. The windows have a solar heat gain coefficient of 0.39, which is a measure of their ability to block radiation from entering the house. The lower the number, the more sun they block. While this number isn’t as high as that of less efficient windows, it is a higher than average considering the excellent R-value of my windows. That’s a good thing for me, because in my area it is far more likely to be cold than hot, so allowing solar heat into the house is quite often a win when it comes to saving sustainably.
Proper installation of the windows is one of the most important aspects of ensuring both an air tight, and water tight building envelope. After roof penetrations, window openings are one of the most common areas of water damage in the average home. Adding to the issue, sometimes window manufacturers can provide entirely different installation instructions than the manufacturers for the water resistant barriers and/or flashing membranes that are used. I started installing the ground floor windows first, with each one following the same pattern of installation.
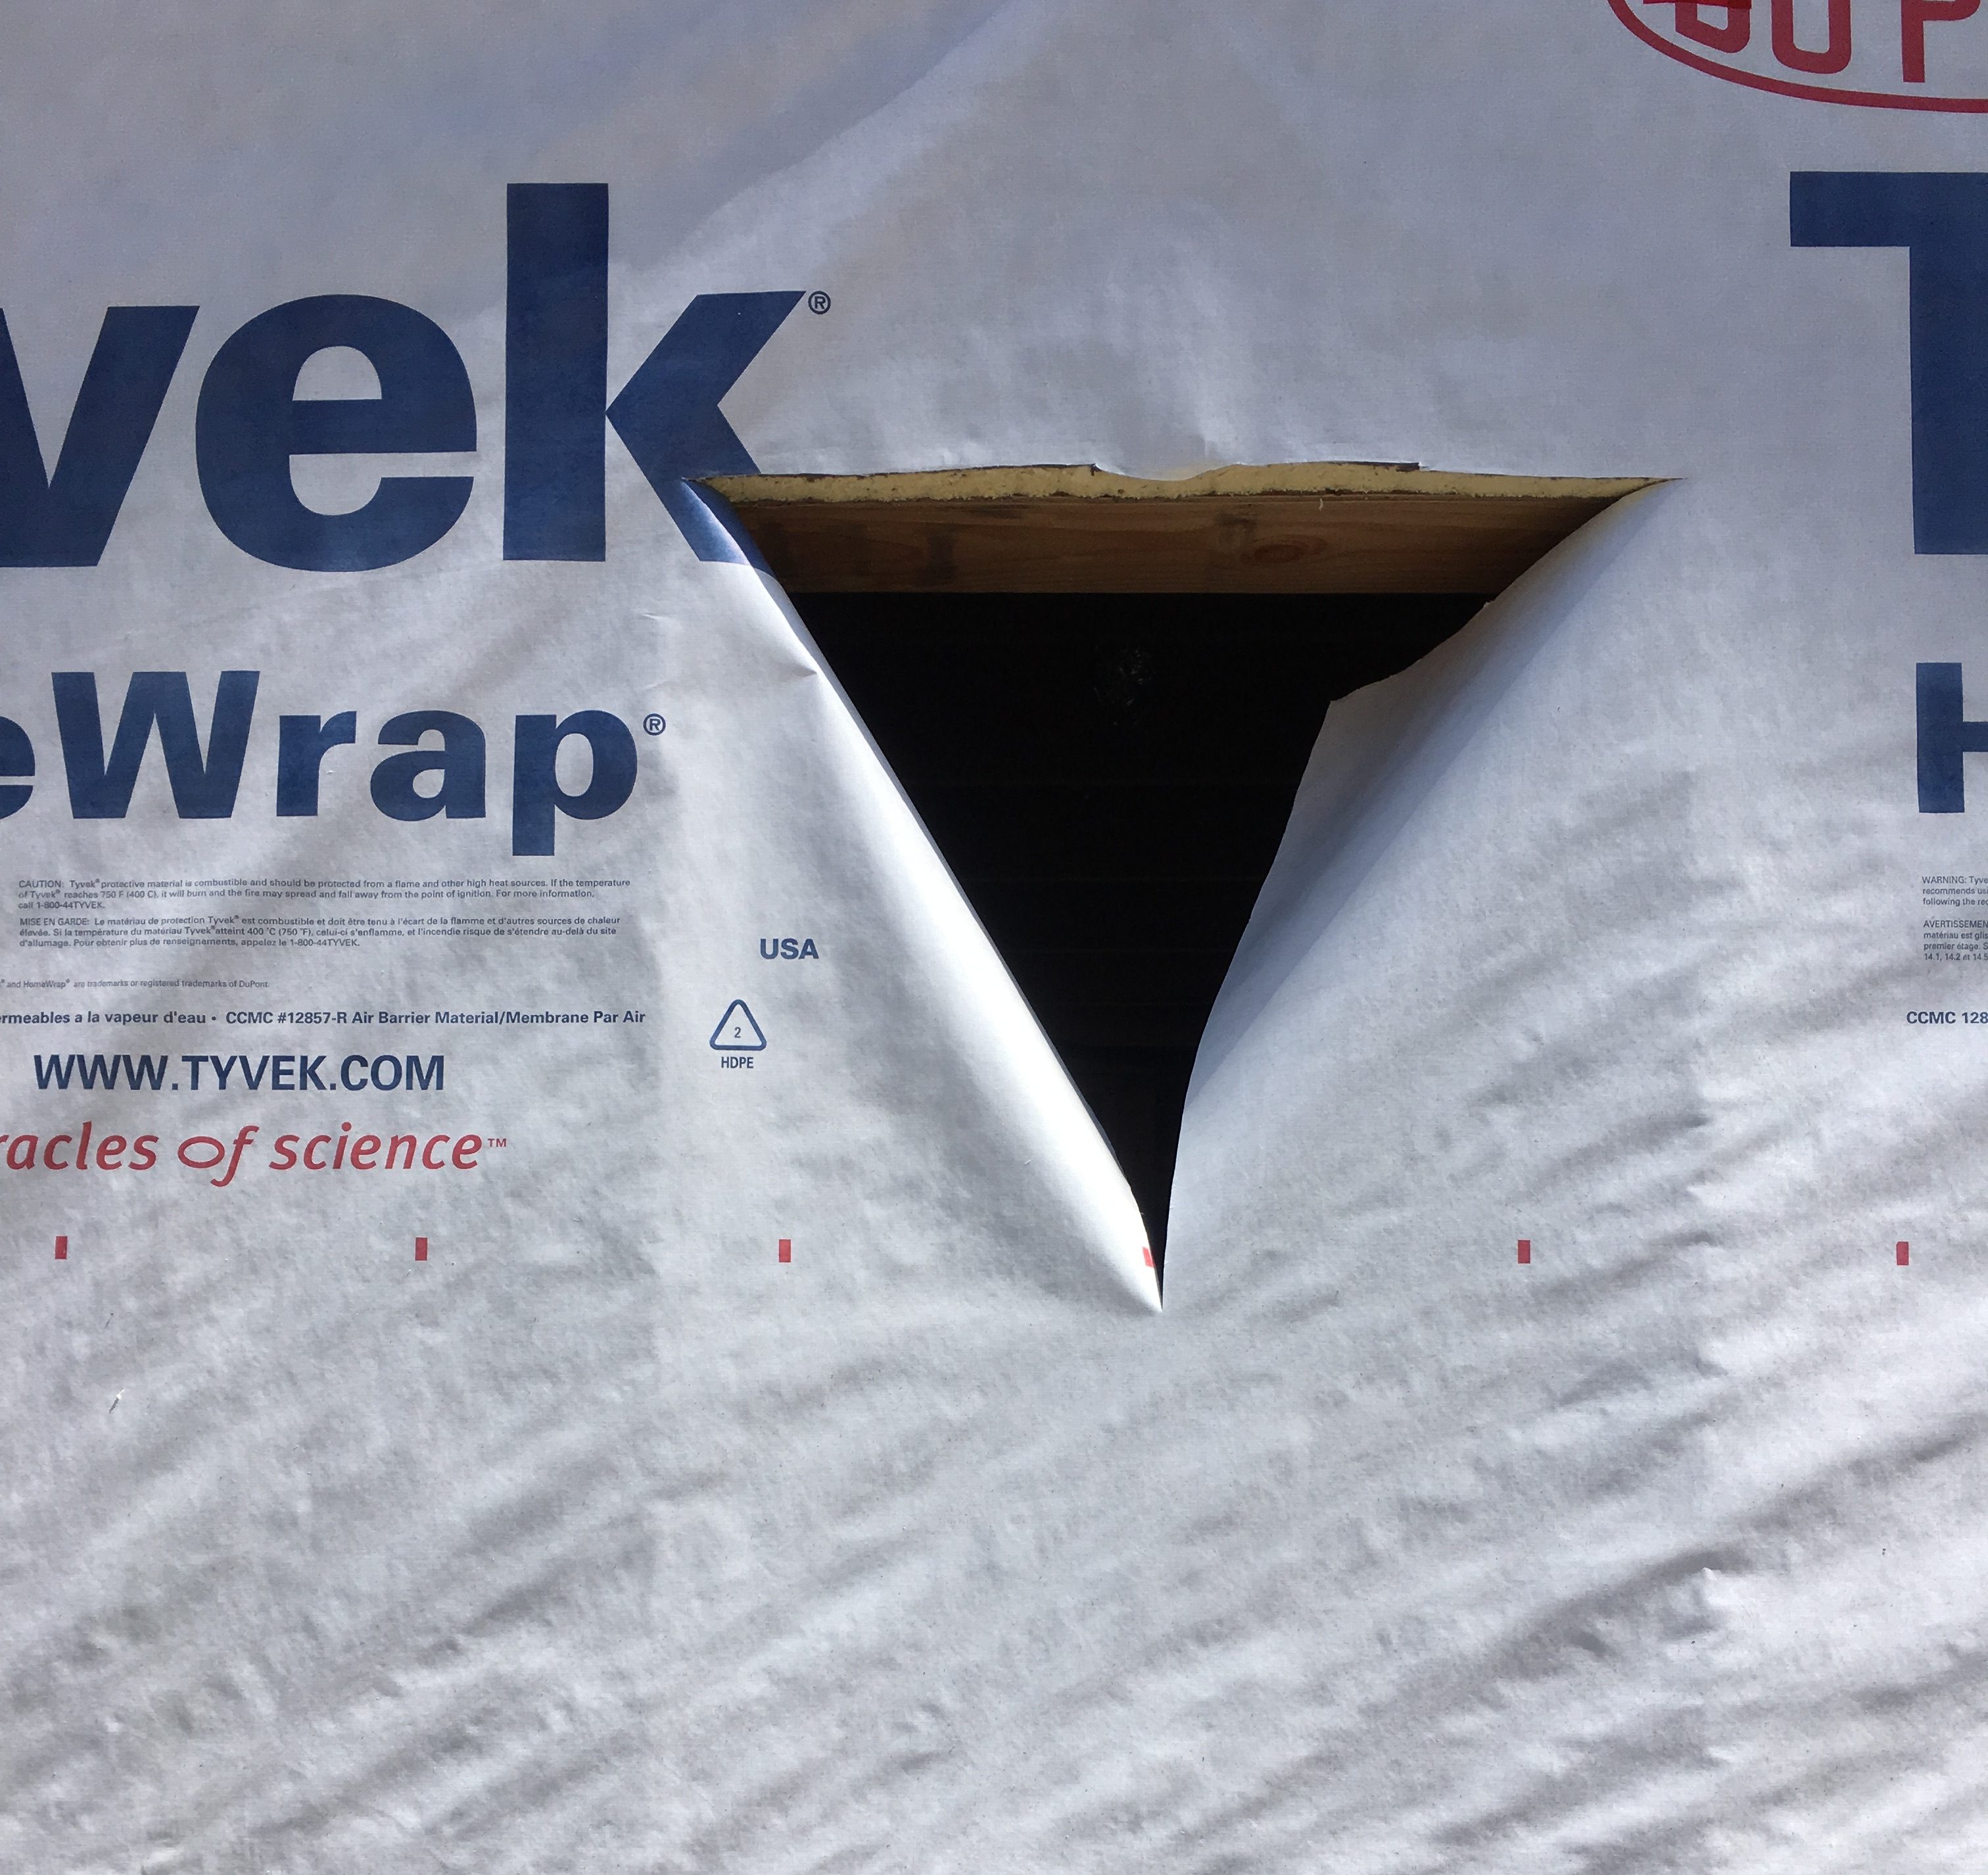
Step 1 – Cut an ‘I’ shaped opening in the Tyvek, with the tops and bottoms of the I-shape at the top and bottom of the window opening, and a center cut connecting them down the middle.
Also, make two 4″ diagonal cuts from the top corners of the ‘I’ and fold up a flap of Tyvek at the top.
Step 2 – Wrap the sides of the Tyvek around the studs to the inside and staple them in the place. Cut off excess. Fold the top flap of Tyvek up and tape it in place temporarily.
It is also a good idea to trim the window opening at the sill and ensure that there is a nice smooth transition between the sill, sheathing, and foam.
At this point the window should look something like this
Step 3 – Cut a beveled cedar siding board to fit the bottom of the window opening. In my case, this meant ripping the siding down to 7″ in width (5 1/2″ for the window sill, 1/2″ for the sheathing, 1″ for the foam). Nail to the sill.
 This is very important to ensure that any water that finds its way past the window will be forced outward by gravity
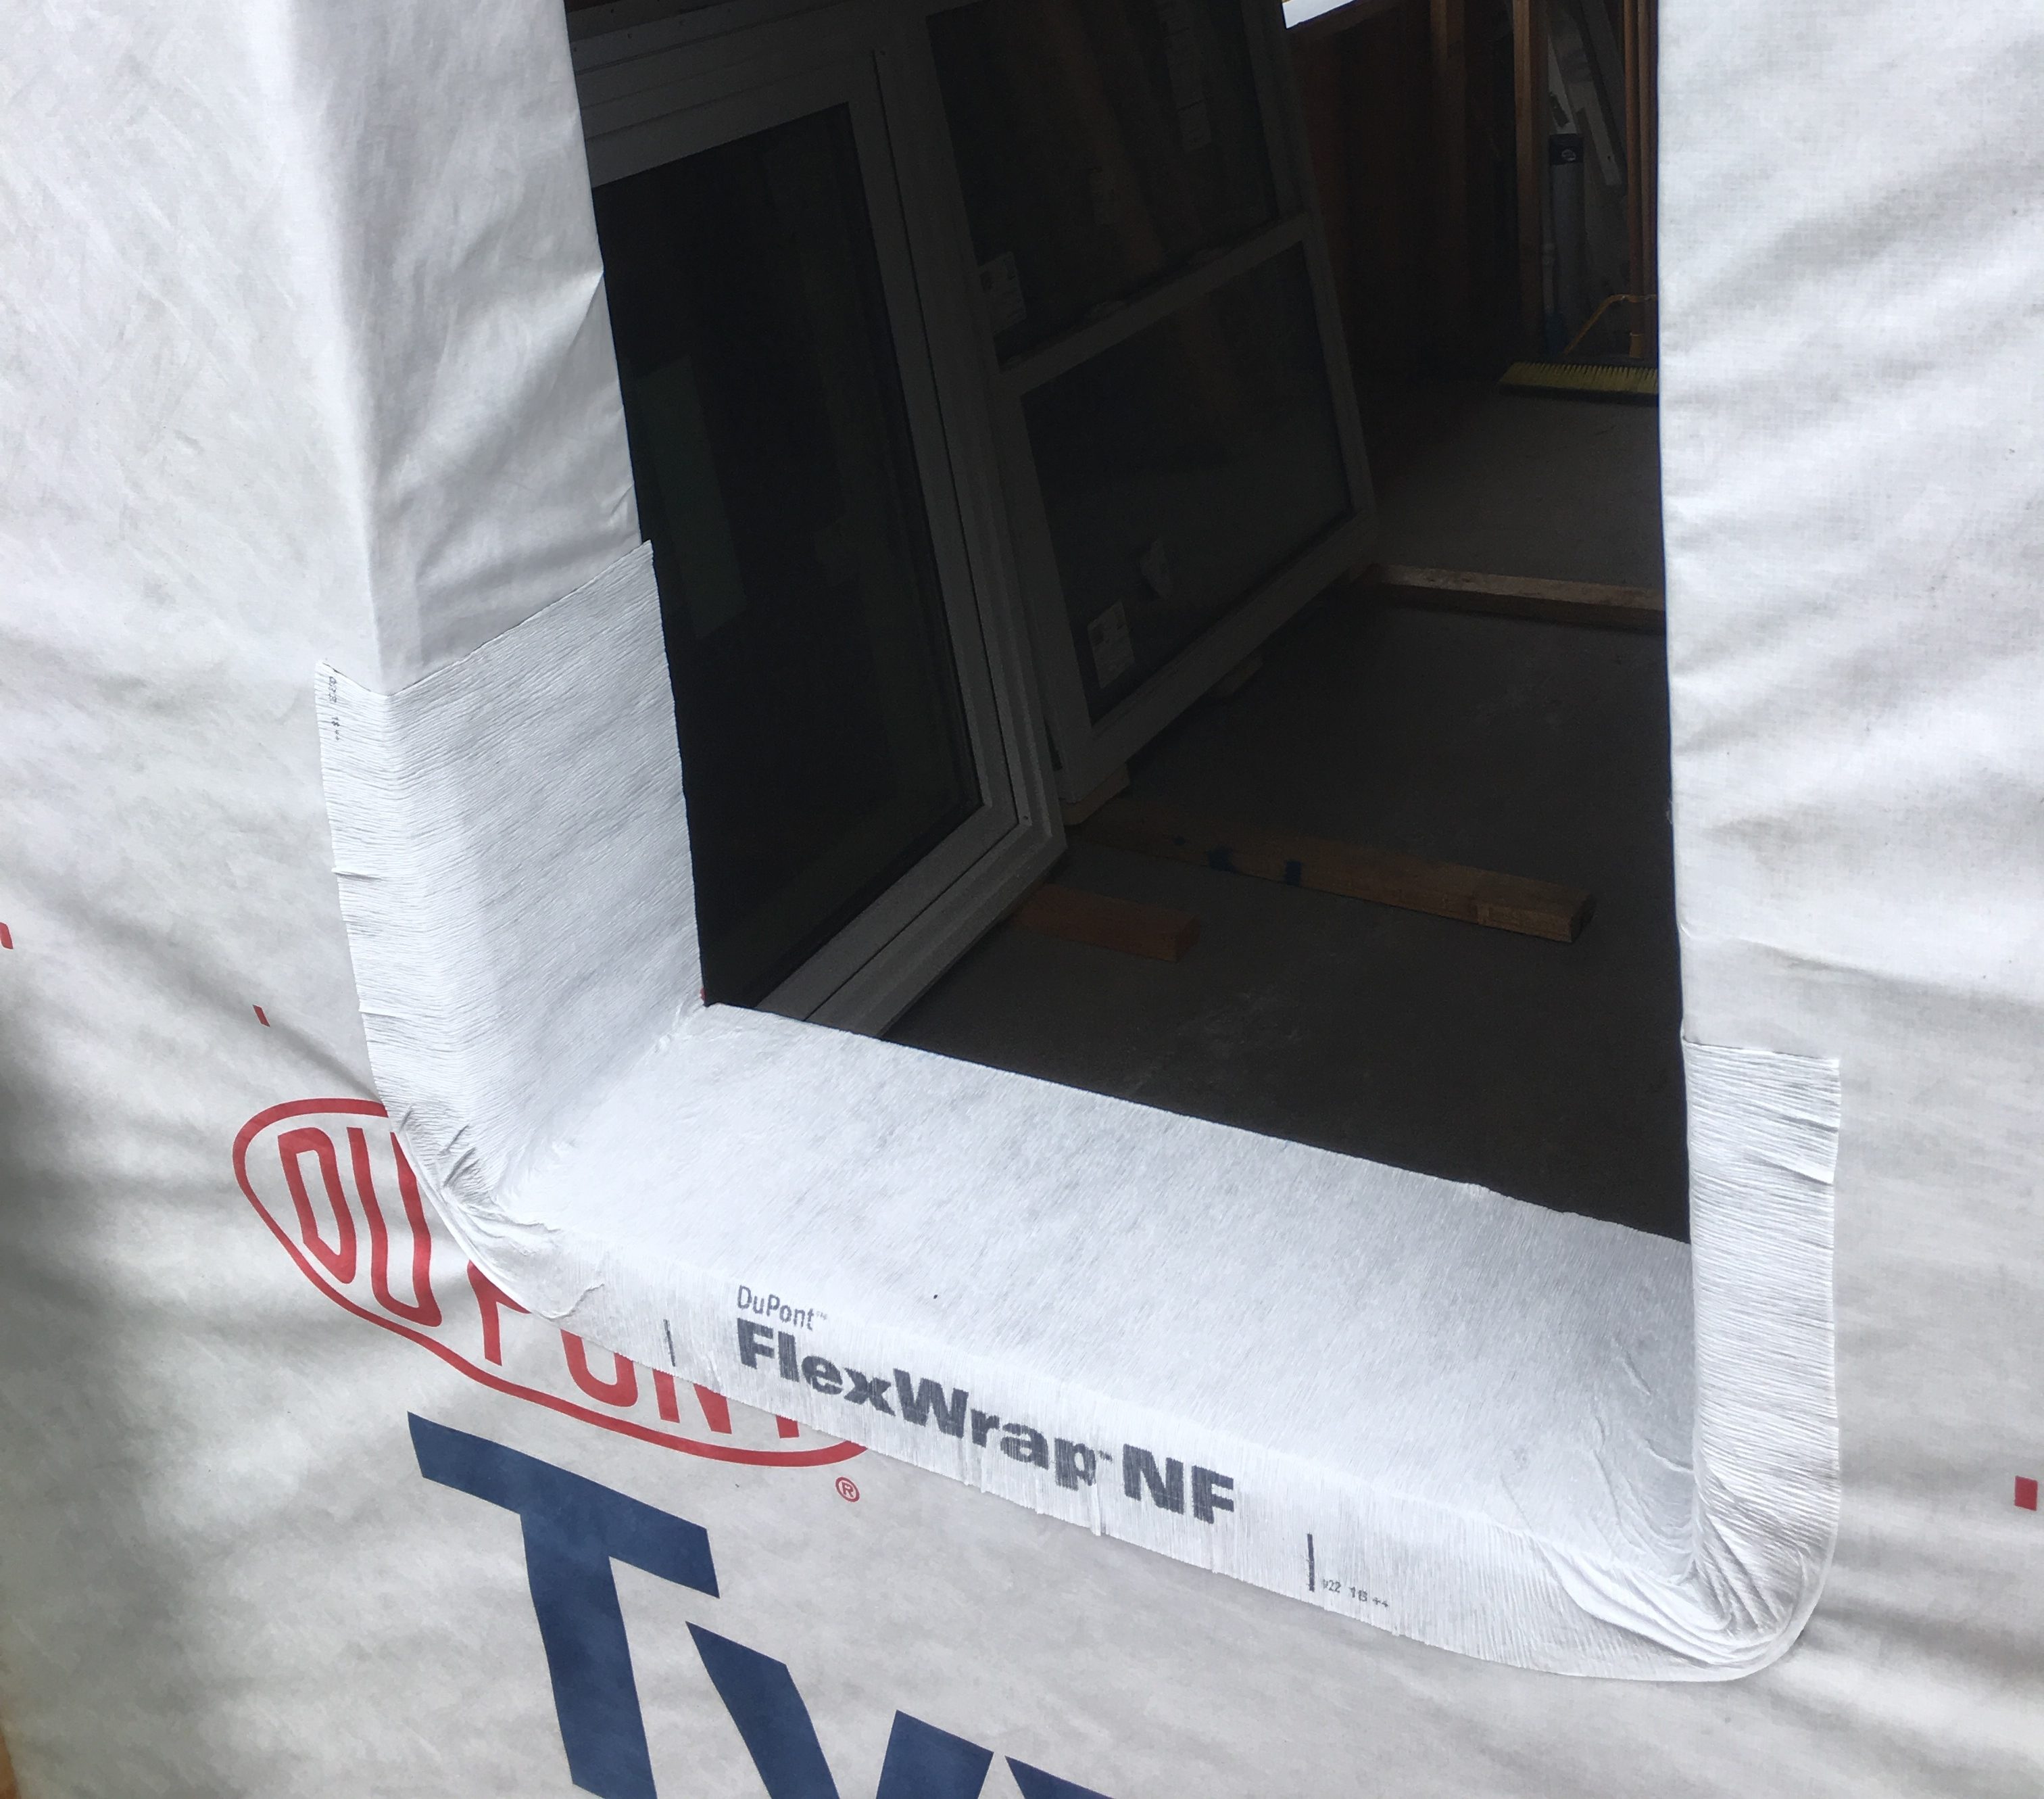
Step 4 – Attach a flexible peel and stick flashing membrane to the cedar. I used Flexwrap NF, which is specially made to wrap around the bottom corners of the window sill and make a nice, watertight seal.
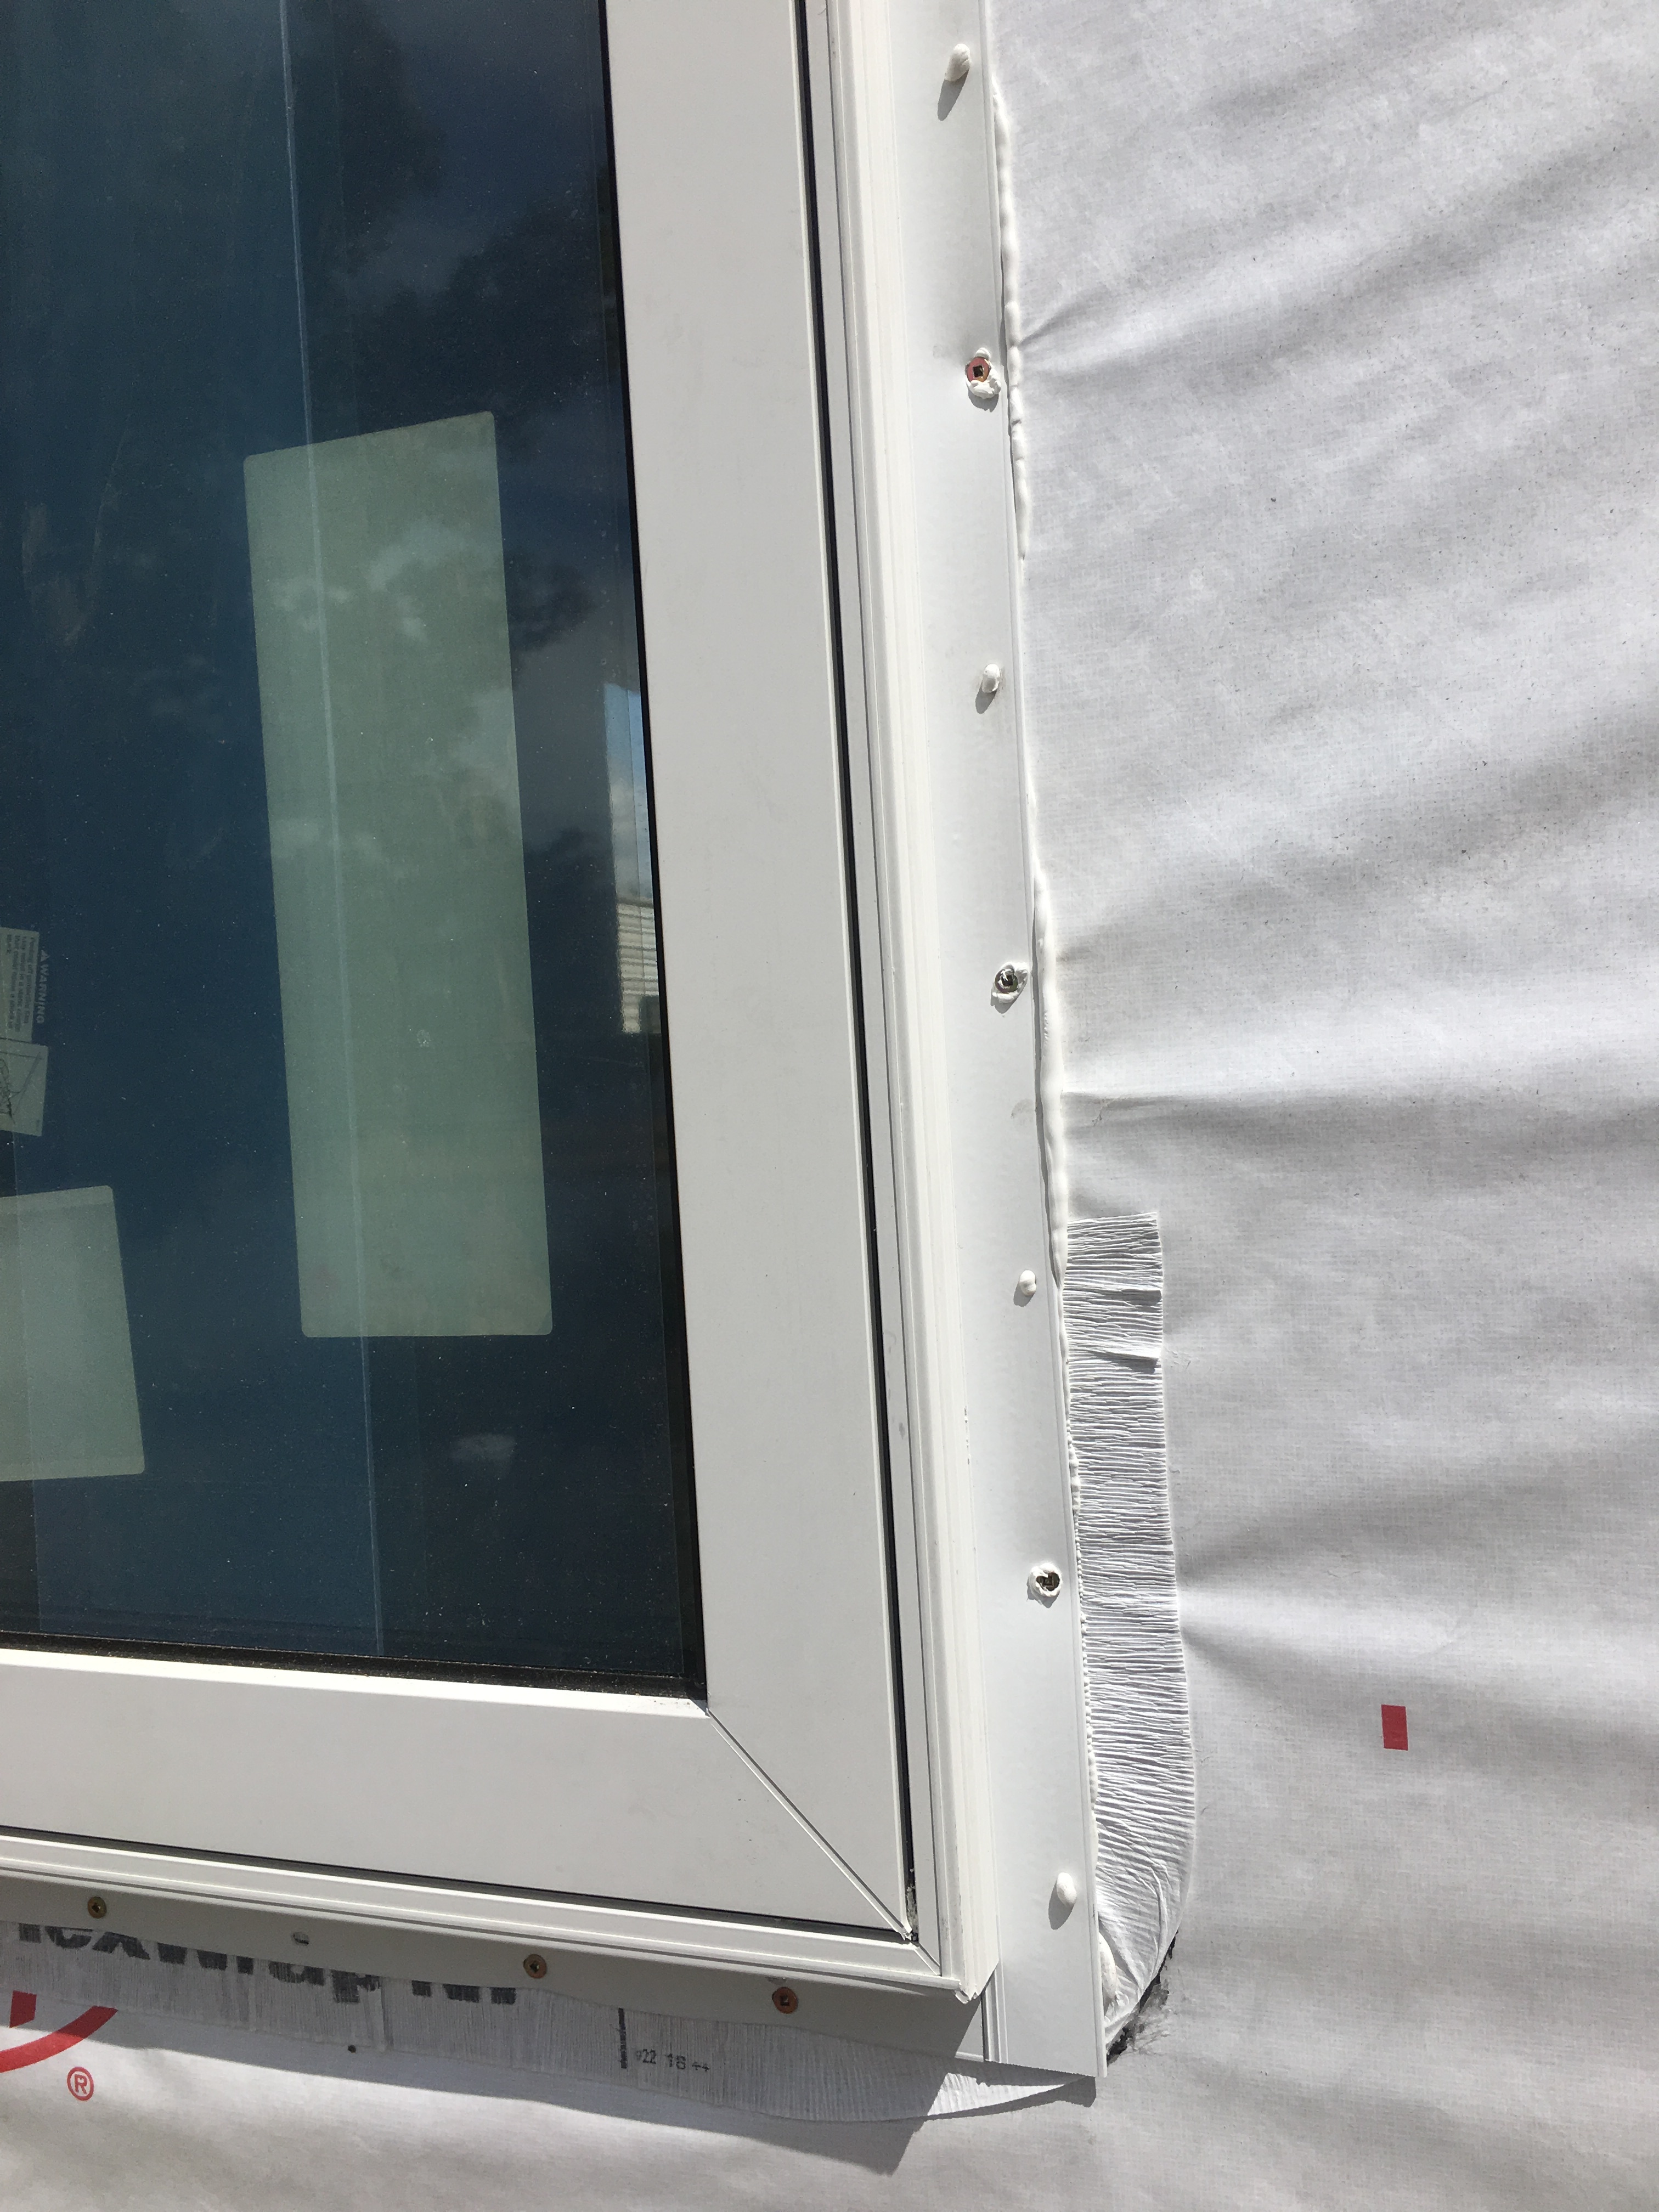
Step 5 – Caulk the nailing fins of the window and set it in place. Drive two screws into the top to hold it in place. Make sure to press the window into the opening so that the caulk makes a tight seal.
Step 6 – Move to the interior and use shims to level, plumb, and square the window. Ensure there is a uniform gap in the rough opening (also called a reveal) around the entire perimeter of the rough opening (called the reveal)
Step 7 – Move back outside and finish screwing the nailing flange to the rough opening. I used 2 1/2″ long screws so they could go through the 1″ of foam and 1/2″ of sheathing and still penetrate the stud
Step 8 – Apply flexible peel and stick flashing over the side nailing fins of the window.
Step 9 – Apply flexible peel and stick flashing over the top nailing flange of the window.
Step 10 – Fold down the top flap over the top flashing and use Tuck tape to secure all edges of the fold to the wall.
Step 11 – Back on the interior of the window, use low expansion foam to seal the perimeter of the rough opening around the outside of the window.
I’ve got to thank those who helped me install the windows, especially the big ones on the second floor. A huge shout out to Nima, Charlie, Zach, Michael, and Manggo. There is no way this part of the build could have been completed without your help and I really appreciate it. Thank you so much!





Advice? Questions? I'd love to hear your feedback or help you out in any way I can!