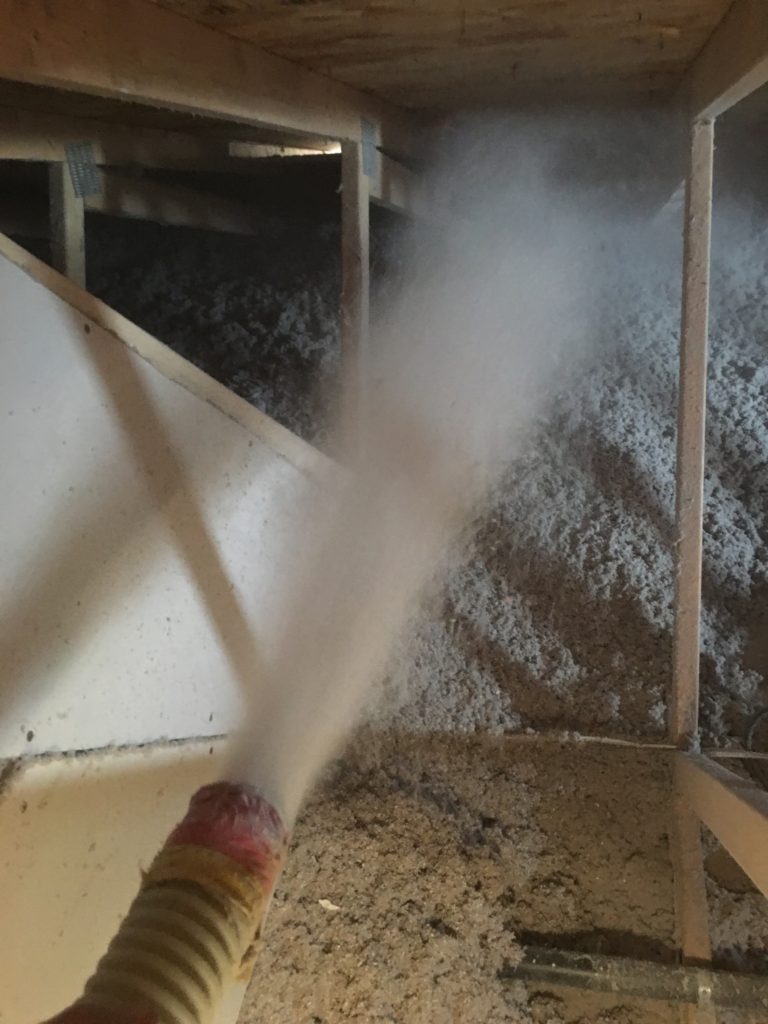
Step 22e – Install Loose Fill Cellulose Insulation
Insulating on your own with blown cellulose in the attic is one of the easiest DIY projects a homeowner can do to decrease their heating bill. There is basically zero prep work involved. You just go down to your local big box hardware store and buy some cellulose, and they will usually rent you the blower machine for free if you buy at least 20 bags or so. Have a friend load the bags of cellulose into the hopper while you point the hose into the attic and turn it on. It really is that easy to decrease your heating bill.

Of course, if you want to be more effective you can remove the existing insulation and check for air leaks first, but it certainly isn’t required. Another way you can improve the efficacy of the install is to mark trusses at the distance you want to insulate to so you can assure that the level of insulation is consistent across the entire attic. If you look at the bottom right of the picture above you can see how I marked the truss 16 inches up from the bottom with a black marker. 16 inches of cellulose equates to an R-value of 60, which is the recommended maximum effective amount.

My installation of cellulose was a little more difficult due to the conditioned attic. Above you can see the blower hose draped over the conditioned attic, and the baffles on the left creating the space for insulation. Below you can see how the entire space between the baffles and attic has been covered with insulation, while still leaving a 6 inch gap for air to move from the soffit vents to the ridge vents. As a reminder, the soffit vents are the ones at the bottom edges of the roof, and the ridge vent is at the top of the roof. Using soffit-ridge venting is the recommended best practice for ventilating attics, which is extremely important to maintaining a dry, healthy attic space.

You can see one of my soffit vents in the upper left of the pic below. Notice how the baffle I built way back before I even installed the roof works to ensure the insulation doesn’t block the flow of air through the vent.

Although it is a slow and dusty process, insulating an attic to R-60 with loose fill cellulose is an easy and satisfying job. This is the last step in insulating the house, and when you add it with the rockwool under the slab, the exterior continuous polyisocyanurate, the polyiso and foam on the inside of the rim joists, the extensive air sealing, and the dense pack cellulose in the stud bays, I am extremely confident that my house is now one of the top 5 most insulated houses in town. If my calculations are correct, the only heating source I will need to keep my house at a comfortable temperature year round is a Fujitsu 3/4 ton heat pump which costs less than $1600 and has a yearly operating cost of about $150.

Pretty cool matt, is this stuff super itchy? Also do you wear a mask while applying this ?
Not itchy at all. You do need to wear a mask, though, as it gets pretty dusty.
matt,
what is the sq ft. of your house?
thanks
Kyle
1592