Step 6b – Erect Concrete Forms
The average person doesn’t put a lot of thought into concrete forms, but building them correctly is an extremely crucial aspect of building your own home. If the forms are wrong, the concrete will be wrong, and you can’t build a good house on a bad foundation. It is one thing to make an incredibly detailed drawing on a CAD program in which everything is perfect and straight and level all the time. It is quite another to take a crumbly and uneven medium like soil and place forms that will be just as straight and level as the CAD drawing. I’ve thanked myself for sticking to a small footprint many times over the last few weeks as I trudge back and forth from my trusty builders level to the grade stake, fine tuning everything. The dimensions I chose for the footprint have worked out nicely as well, since (24′)2 + (32′)2 = (40′)2 Thanks to Pythagoras I can very accurately check to ensure my corners form perfect 90 degree angles by measuring the distance between them to be 40′. Before I explain what I did, it might help to visualize what the goal is. Here’s what I want to accomplish…

It may not jump out at you at first, but there are two distinct sections of the foundation. There is an 8″ stem wall at the top, and then a thicker 16″ footing below it. The soil will act as a form for the 16″ footing and the form boards will create the stem wall. Once the concrete has been poured and partially cured for the portion above, a second pour will create the flat slab inside. To create the shape above, I cut a couple small 9″ blocks to hold the form in place while I screwed it to the nail stakes. I chose 9″ because the footing needs to be a minimum of 7″ deep and I wanted just a small buffer in case any dirt caved in between the time I level the forms and the time the inspector comes to check the depth of the footing. With the unfortunately sky high concrete prices in the area I will pay about 200 dollars for this buffer but I’ve decided it is worth it. I set each form on the blocks and then lifted it up just slightly before screwing it to the stakes I had pounded in. The extra lift at the end is something I learned from my mentor. It is quite simple to nail in a stake just a bit more to lower the form, yet even with incredible strength it is virtually impossible to pull one out of the ground and expect it to stay there. By nailing the form to the stakes just a bit higher than they needed to be I was able to easily fine tune the forms by pounding a stake down just a bit here or there.

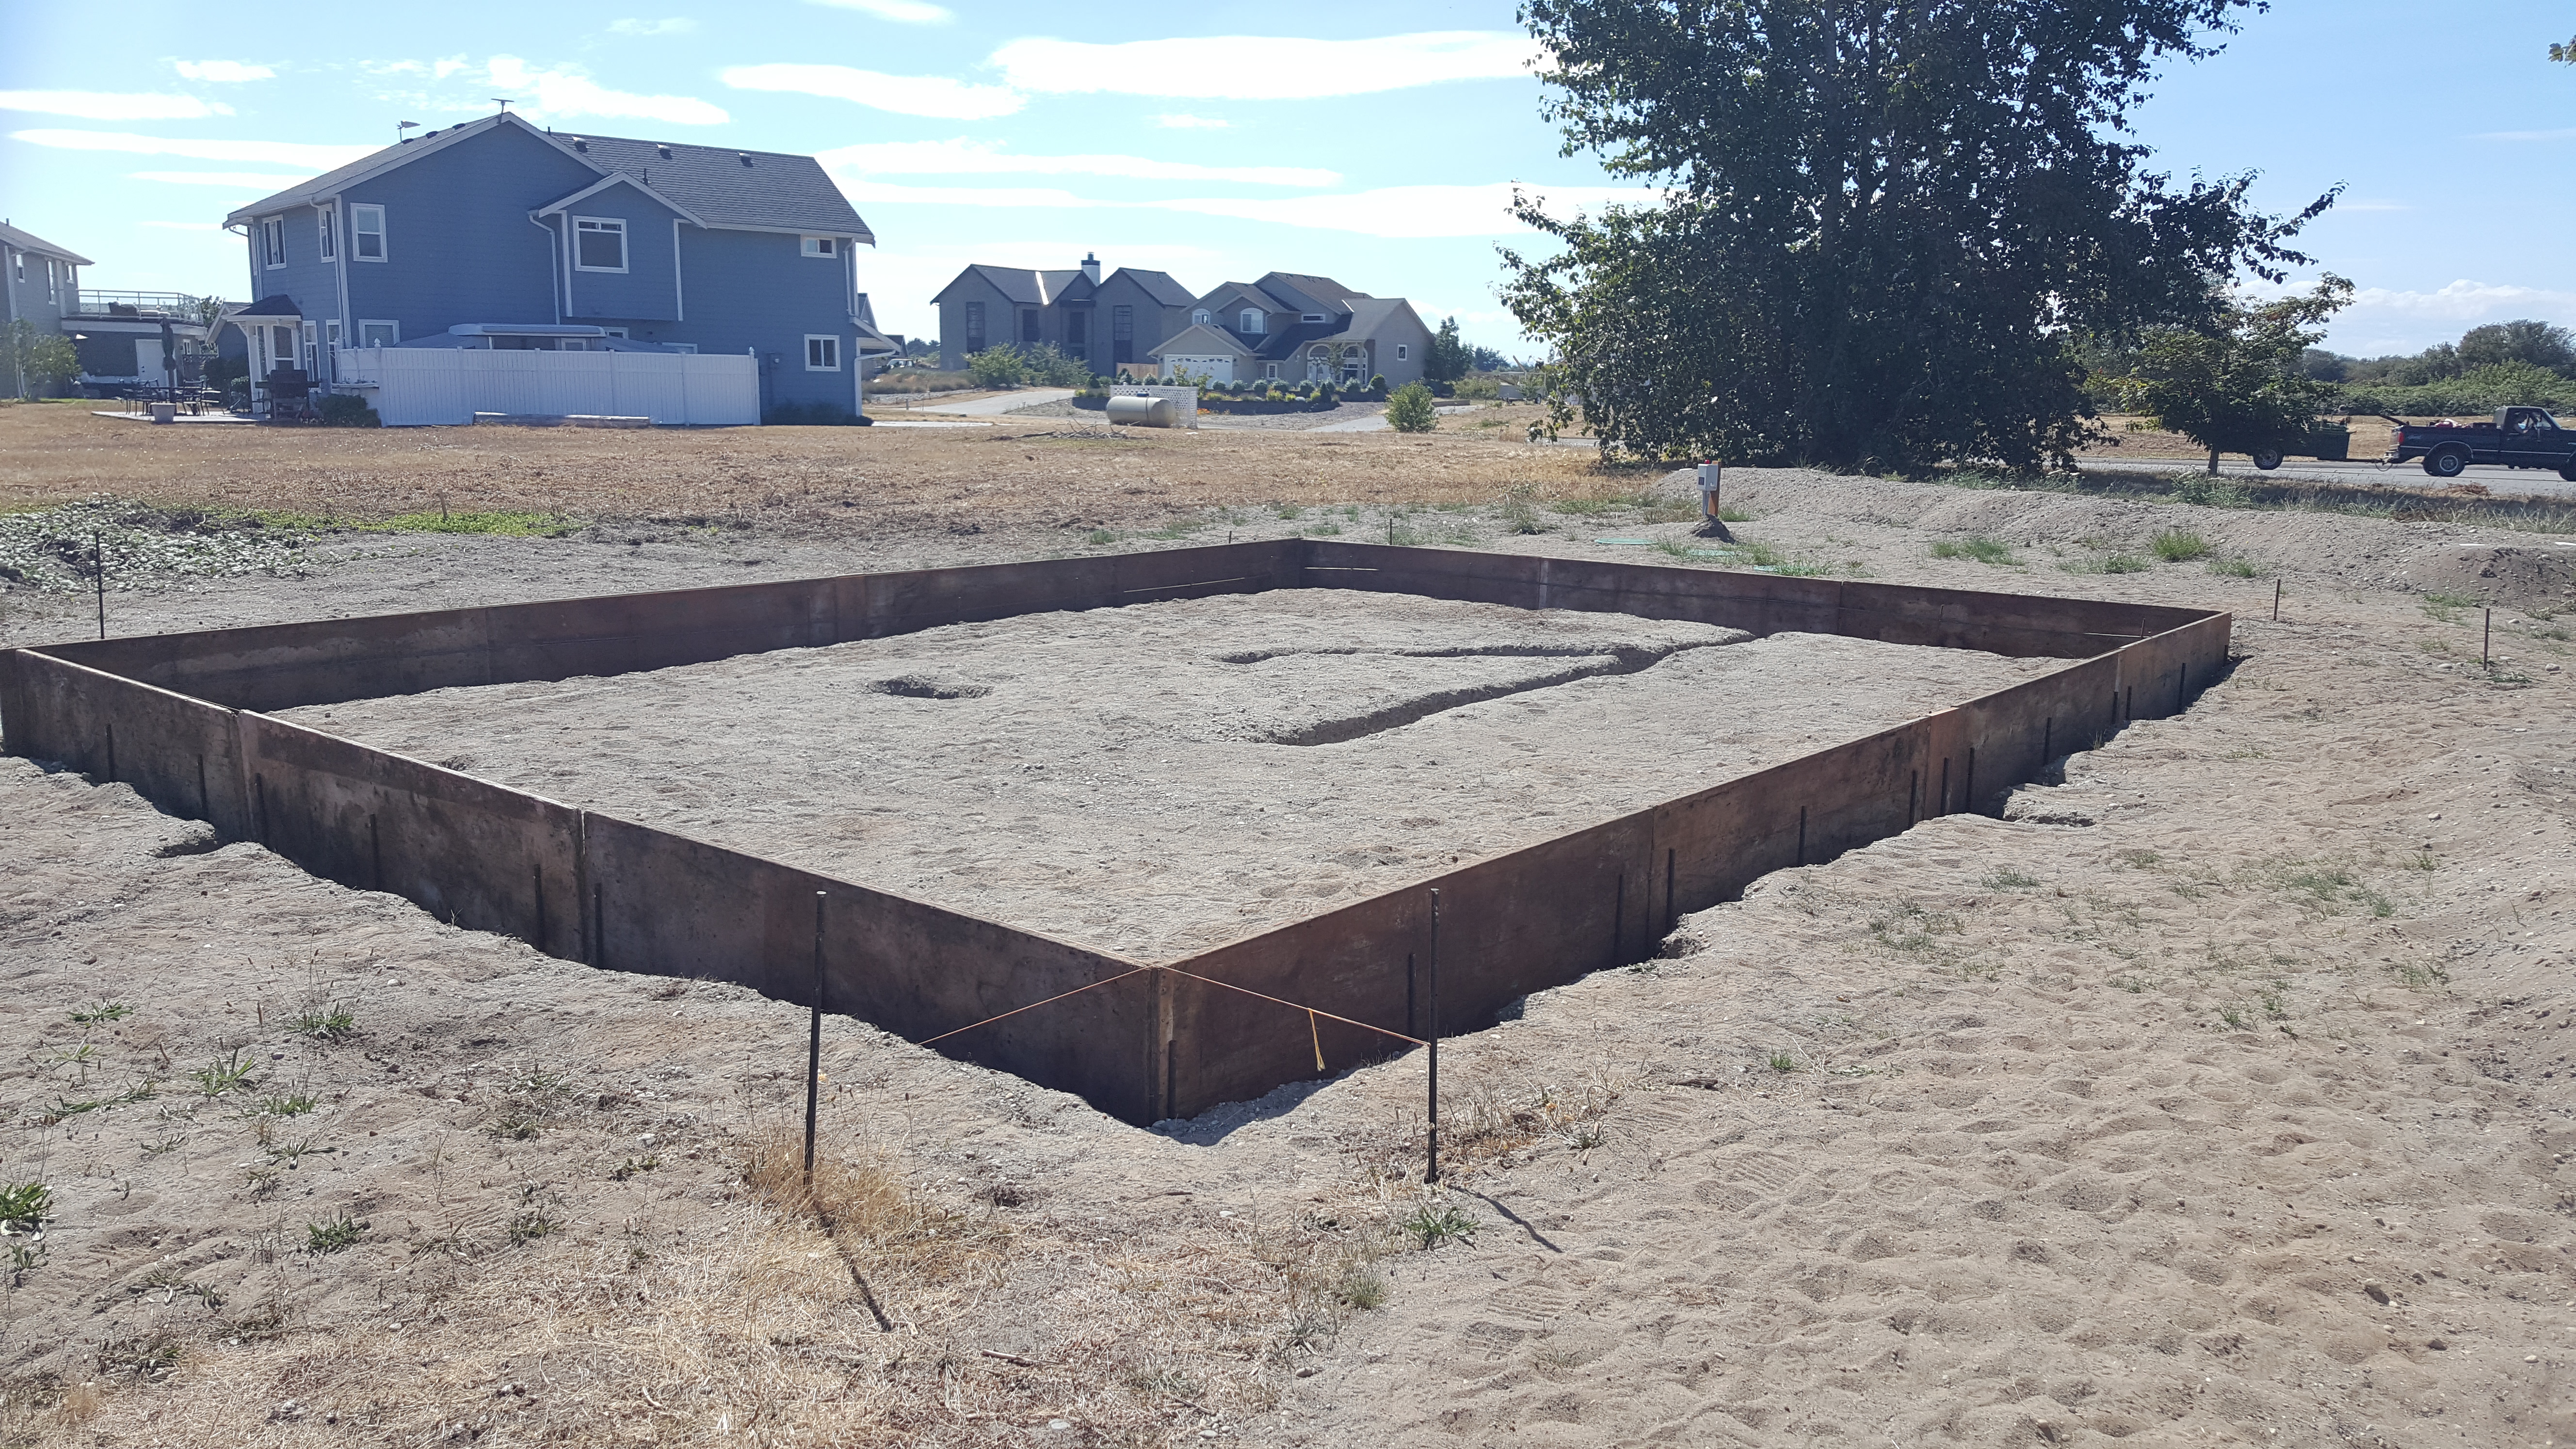
I used the builders level to decide how much extra to pound each stake in. I used a couple clamps and a small 2×4 as a jig to hold the grade stake straight on top of the form and then checked the height with the level (you can just make out the grade stake on the upper right corner of the forms in the pic below). Using this point as a reference, I worked my way around the perimeter, clamping the grade stake on top of the form, checking the height against the reference height, pounding the nail stake holding the form down a bit if needed, and then rechecking the height with the level. Once all the forms were level, I measured the lengths of each side and then measured the diagonals to ensure the sides were squared to each other (as I explained above).

Although they are called nail stakes, I decided to use screws to attach the forms. The screws are more expensive, but are easier both to install and to remove once the concrete has been poured. With any luck I will be able to remove them in good condition and reuse them later on in the build.
Advice? Questions? I'd love to hear your feedback or help you out in any way I can!