Step 14 – Finish the Roof
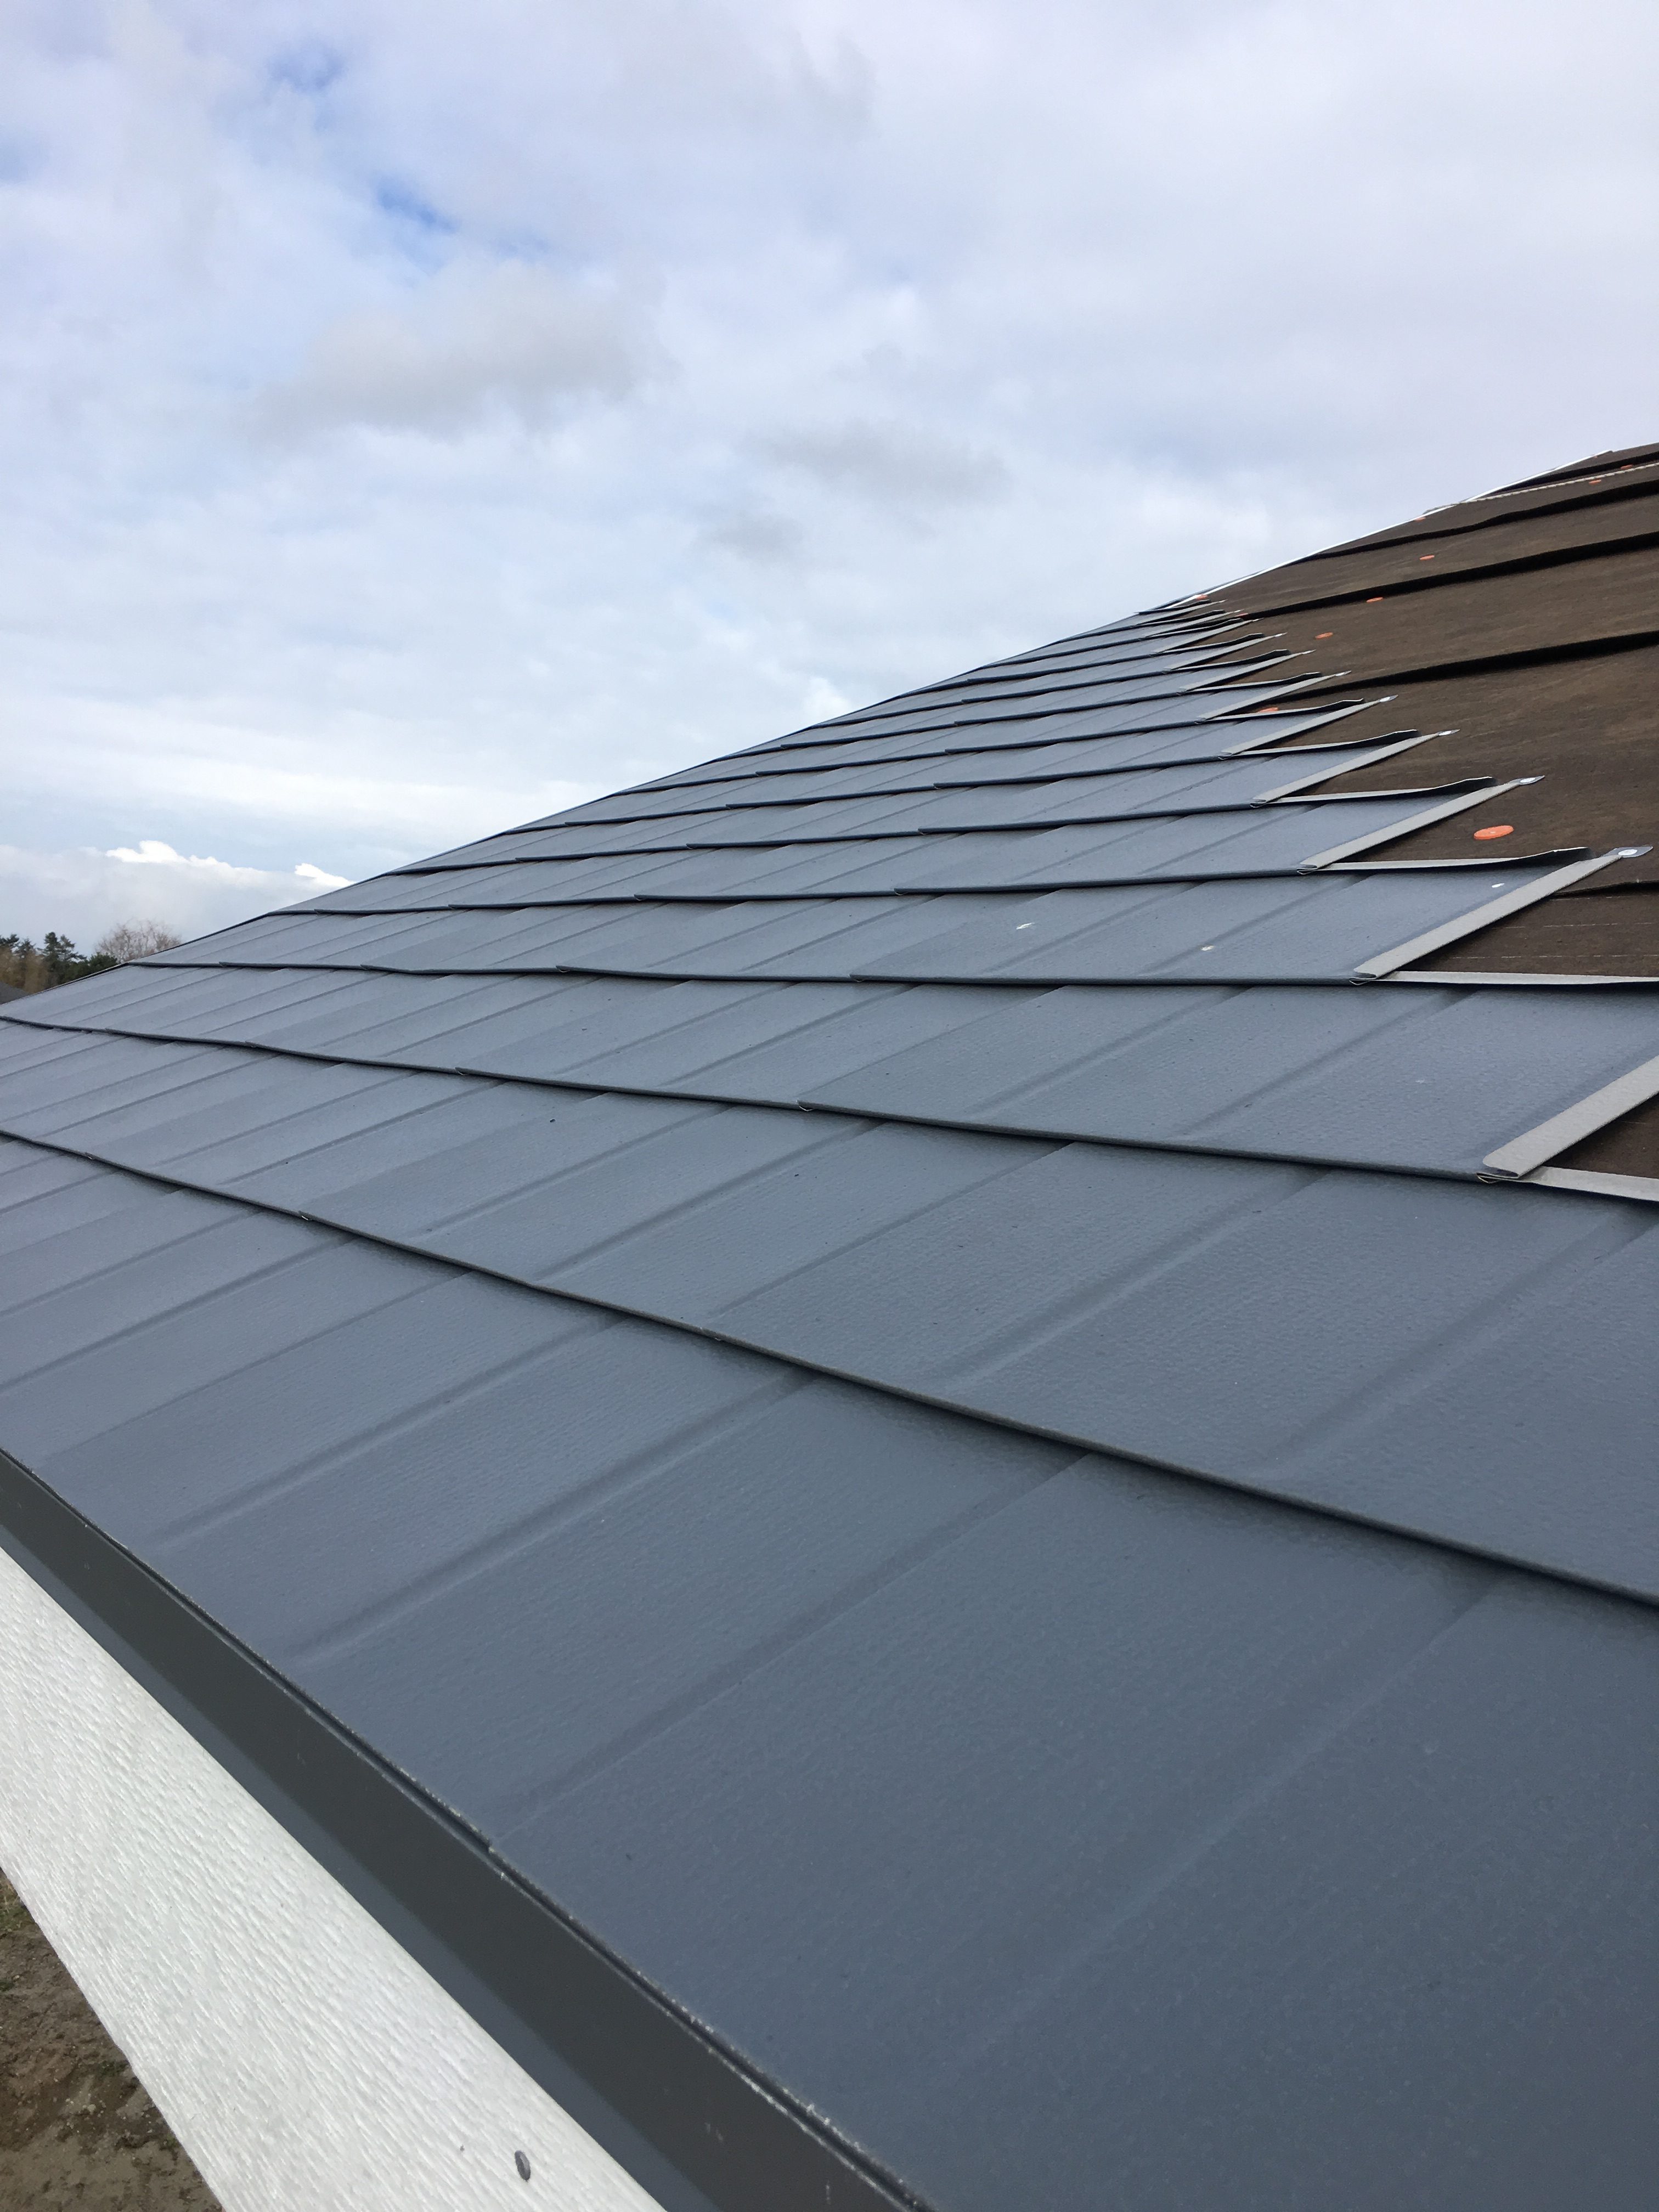
The company I purchased the aluminum shingles from had 11 different instructional videos on youtube, so after watching them multiple times I had a really good grasp on how to install them. It really is impressive how they all interlock together on all four sides, and yet all of the nails used end up getting covered by other shingles!
I had already installed the drip edge and underlayment a few weeks earlier, and even with some high winds and snow they looked to be in good condition. All of the nails I had used to install them will be covered up by the shingles as well. This is really important because the aluminum nails I am using don’t make a watertight connection. The shingles will prevent water from penetrating through the drip edge where the nails are.
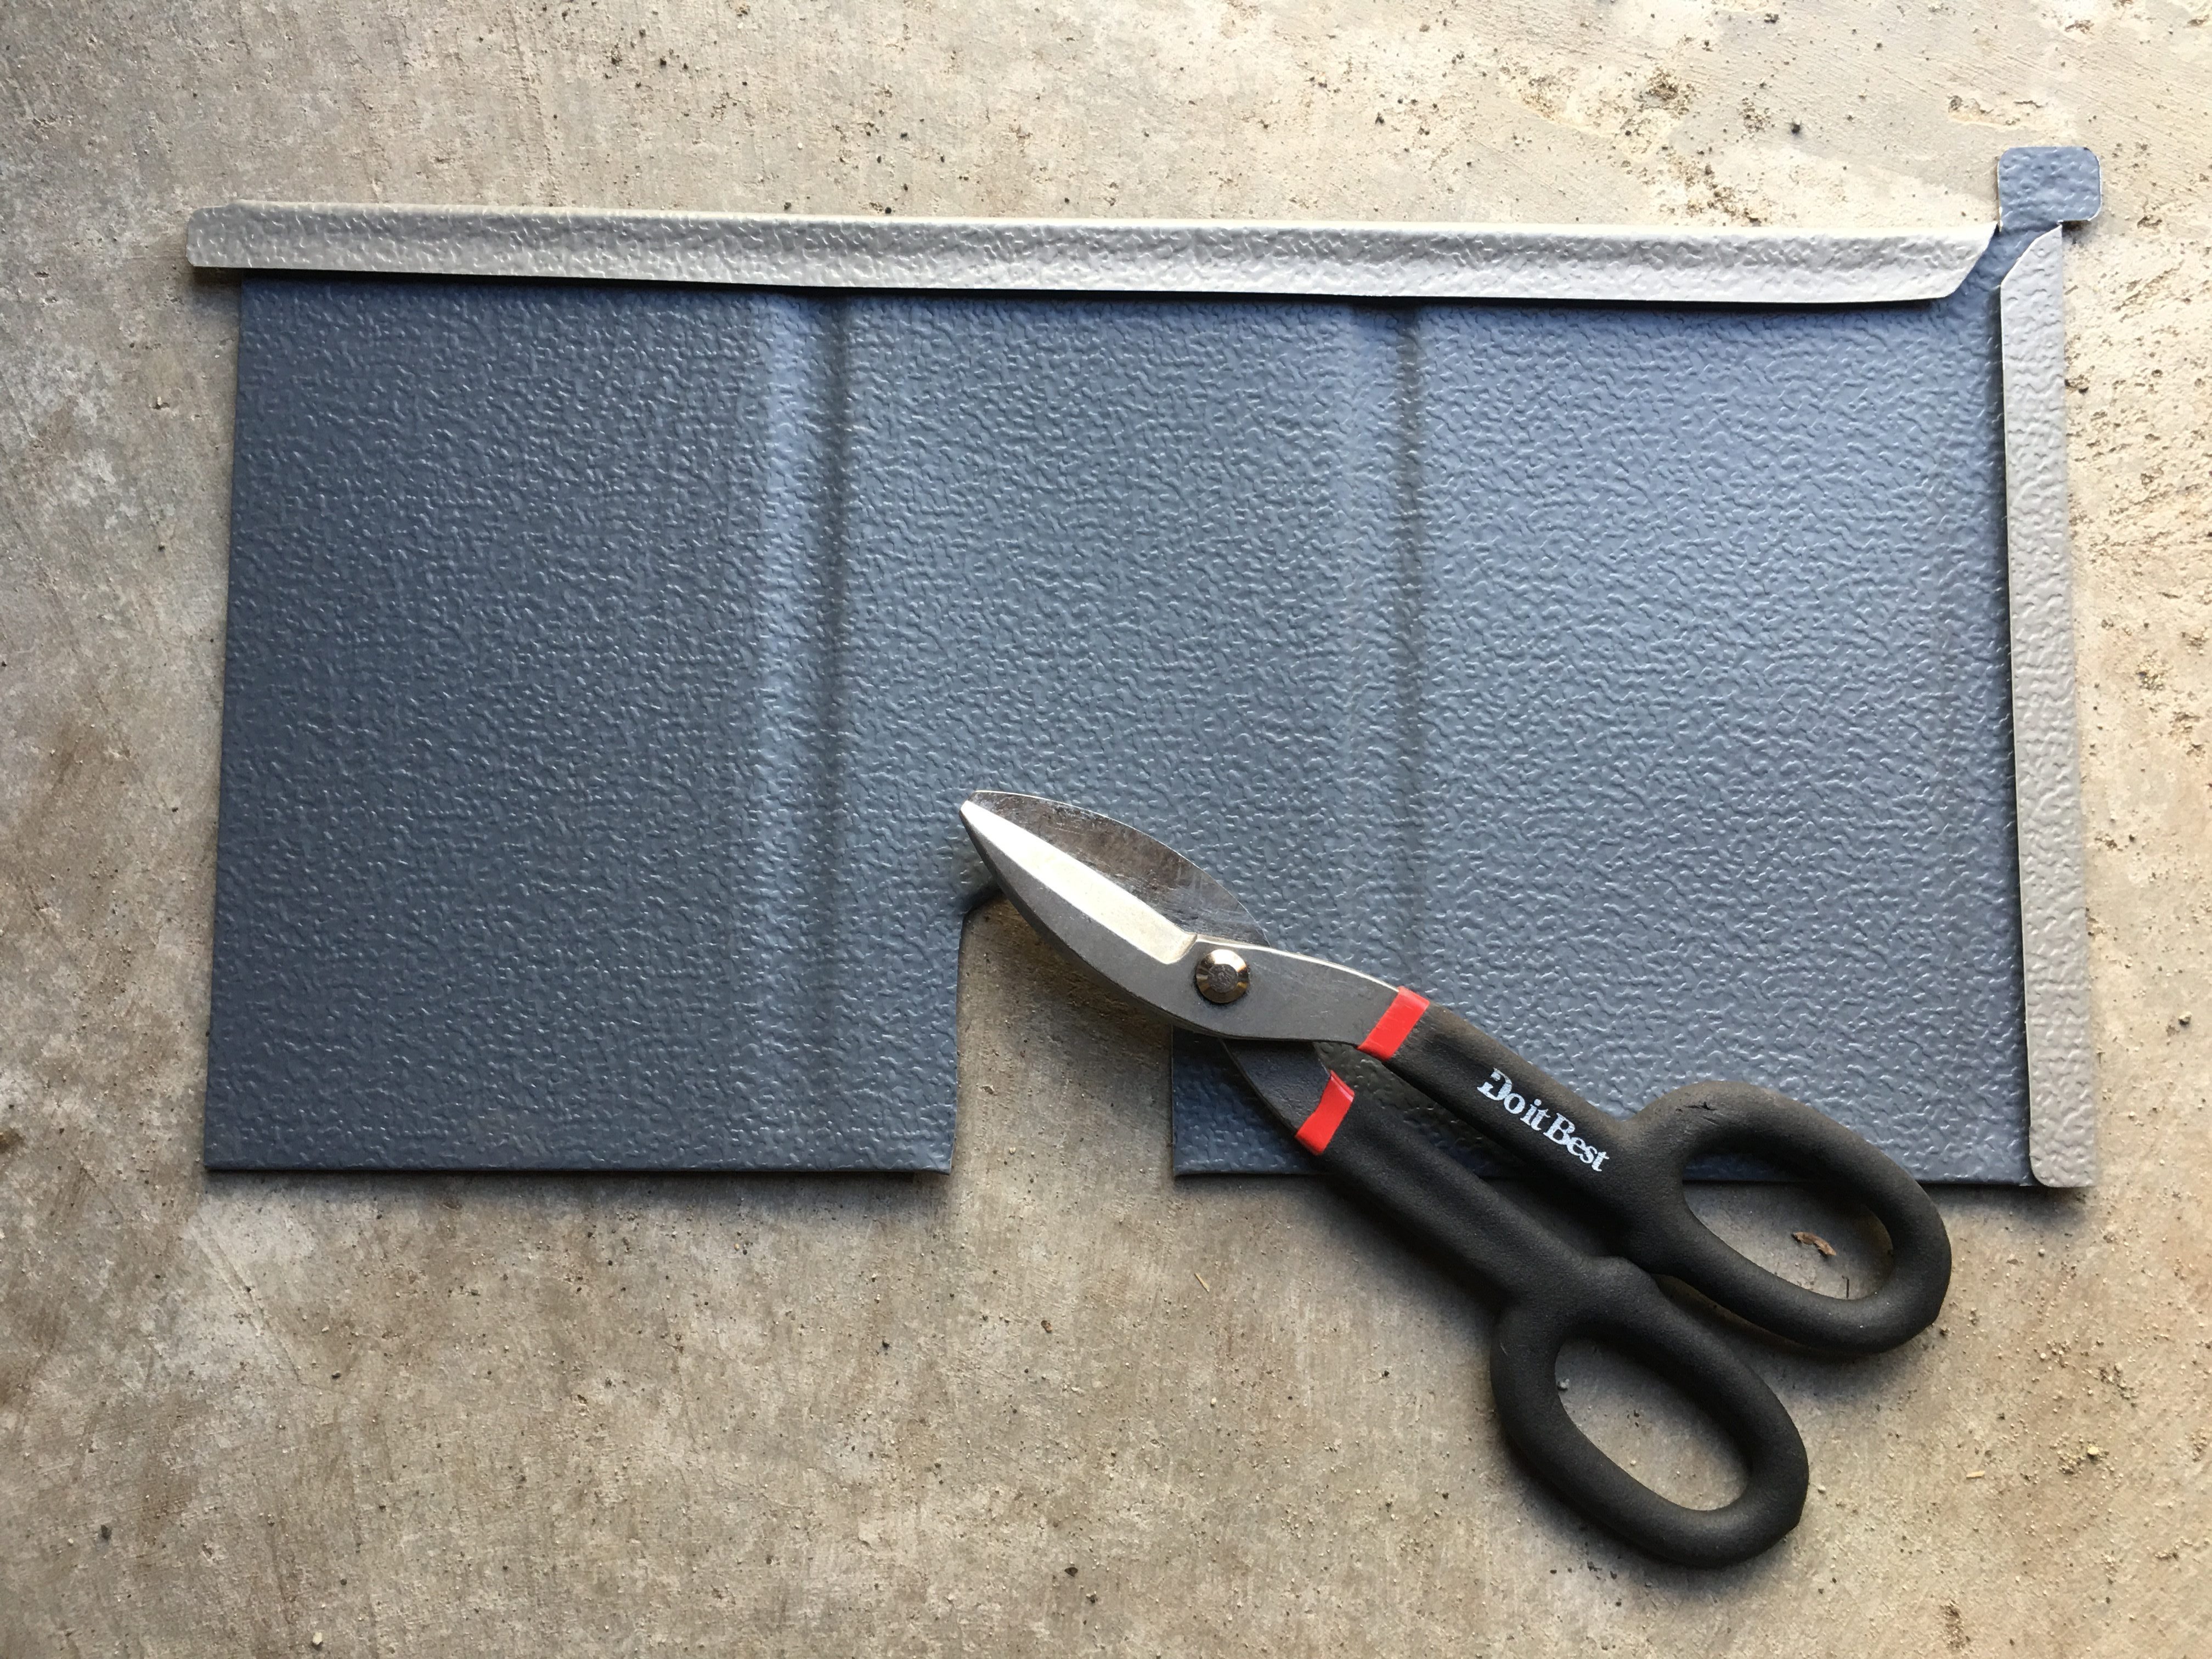
 There is only one way to install the interlocking shingles and that is to start at the lower left corner of the roof and work your way to the upper right corner. The first shingle must be cut in half, and then you have to cut off some of the shingle so it fits into the gable end drip edge. This wasn’t explained directly in the videos because the roof in the installation videos was primarily a hip roof, whereas mine is a gable. However, they did show how to end a shingle on a very small section of a gable and I was able to figure out how to start from a gable based on that.

The next shingle needs no modifications and just locks into the drip edge and the first shingle. The third is installed directly on top of the first, and the same parts must be cut off. This pattern is simply continued until you get to the other side. The first shingle in each diagonal row locks into the drip edge, and then you shingle up until you get to the one that locks into the gable. One important detail was mentioned very briefly in the video but I didn’t realize how important it was until I was through the first six shingles. I was having trouble getting them to line up straight so I watched the video again and realized what I was doing wrong. Each row of shingles is attached from bottom at the eave to the top at the gable, but then they are nailed down from top to bottom. I had been nailing them at the same time as I attached them and that small change made quite a difference in the quality of the installation. I removed the last row and reinstalled them correctly.
With each row I got a little more efficient at installing the shingles and my speed quickly increased. Before I knew it I had reached the top of the roof. At this point, instead of finishing a row into the gable end, I simply cut off the top shingle at the roof ridge and nailed it down. The ridge caps will cover these nails when I install them at the end. I continued with the diagonal rows of shingles until I reached the opposite gable end. Now instead of starting at the eave, each row started at the gable end. Just as with the shingles on the other gable end, some cuts had to be made to allow the shingle to lock into the gable drip edge.

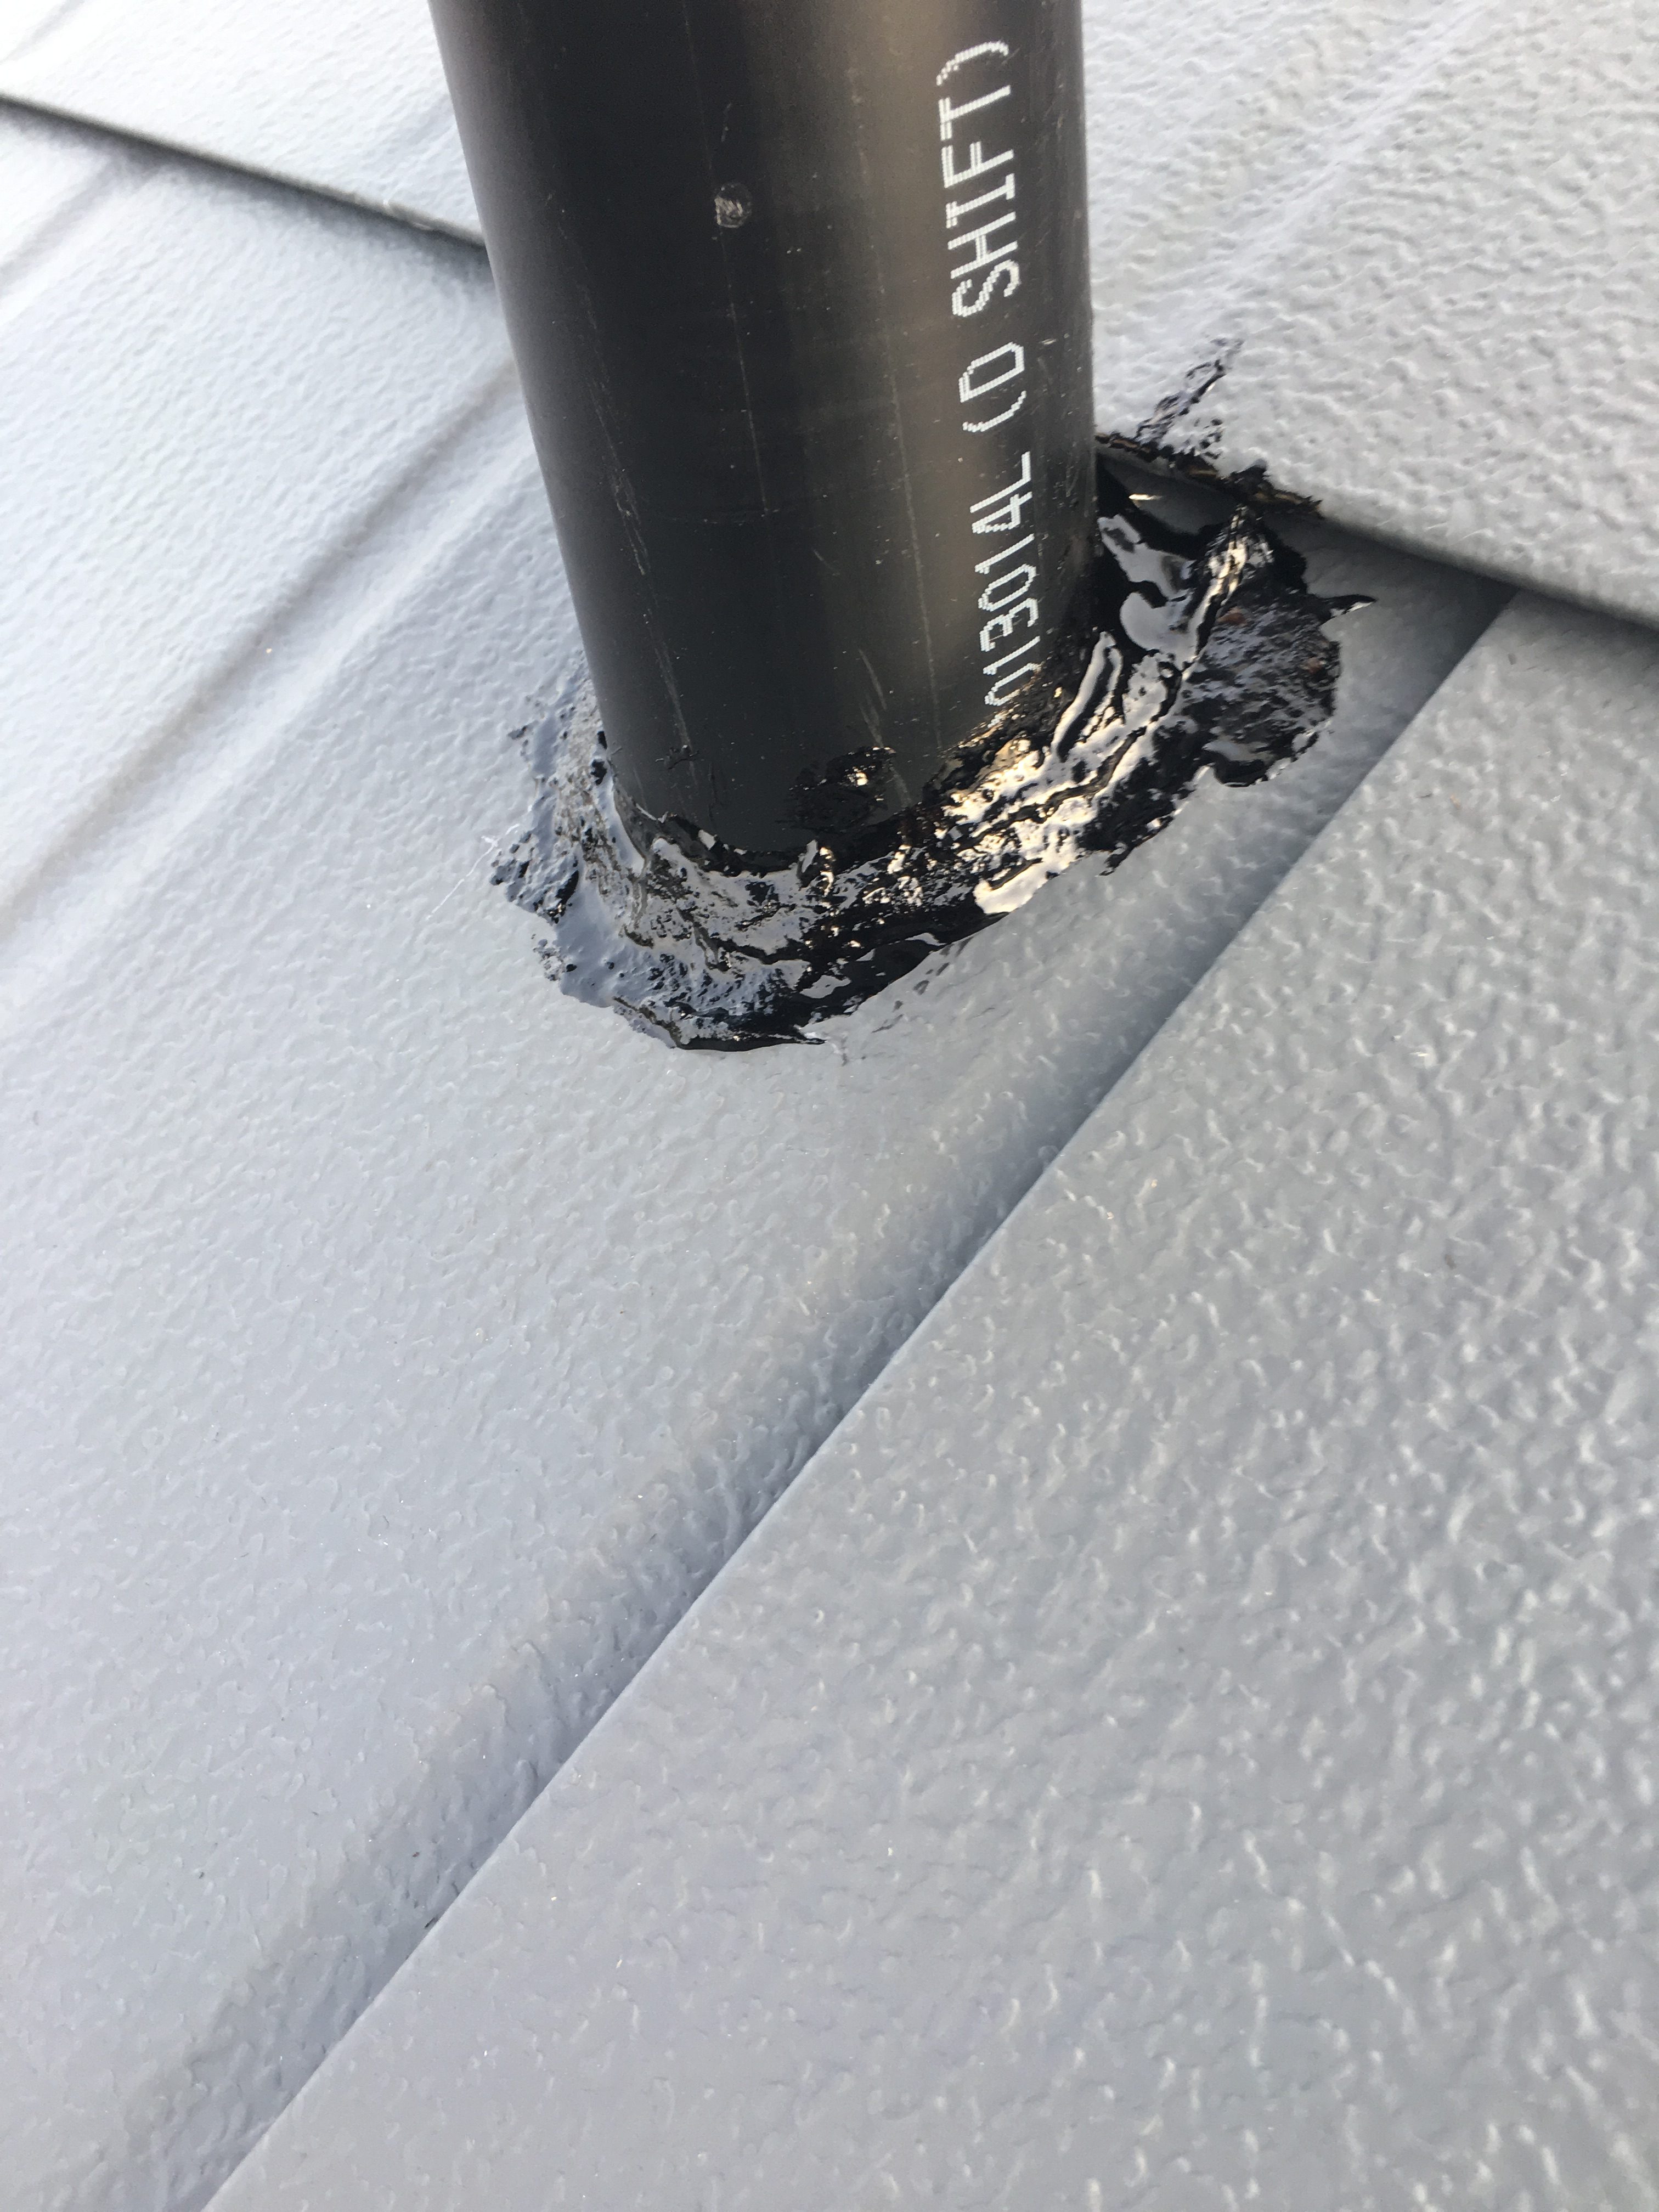
The opposite side of the roof was installed in precisely the same way. On this side instead of the Soladeck, I had the vent pipes to deal with. I cut the shingles to fit around them and applied a thick bead of heavy duty roofing sealant around the opening.
Then I slid the vent flashing down over the top of the ABS pipe, tucked the top side under the shingles above, and left the bottom side over the top of the shingles below. I nailed the flashing down with aluminum nails and used a clear sealant to cover the tops of the nails.
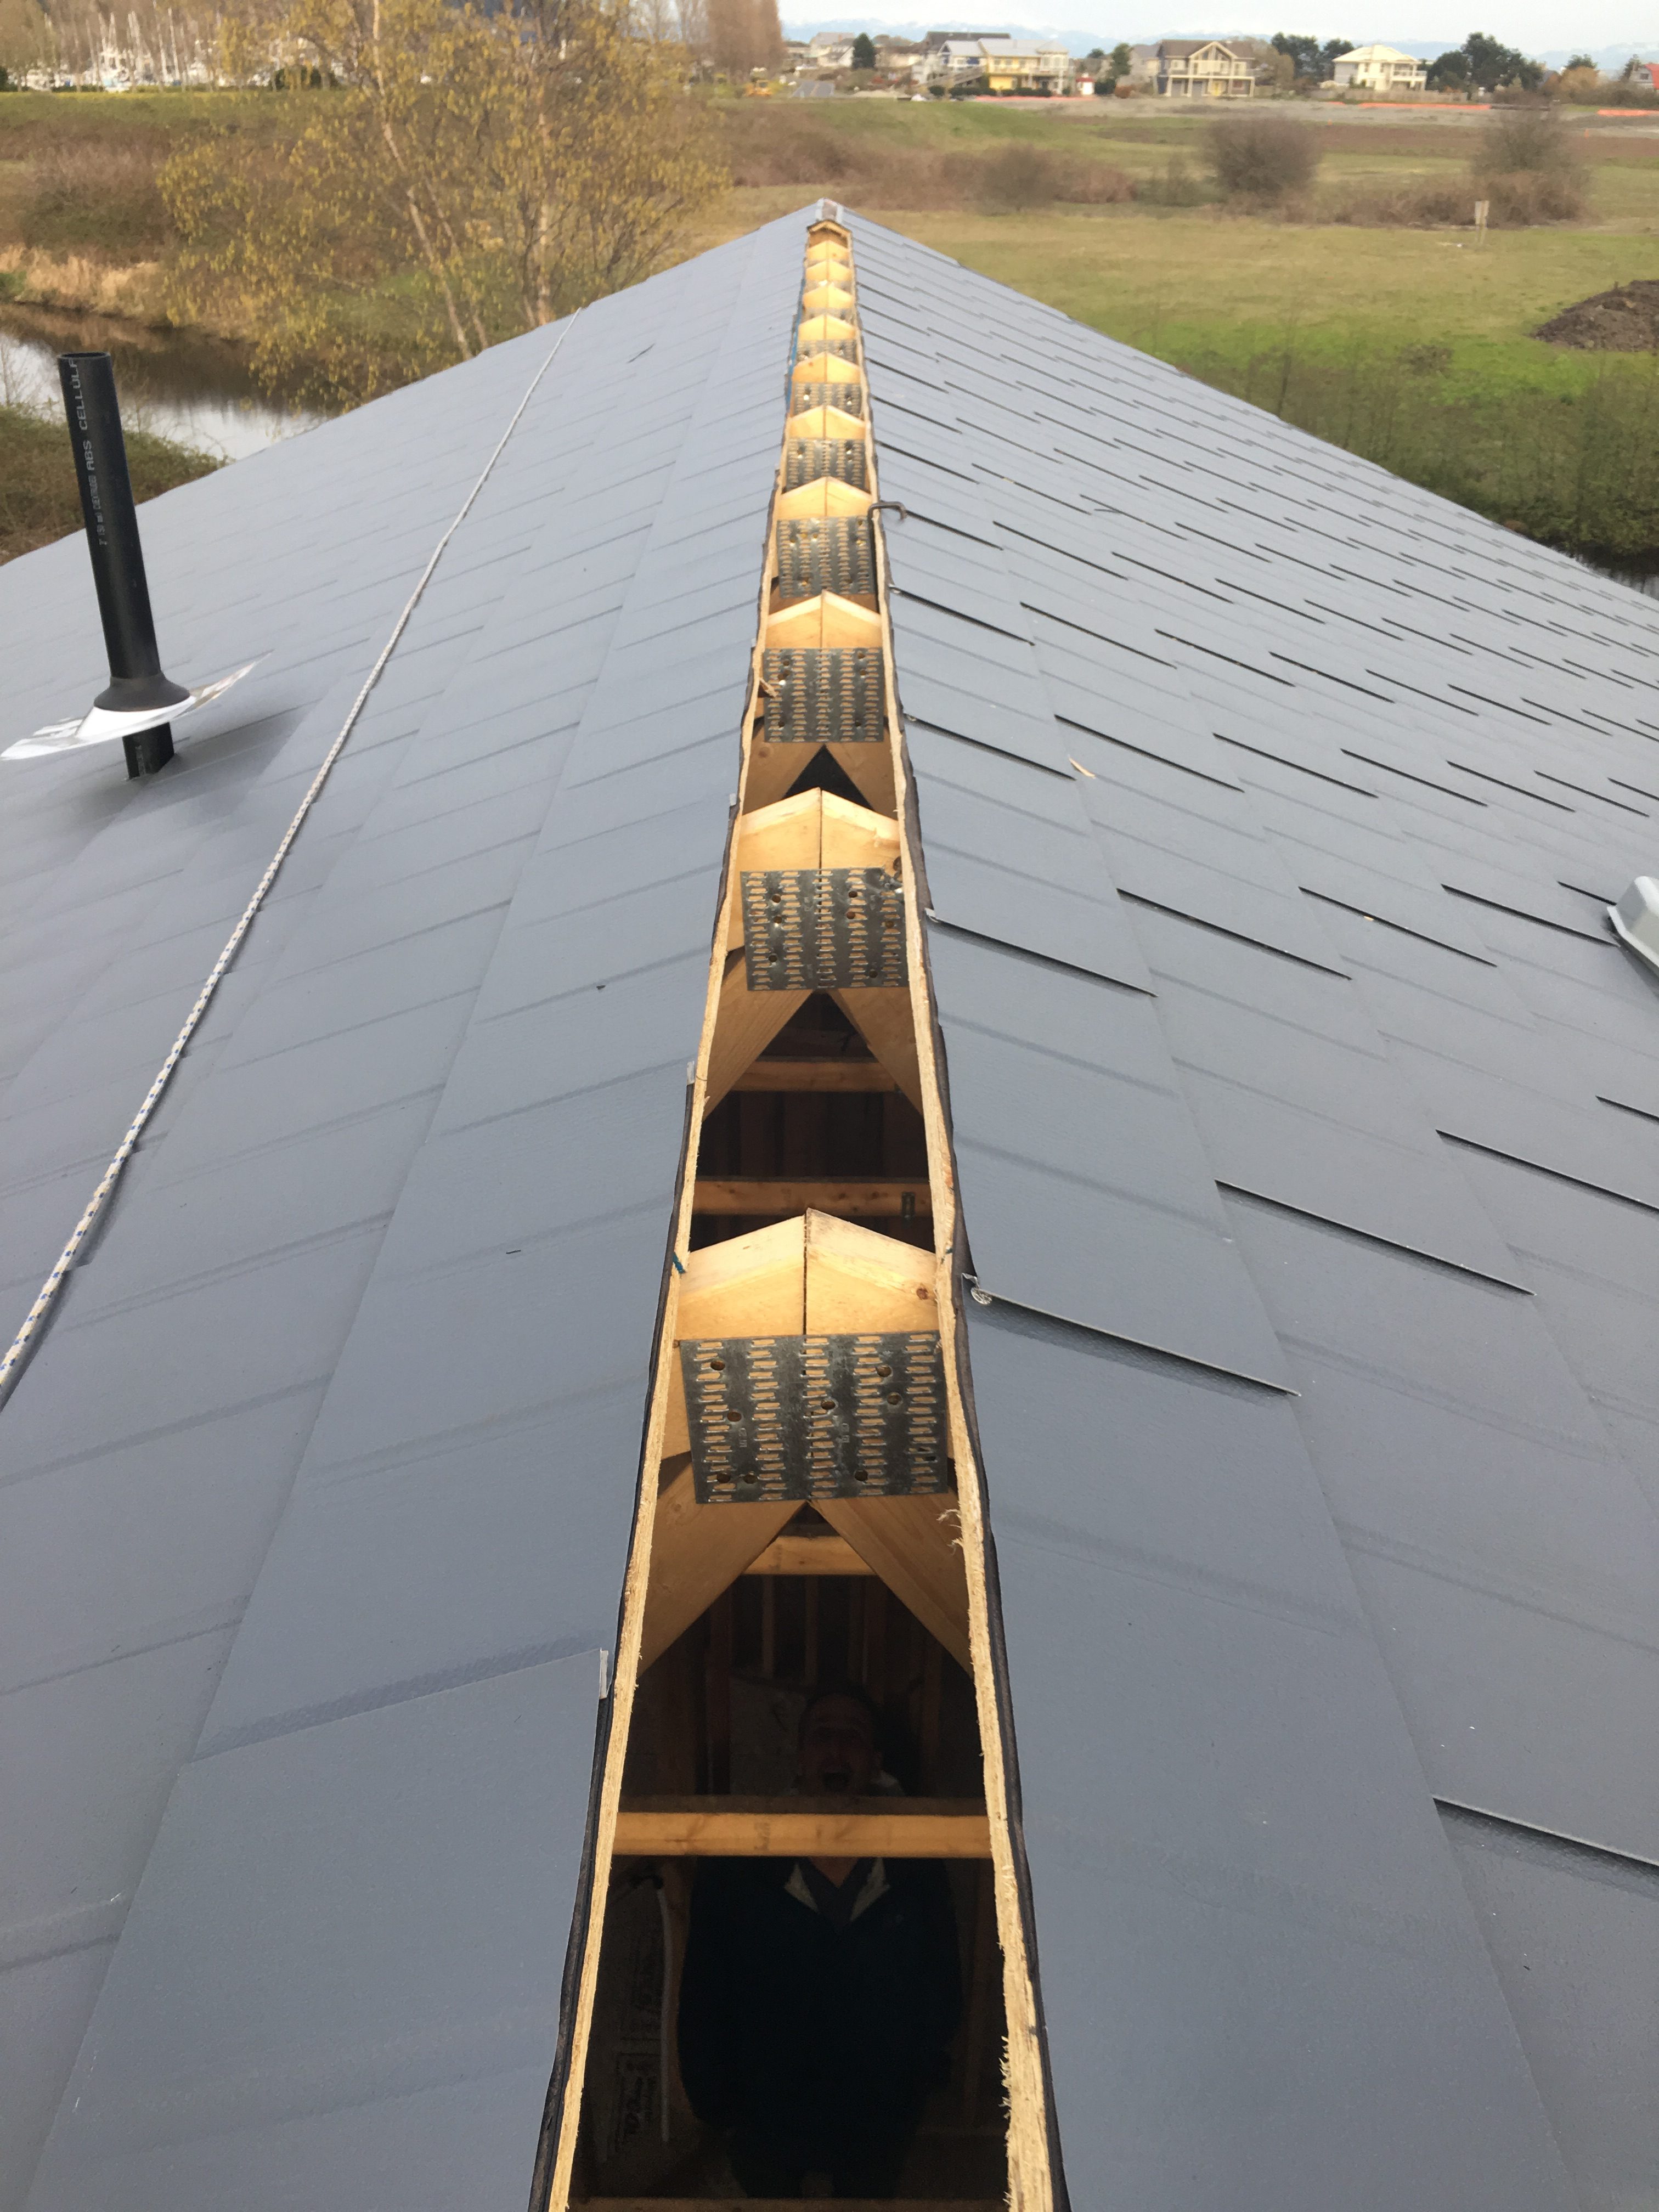
After both sides were completely shingled, I used a knife to cut out the underlayment to create an opening for the ridge vent.  I filled this area with a special roof ridge underlay that allows air to pass through but keeps particles out. I then covered it with the aluminum ridge caps, which also interlocked together. The first one slides into the gable drip edge and the other side gets one nail on each side. Each successive ridge cap covers up the nails from the one before it, and then the last piece is trimmed so it tightly slides under both the gable drip edge and the shingle that came before it.

I was extremely happy to see how the roof turned out. Standing on top and scrutinizing my work, I can definitely spot some areas that aren’t that straight. The above picture shows you the flaws that I see. However, from the ground the roof looks amazing and I’m very proud of the job I did with zero experience with this type of roof whatsoever. I would recommend the Permalock system to anyone who wants a beautiful roof that will last at good price.


Congratulations!! great job!! Who is the manufacturer of this tile?
Sorry about the late reply George. It is made by Permalock