Step 18b – Complete the Deck Frame
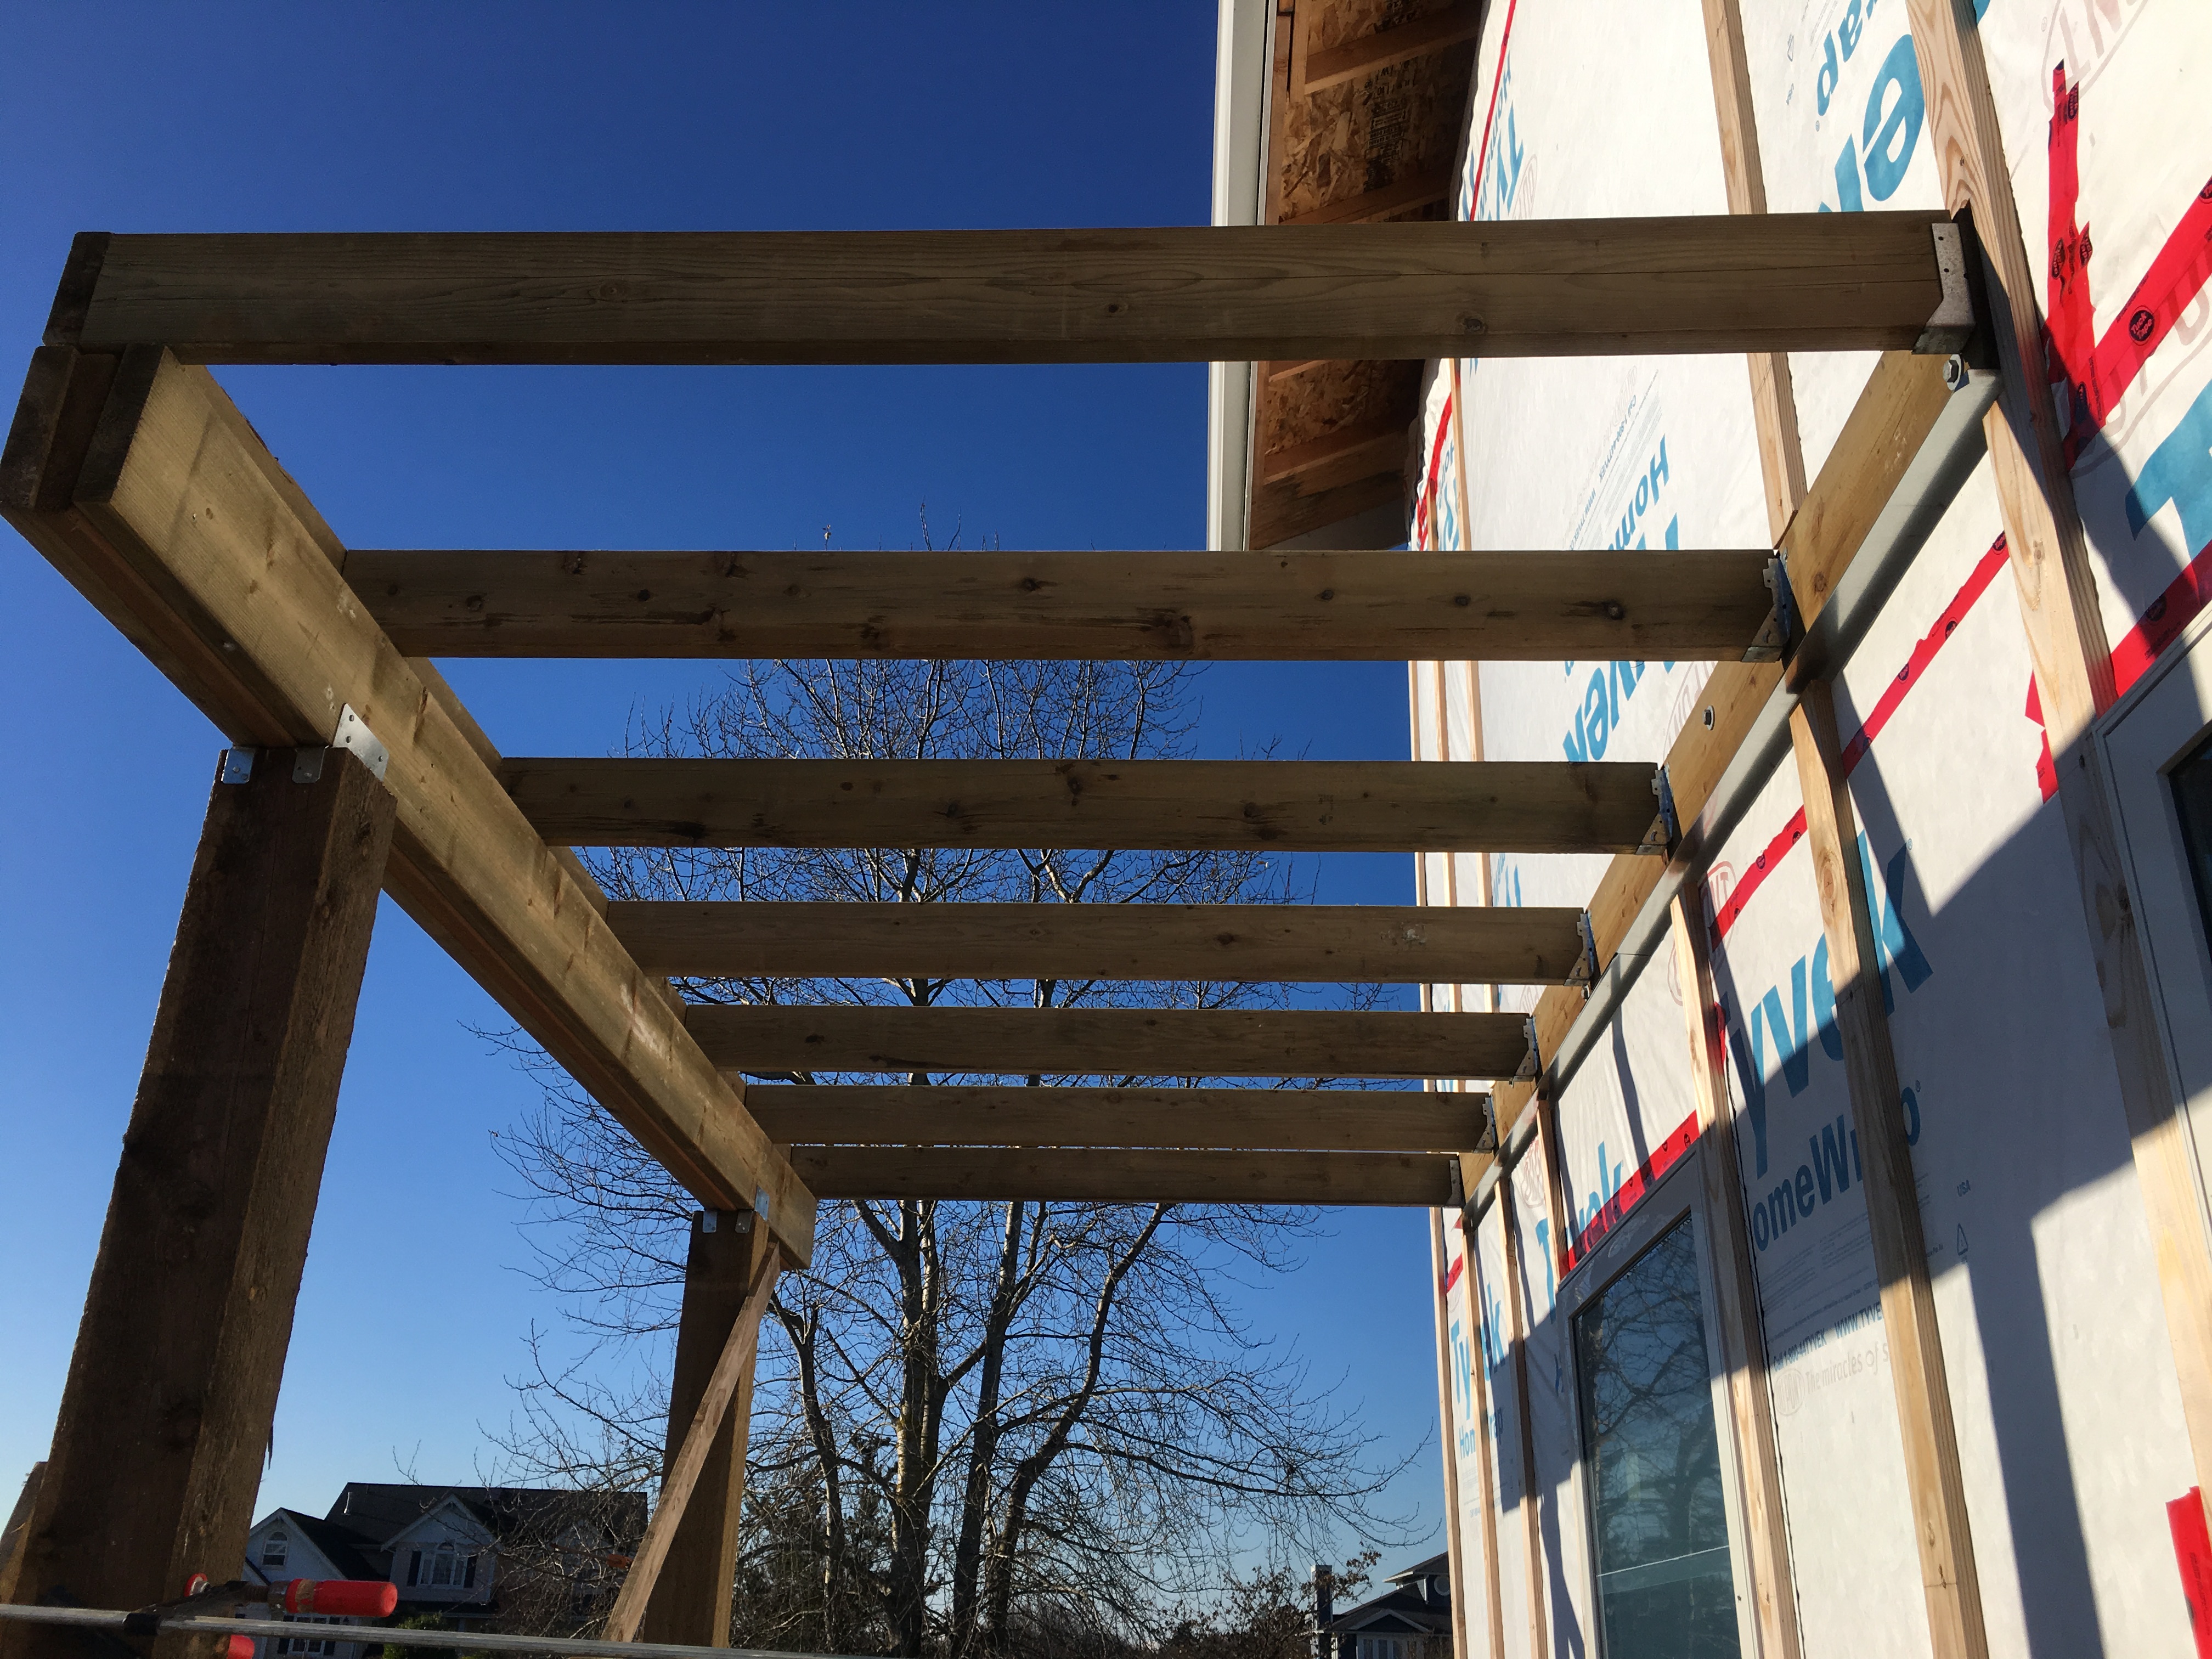
Thanksgiving break was the perfect time to give the concrete a few days to cure, and although it takes about a month to cure fully, it is already at about 60% strength now and that will be plenty to support the weight of the deck frame. The first step in assembling the frame was to attach the posts to the footing using a heavy duty metal post base. I spent a few extra bucks to get ones that have an air gap between the bottom of the post and the top of the footing. This will prevent water that might pool on the footing from contacting the bottom of the post. I braced the post to keep it plumb and then nailed it to the base, and repeated the process for the opposite post. These bases have a slot where they screw onto the bolt so you can make small adjustments as needed. I only hand tightened the nuts so I could move the post a bit if I needed to.
Next, I squeezed the beams in between the top of the posts and the bottom of the rim joist one at a time. Once they were all perfectly aligned, I attached them to the post using two metal plates that together form a post cap. I also used 16d galvanized nails to attach the three beams together so they would act like one single, massive beam.
One at a time, I lifted the remaining joists into place. One side fits into the hangers on the ledger, and the other side gets 3 galvanized end nails into the rim joist. The joists are attached to the hangers with 10d galvanized nails. After ensuring that everything was still plumb, level, and square, I used a crescent wrench to tighten down the nut underneath the post on the metal base.
Next, I used hurricane clips to attach each joist to the beam for extra strength. These are also attached with 10d galvanized nails. Just like with the joist hangers, there is a different type that you can use on the end joists.
The last bit of hardware to go in is called a deck tension device. You attach one to each of the outer rim joists, and then matching ones on the joists inside the house that are directly behind the deck joists. You drill a 9/16″ hole through the ledger and the rim joists, and thread a 1/2″ threaded galvanized rod through the hole. This rod is connected to each of the tension ties with a washer and nut. I angled this rod just slightly toward the outside of the house so any condensation will be directed away from the house. The tension devices will give the deck an added level of lateral strength for those times when people are dancing or playing on the deck and it is experiencing a lot of lateral forces.
The last step was to attach the deck boards. If you use kiln dried wood a gap is recommended between the boards but with the green treated wood I was using I felt comfortable snugging them up against each other. The wood should dry over time and naturally create a gap . Now I could finally see my sunset view!!


Advice? Questions? I'd love to hear your feedback or help you out in any way I can!