Step 10 – Frame the Second Floor

You can see how I’ve been trying to keep the OSB flooring dry with a tarp but with the walls going up it is difficult. Luckily, I spent some extra money on Weyerhauser EdgeGold OSB subfloor and according to their reps they are perfectly fine to get wet for a few weeks as long as they are given time to dry out.
Framing the second floor is not a whole lot different from framing the first. Whereas on the first floor, the sill plate was pressure treated lumber, this isn’t necessary on the second. Also, the bottom plate was bolted to the concrete foundation on the first floor, but on the second we simply nail it to the rim joists as you can see below.
Before raising the exterior walls, I toe-nailed the inside edge of the bottom plate to the floor boards. These nails help enure the wall stays in position and doesn’t fall off the house before it gets nailed into place.

After going up and down the ladder many times cutting pieces for the walls I decided it was time to build something permanent. The finished house will have a large spiral staircase but it would get messed up pretty quickly during building (as well as annoying) so instead I just threw together a makeshift ladder from some scrap wood.
Whereas the first floor walls were pretty simple, things got slightly more complicated on the second floor with the master bathroom as it has walled off areas for the shower, toilet, and two walk-in closets. Several of these walls are angled, and one of the master bedroom walls is actually curved! 
Creating an angled wall is pretty simple. You can see I have two walls meeting at a 45 degree angle on both the left and right side of the picture. All you do is miter both top plates and bottom plates at 22.5 degrees so that when they fit together they create a 45 degree angle. You can see how the studs meet on the inside wall and the small gap on the outer wall will be covered with a metal corner bead under the drywall.
At the center of the pic above I actually have three walls coming together in the shape of a ‘Y’. For these I mitered the two arm walls with 45 degrees and joined them to a straight wall. When it came time to add the top plate I had to do cut a special piece to fit with a jigsaw.
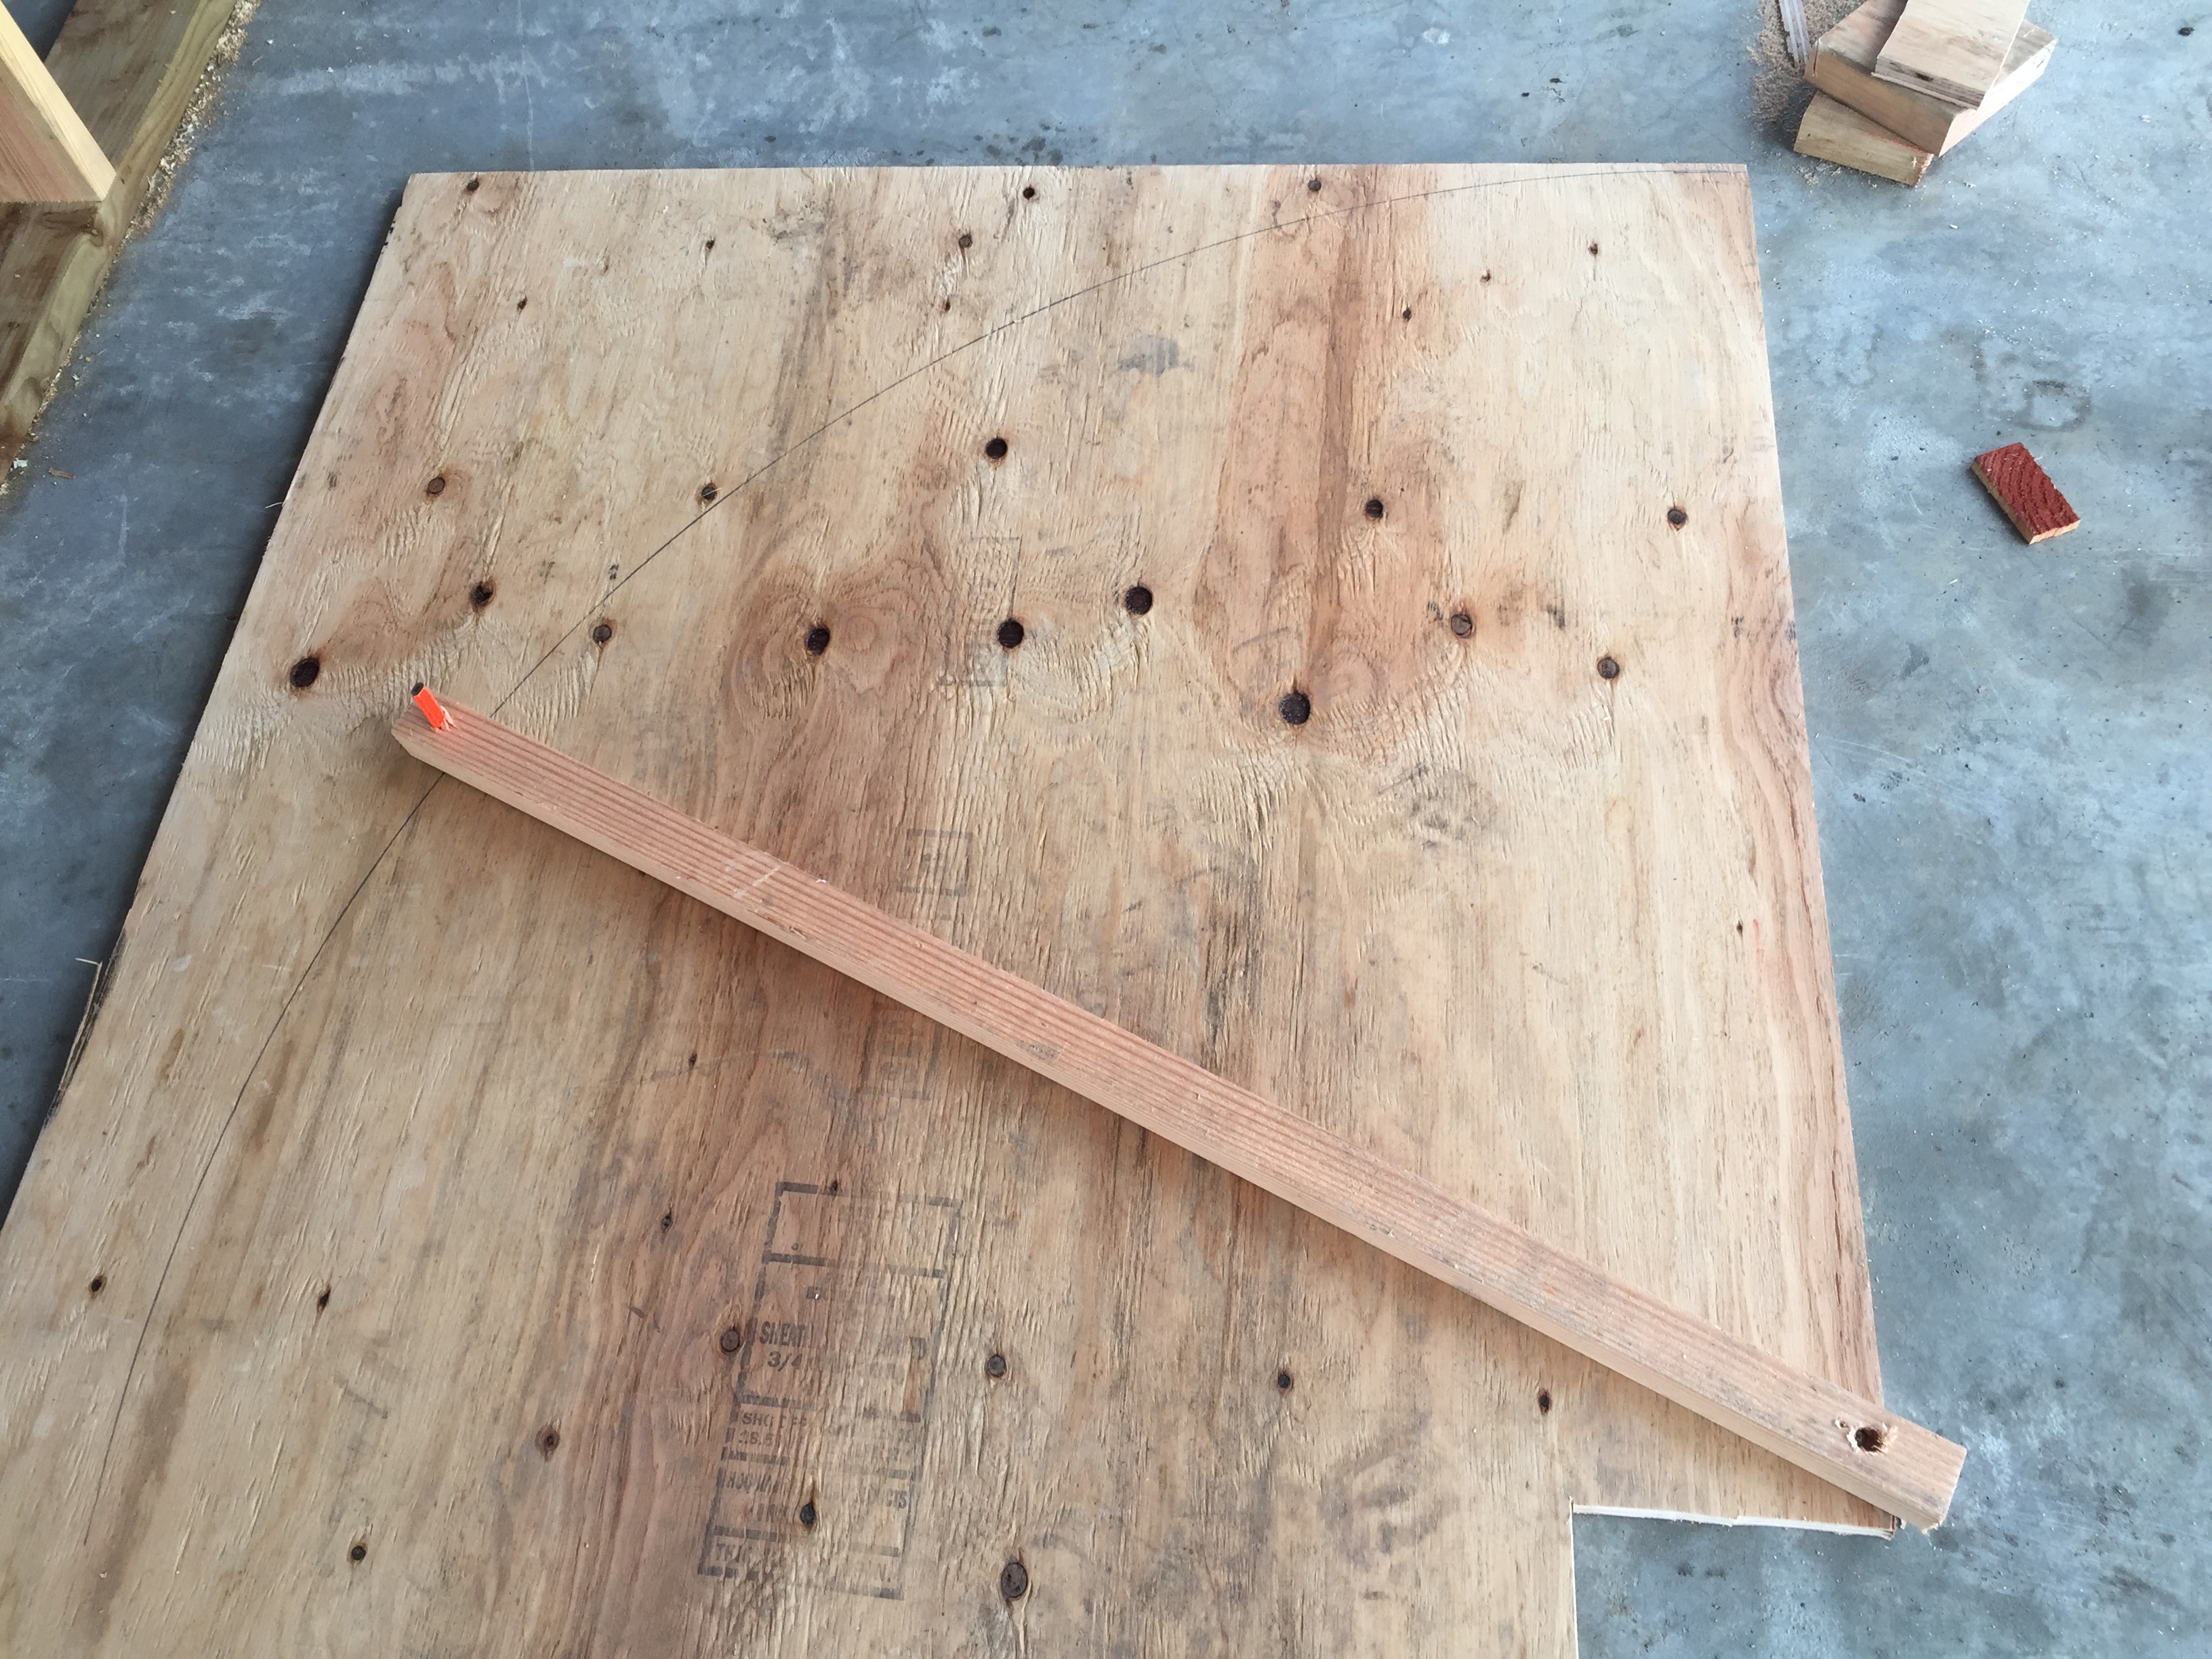
To build the circular wall, I had some 3/4 inch plywood ready. I created a makeshift compass to get the right radius for the wall and transfer it to the plywood. Then I drew out a second radius exactly 3.5 inches smaller than the first for the inside of the wall plate. Sandwiching two of these pieces together, I ended up with an equivalent to a ‘curved’ 2×4.

The one thing about a curved wall is that it uses a lot of studs! The far side of the wall will curve right around the spiral staircase when it is installed. (I haven’t cut the opening completely yet for safety)


Nice curve brah!