Step 4d – Finishing the Septic Install

Well, as you can see, the entire septic system has been completed and covered with backfill. The final steps involved building inspection ports from 6″ PVC and placing them over each of the ends of the drain lines. Each port has a plastic cap that can be lifted off to expose the 90 degree long sweep at the end of the line. If for any reason the drain lines get clogged, you can take off the cap, reach down inside the PVC and unscrew the plug for the line in order to flush it out.

Here you can see the end of one of the lines and the 90 degree sweep as it starts to curve up into the 6″ PVC. The rebar going through the side of the PVC helps to support the drain line and to anchor the inspection port down in the dirt so it doesn’t move around. You can also see the end piece screwed onto the last of the black infiltrators that protect the drain lines and also help to distribute the effluent spray evenly across the soil. Towards the end of the day the backhoe operator returned and expertly returned the soil over everything and drove back and forth over it to compact the soil.

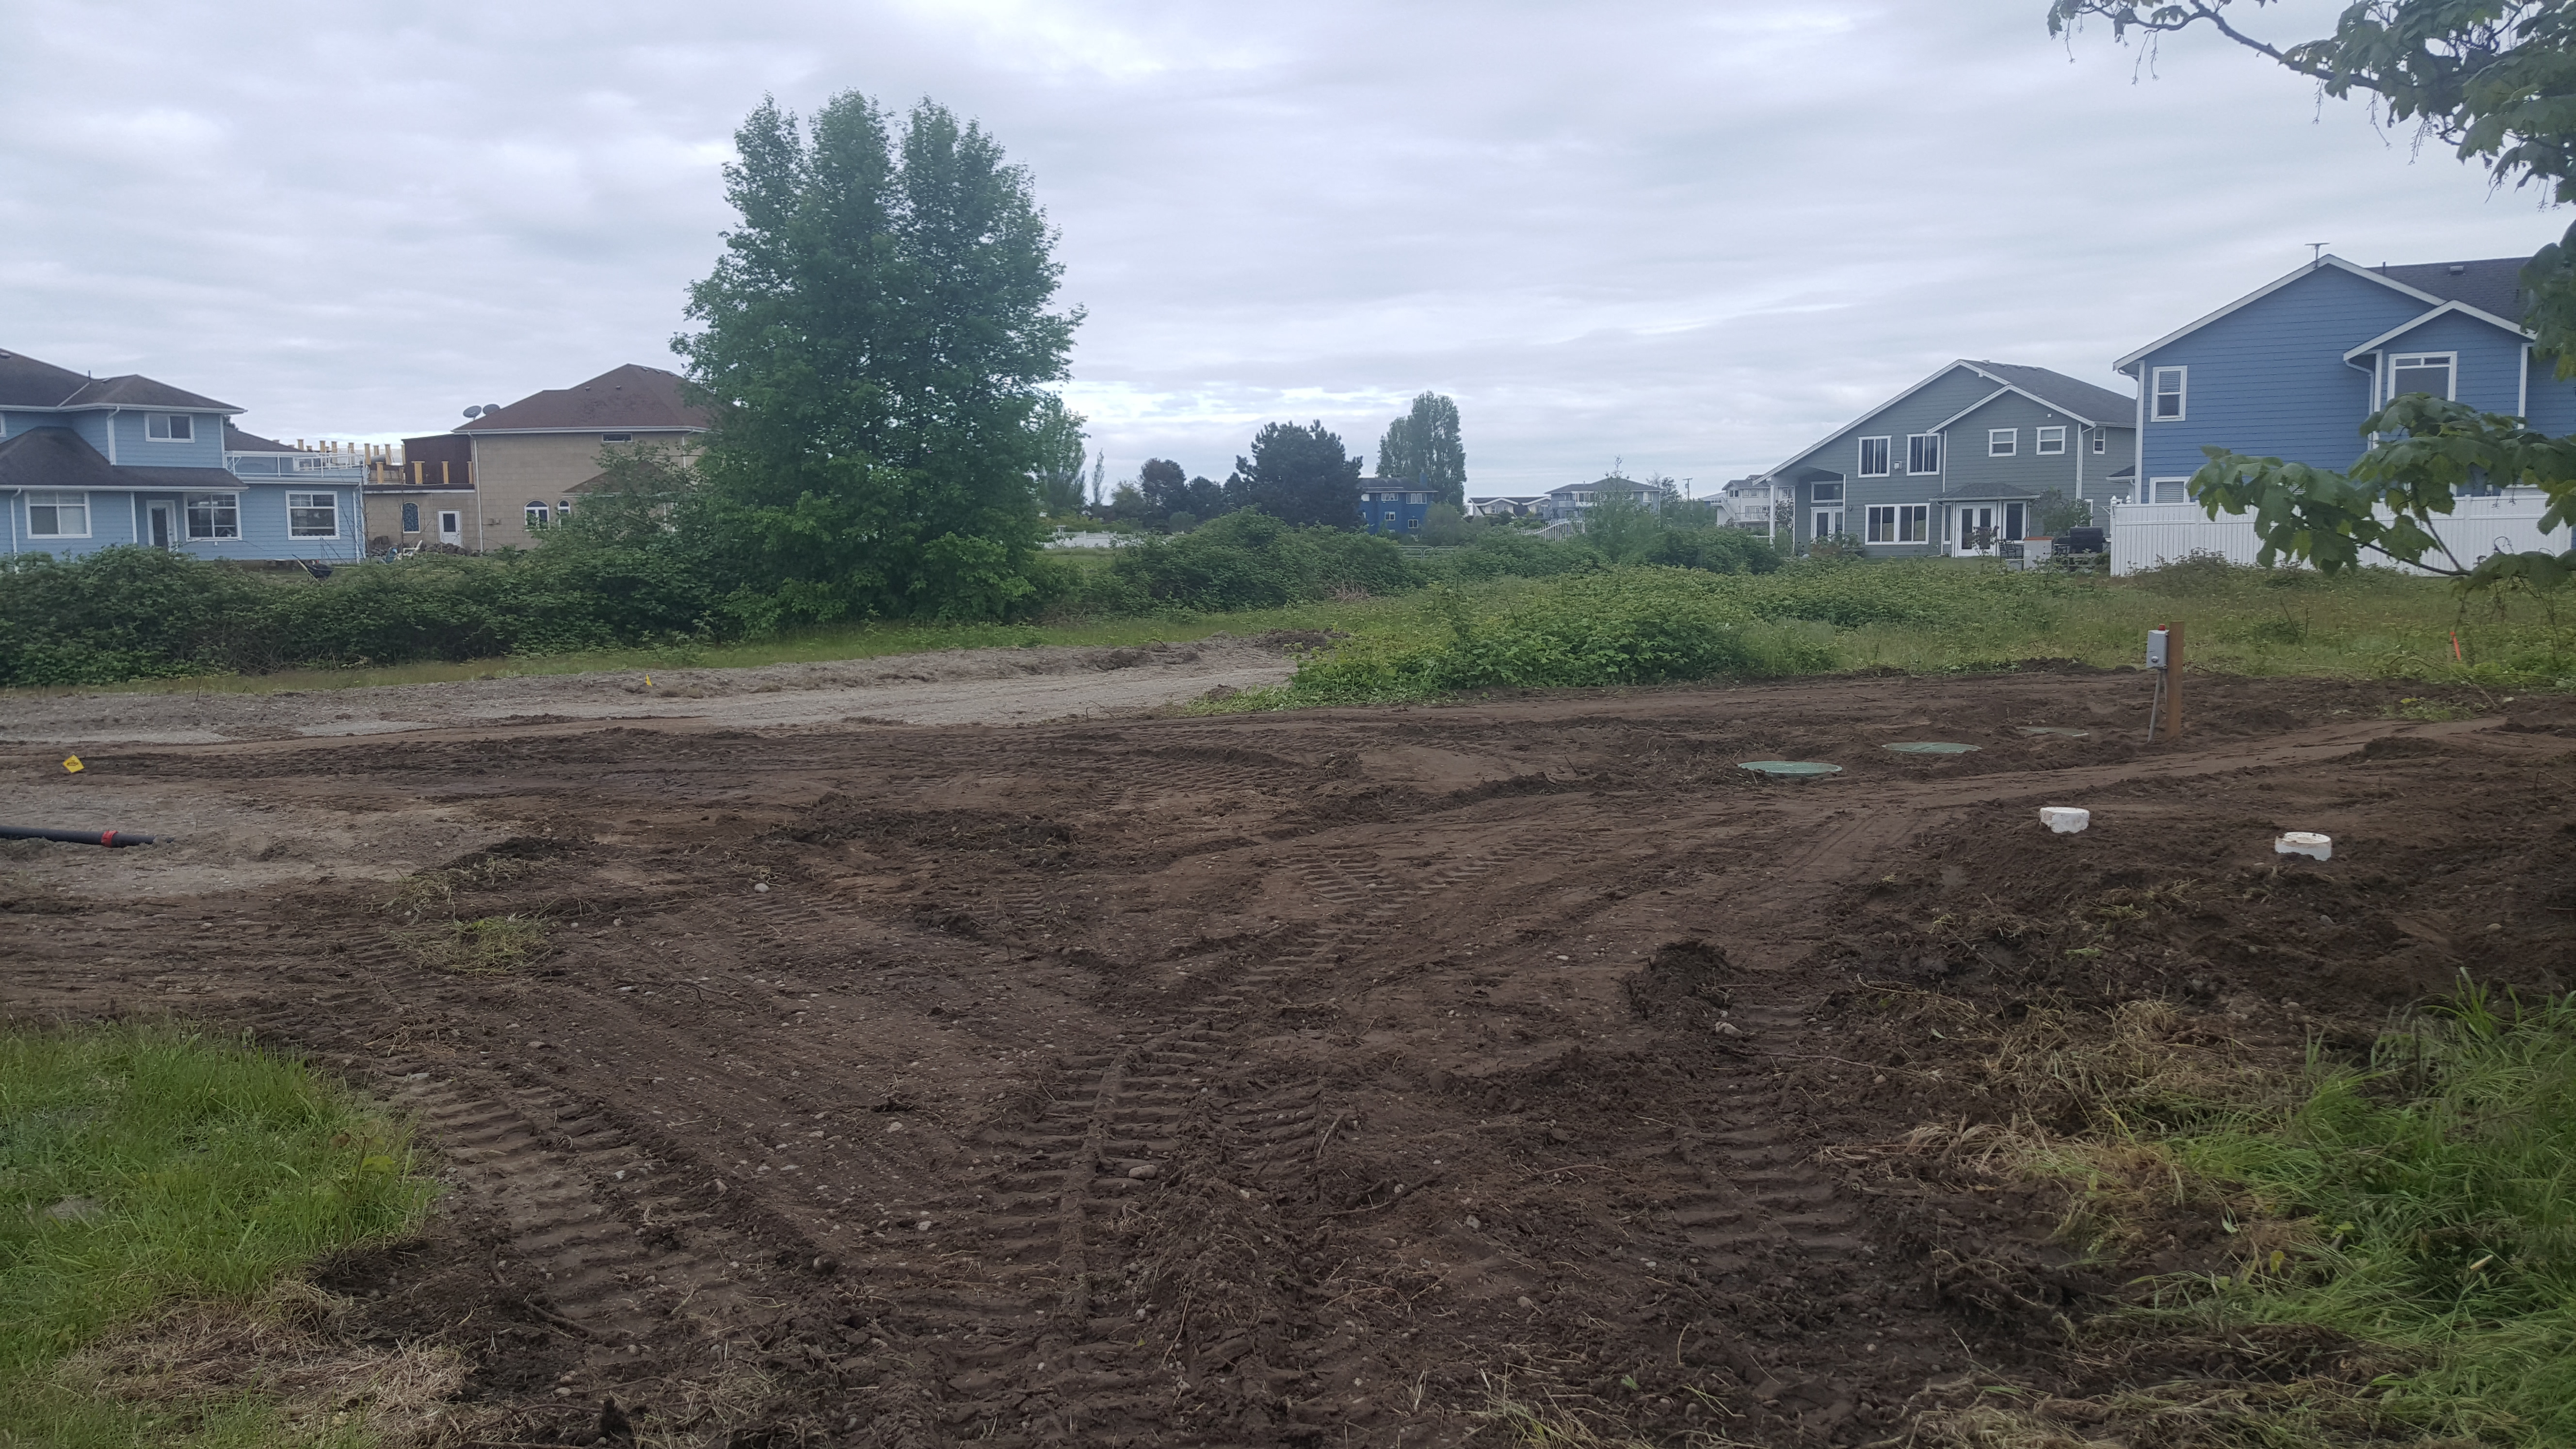
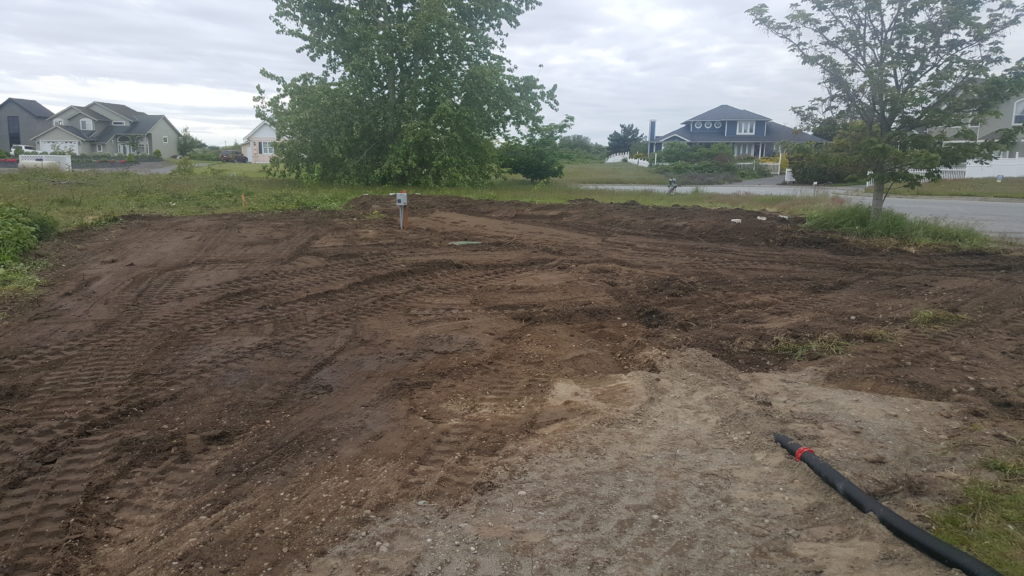
Here are a couple nice pics that really showcase the before and after of the septic install.

Totally out of sight now, you can hardly tell anything was done! What better way to save sustainably than by building your own septic system on your lot rather than take up a ton of land with an enormous, stinky sewage treatment plant? Obviously those are necessary with high density residential areas but in neighborhoods like mine, it really is too bad that more of them don’t have their own septic systems.
Advice? Questions? I'd love to hear your feedback or help you out in any way I can!