Step 23 – Build Interior Finished Walls
Having passed the insulation inspection, I now had permission to fully enclose the walls. I will be using the most common interior wall covering product on the market today as the first layer of the interior wall finish: drywall. Also known by brand names like Sheetrock and Gyprock, drywall consists of mainly gypsum pressed between two thick sheets of paper. It is very easy to install and paint, is fire resistant, and finds a good balance between being sturdy yet flexible. It is also an excellent tool for saving sustainably as it is relatively inexpensive and also 100% recyclable!

I bought a few tools to help make the drywall installation easier and I highly recommend them to someone doing a project of this size. I’ve learned a few lessons over the course of building my own home and one of them is that a good tool will almost always pay for itself in saved time and headache. The first tool I bought is a drywall screwgun. Each sheet of drywall takes at least 30 screws and I had over 150 sheets of drywall to install. That’s over 4500 screws! With a drywall screw gun you can just turn it on so it is always running and that way you can focus your attention to your left hand on getting the next screw ready. It also has a depth setting to ensure the screws are set in the drywall without tearing the paper. Like most tools, it takes some practice to really get the hang of it but once I hung the first 50 sheets or so I really started to get faster.

The cut-out tool, also known by the brand Roto-Zip, takes some getting used to as well but after using it 50 times or so you really start to get quick with it. The cut-out tool uses a special bit that will follow along any solid surface, so you can use it to cut out window openings and electrical boxes, or just install end of wall sections long and use it to cut off the excess. It works very quickly and saves a ton of time.

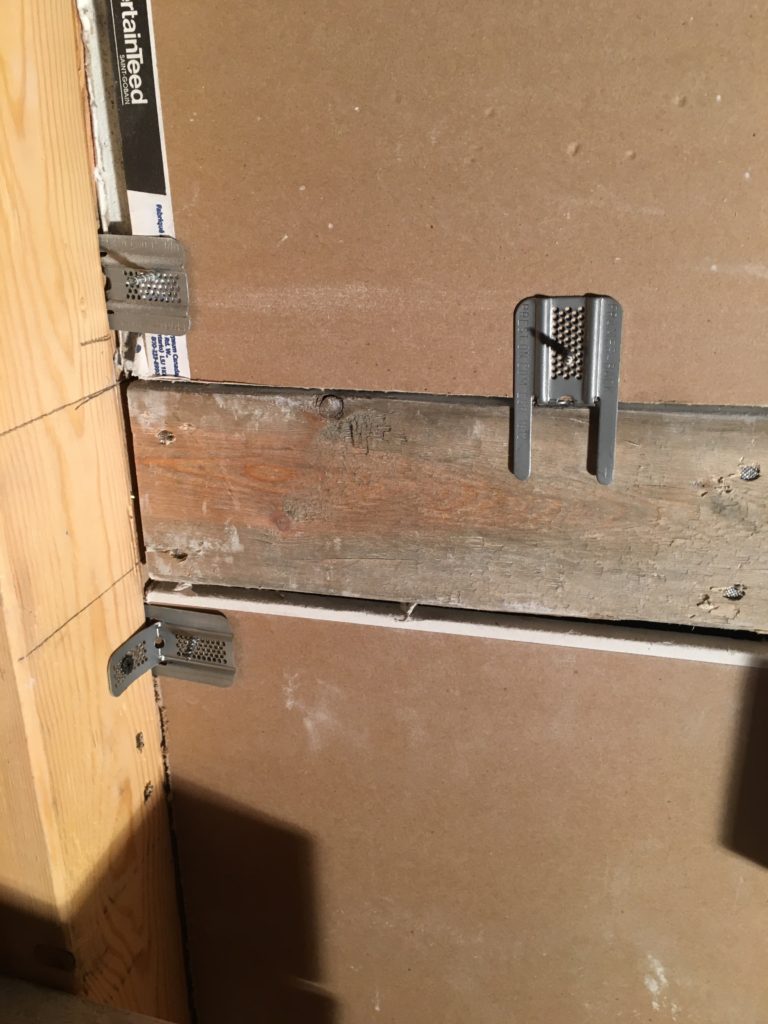
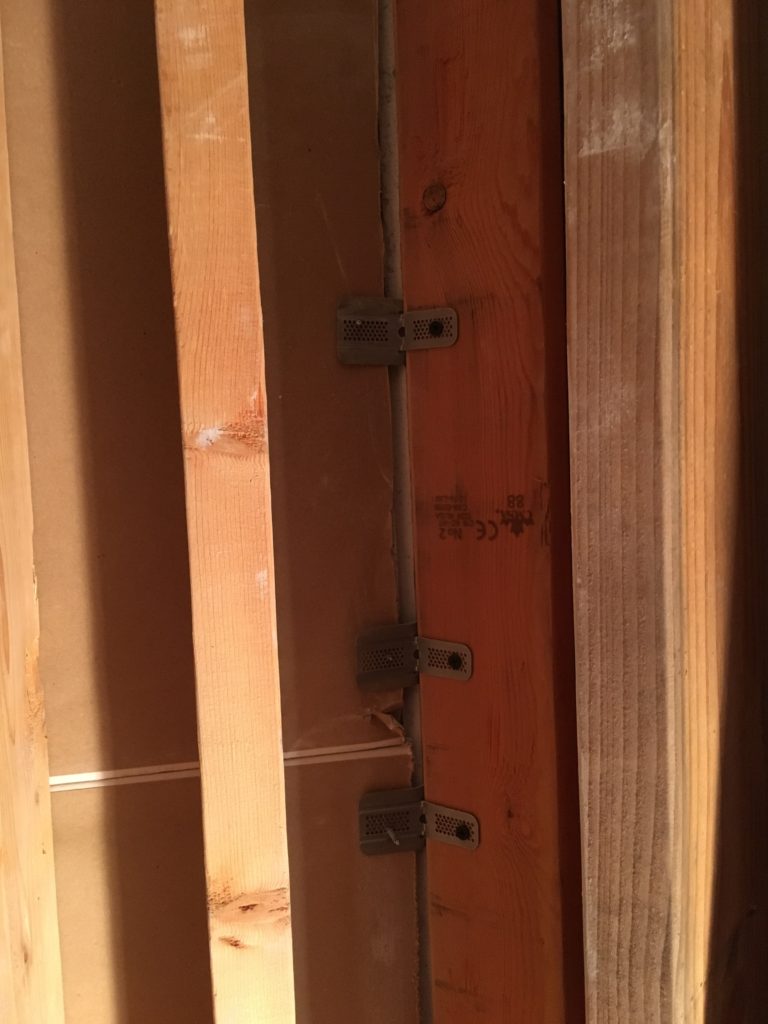
I used drywall clips instead of wood framing backing. These were important on the exterior walls because they allowed me more room in the stud bays for insulation. They were also very handy on interior walls as well, though. There were many places where I would have needed to add an additional piece of wood to attach the drywall to and it was much easier to just screw a clip in.

They were especially handy as backing where I had a 45 degree wall intersection, as I would have had to special cut a piece of wood to fit inside the 45 degree angle section. The other tools I used I already discussed when I attached the ceiling drywall. The beauty of drywall is that you really don’t need a lot of tools and you don’t need a lot of precision either. The joint compound I will be installing next will easily cover up any gaps in the drywall.

Advice? Questions? I'd love to hear your feedback or help you out in any way I can!