Step 23c – Drywall Taping
When you look at a long wall in a modern building, it looks to be one single piece of painted, textured drywall. In reality, any long wall is made up of several different sheets of drywall and drywall taping is the part that makes it all look seamless. Drywall tape, however, isn’t at all like the tape you are used to. It isn’t sticky! Drywall tape is merely a roll of thick paper with a crease in the middle. You stick it to the wall with a white plaster called joint compound. Although there are other types of drywall tapes that are sticky, like mesh tape, the pros use the paper drywall tape because it is the strongest and fastest to apply.

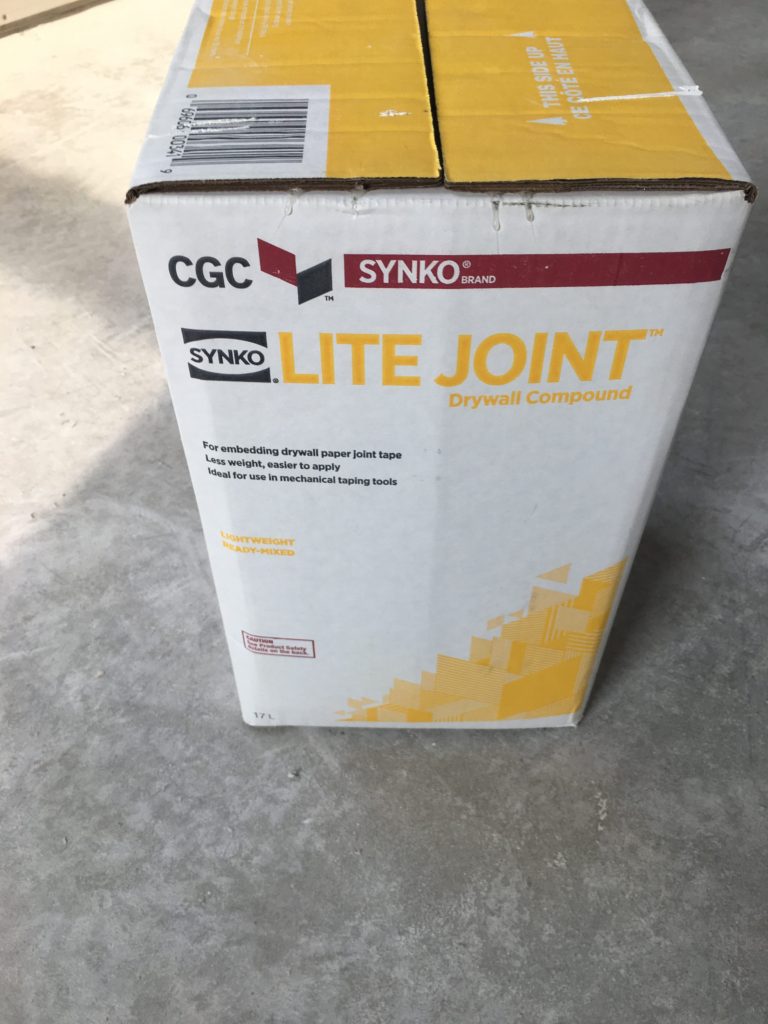
Ready-mix joint compound like the kind I am using is made primarily of limestone and water, mixed with other additives like talcum (baby powder) and perlite (volcanic glass). Even though it is called ready-mix, it is highly recommended to add a couple handfuls of water and mix it up really well using a mixing paddle that attaches to a drill before applying it.

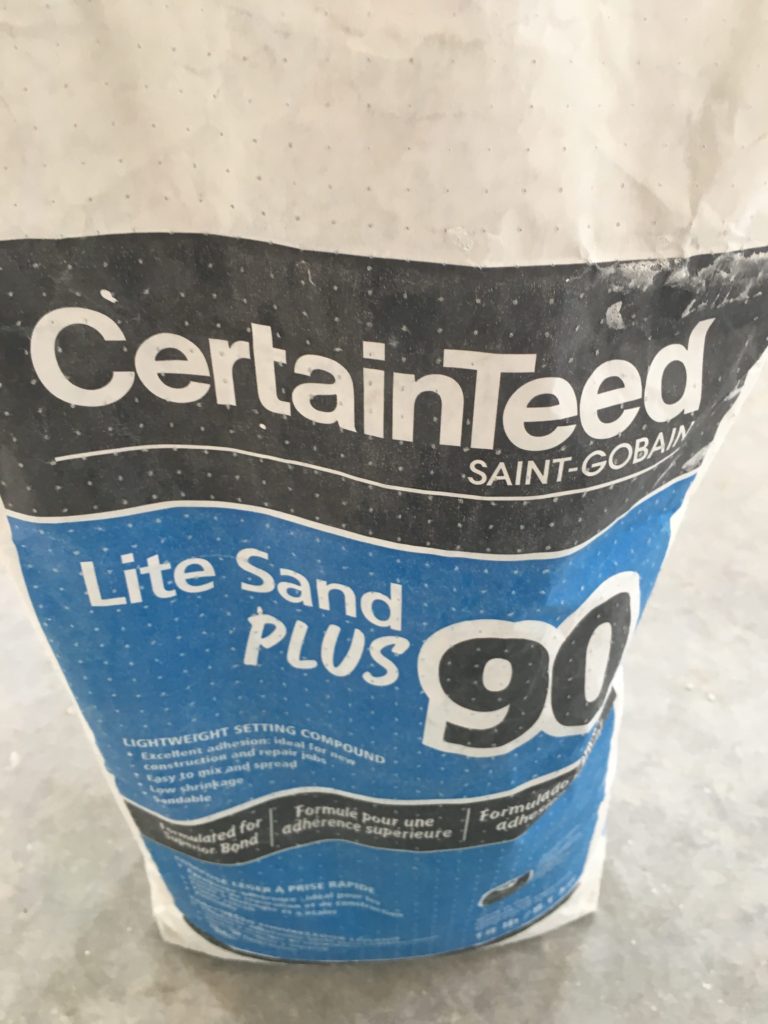
Some joint compounds contain plaster of paris, and harden a lot faster than the normal kind, which hardens as it dries. It is recommended that before drywall taping, you take some of this “hot mud”, as the pros call it, and fill any large gaps between the drywall sheets, especially in corners or inside edges. The hot mud comes in a powder form, and you simply add water and mix it up until you have a workable consistency. I used a six inch taping knife to apply the hot mud to any gaps over 1/8 inch wide or so.

The other thing you need to do before you begin drywall taping is to ensure all of the screws sit just below the surface of the drywall. I took my taping knife and ran it over each screw and if I heard a click, I knew it was sticking out and would interfere with the tape. I gave these screws a quarter turn or so until they were below the surface of the drywall. If you used a drywall screwgun like I did, there shouldn’t be too many of these to deal with.

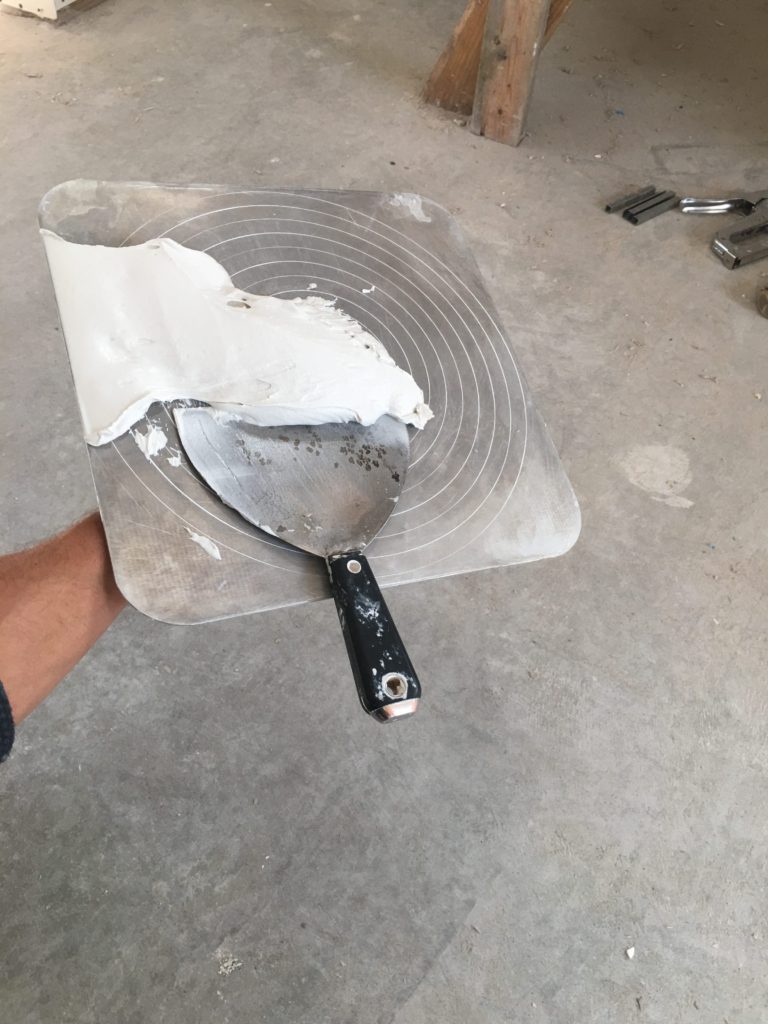
With the gaps filled and screws set, I was now ready to start on the drywall taping. Starting in the corners, I loaded up my “hawk” with joint compound and used my six inch taping knife to “butter up” both sides of a corner. It is best to load up only the front edge of the knife with mud and then hold the knife sideways to apply it so you end up with just a 3-4″ wide streak of mud on the wall. You definitely don’t need a six inch wide bead of mud and that’s what you’ll get if you simply run the front edge of the knife down the wall. As with many, many other skills in building a house, it will take some practice to get the hang of using the side of the knife smoothly, but if you just keep trying you can become pretty skillful rather quickly.

I measured a piece of tape to fit the corner from top to bottom and folded it in half along the crease, then applied it to the corner. I then removed the excess mud by holding the taping knife straight and running it down the corner. It is best to start from the bottom and go up to avoid excessive dripping. Drywall paper tape must be mudded on both sides, so I then repeated the process to get the front side of the tape, applying the mud with the knife sideways and removing it with the knife held straight.

I taped the “flats” next. The long edge of drywall sheets are tapered so when you have two of these long edges together, they create a tiny ditch. The tape fits inside this ditch so that after you are done taping you are left with a flat surface. As with the corners, the flats are buttered up, the tape is applied and flattened out, the tape is buttered, and then the knife removes all of the excess mud. When the tape is applied, it should not overlap the corner tape that was already applied, and the crease should be against the wall.

The last seam to tape is the “butt joints”. These are the places where the short edges of the drywall sheets come together, and unfortunately they are not tapered. This means that the tape will sit on top of the drywall and create a hump. With several coats of joint compound, we will widen this hump over several feet so it is so gradual that you can’t even tell it’s there. The butt joints are taped in the same manner as the flats. First, the joint is “buttered up” with a 3-4″ wide bead of mud applied with the taping knife held sideways.

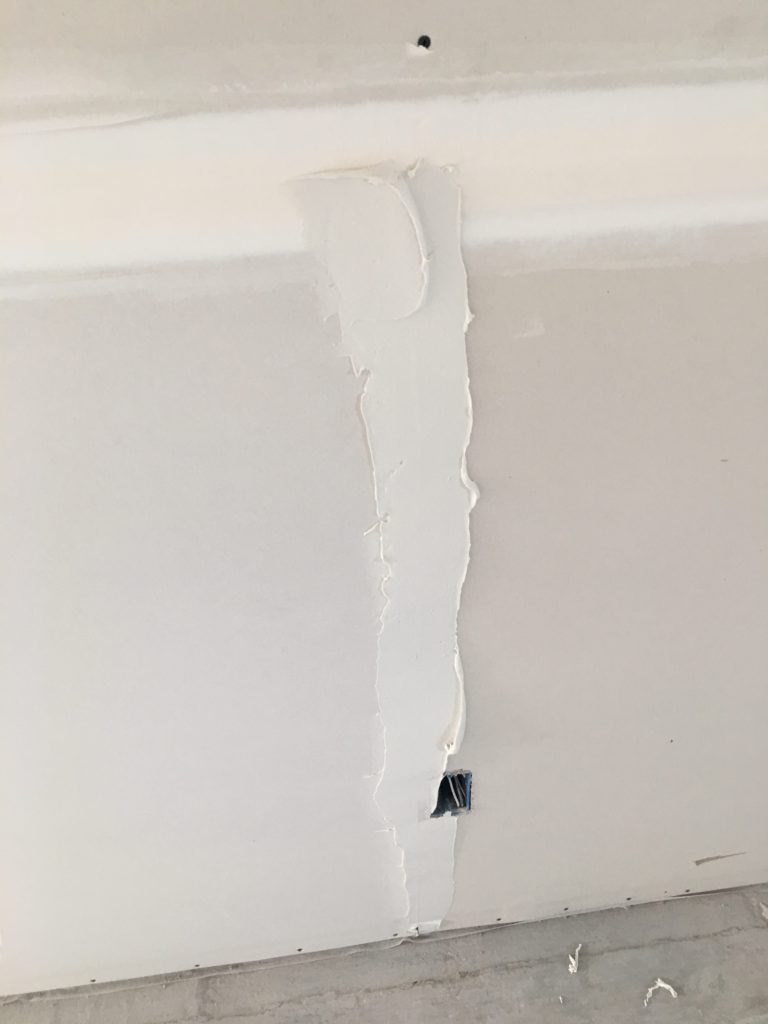
Next, the tape is applied and the knife is held straight and tight to the wall to remove all the excess mud. There should be very little mud left on the wall after this step as you can see above.

The process is then repeated to ensure that both sides of the paper tape are mudded. Use the side of the knife to apply a bead of mud over the top of the tape.

Then hold the knife straight with plenty of pressure to remove the excess mud. The finished taped joint should still not have a lot of mud as you can see above. Drywall taping goes a lot faster when you use less mud rather than apply a ton of mud and then have to sand off all the excess. The corners, flats, and butt joints must be taped on the ceiling as well. The area above the stairwell was especially hard to get to but a couple of well placed ladders made it work.

In addition, joint compound should be applied over the top of all the screws. You can hit a row of them in just two swipes of the taping knife by applying mud holding the knife sideways in one stroke, and then rotating the knife straight to wipe the excess mud off with the front of the knife. A big thank you to DIY Renovision for their excellent videos that really helped out!
Nice drywall job.
When are you available to book? (Just kidding).
With the house sealed off and sheetrock in place, have you done a second blower door test?
I didn’t. I think the blower door rental was $250 or so and I decided I was happy with the performance of the house so it wasn’t worth it. My electric bill has been consistently under $35 through the winter so far with the house nice and warm.
How’s the build coming along? I’ve been following for a couple years now, and excited to see the final product!
I am done! I really do need to finish things up with the blog. To make a long story short I ran into some problems with my homeowners association and was forced to speed up my timeline and build a 400 square foot addition. I had to neglect the blog and just get it done to stay out of legal trouble. Lesson learned – don’t buy in a homeowners association, even if the dues are only $200 a year. Glad you enjoyed it though and certainly let me know if there are any specific pics or narrative you would like and hopefully at some point I can write up the last few posts.
It also has excellent insulation properties. This makes it great to help retain heat during cold weather, and cool air during hot weather.
That’s a pretty unique room, love how you showed us how to tape drywall despite the uncommon dimensions. Thank you!