How To Customize Your Tool Belt
I was lucky enough to be given a totally awesome tool belt from my mentor, and so began my current love affair with all things Makita (which I just gotta say, is an outstanding company) While I loved the belt I was given, it frustrated me quite often. The pockets were oversized, and whenever I was working tools would fall out, especially when I was navigating the maze of truss webs. One time I was running cable in the attic and my chisel fell out of my bag and dinged the tub, which had just been installed less than a week earlier. Needless to say, I wasn’t allowed to bring the chisel with me into the attic after that.
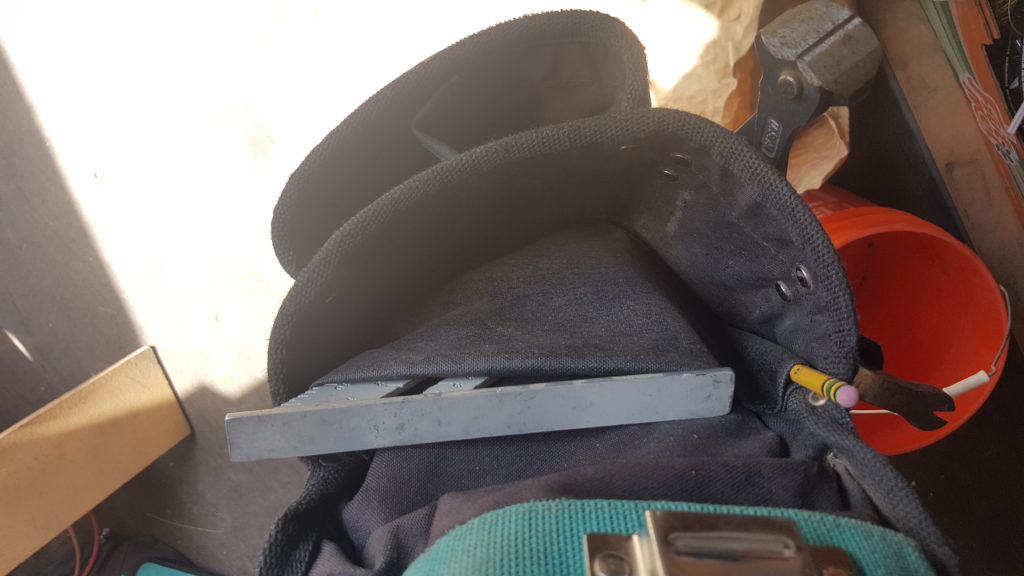
You can buy belts with tons of pockets, and for big bucks you can even send a company all of your tools and they will make custom pockets for everything. My mentor has this great belt that even has a spot for his speed square, which is an awkward item to fit in a tool belt. That wasn’t an option for me because buying a new, overpriced tool belt when I already had a perfectly good one goes against everything Saving Sustainably stands for. The solution was to ignore the cultural mockery I would surely receive and learn to sew. It really isn’t hard at all, and I picked it up in no time. The end result for me was a used belt that I couldn’t be happier with at a price of $11. Now THAT’s Saving Sustainably!
The $11 was the cost of the thread and fabric online. I ordered it with only a best guess that it would match the fabric on the belt but it actually turned out to match flawlessly! The material is very heavy duty and is called 1000D Cordura Nylon. The thread was just called X Strong Black. A shout out to my sewing instructor, Savilla, who also gave me a needle and thimble.
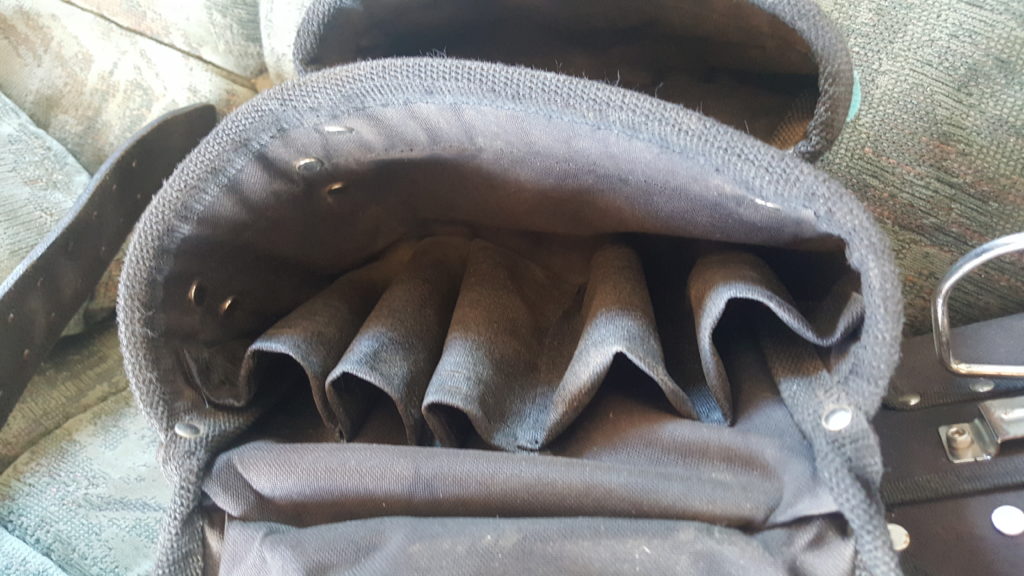
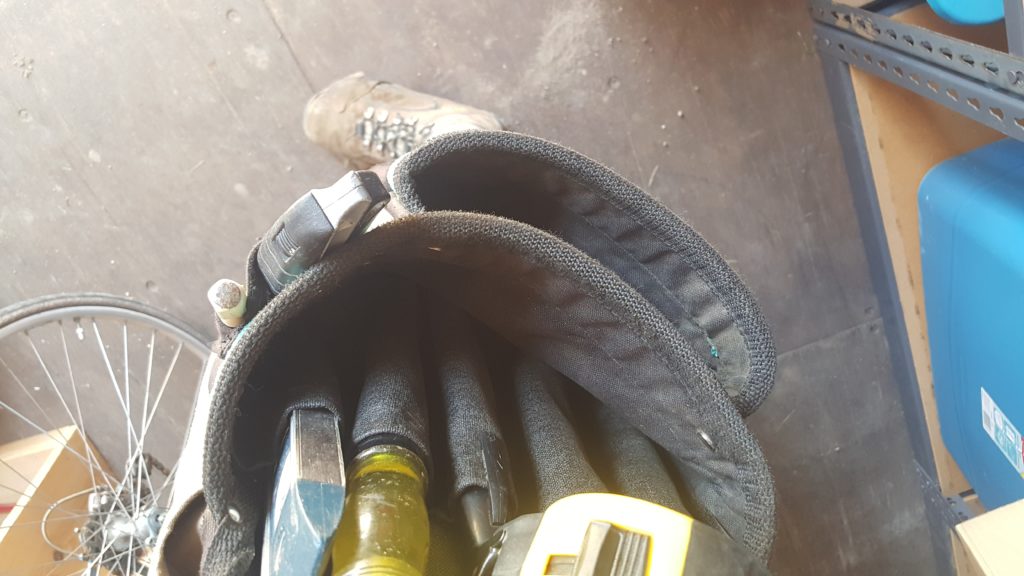
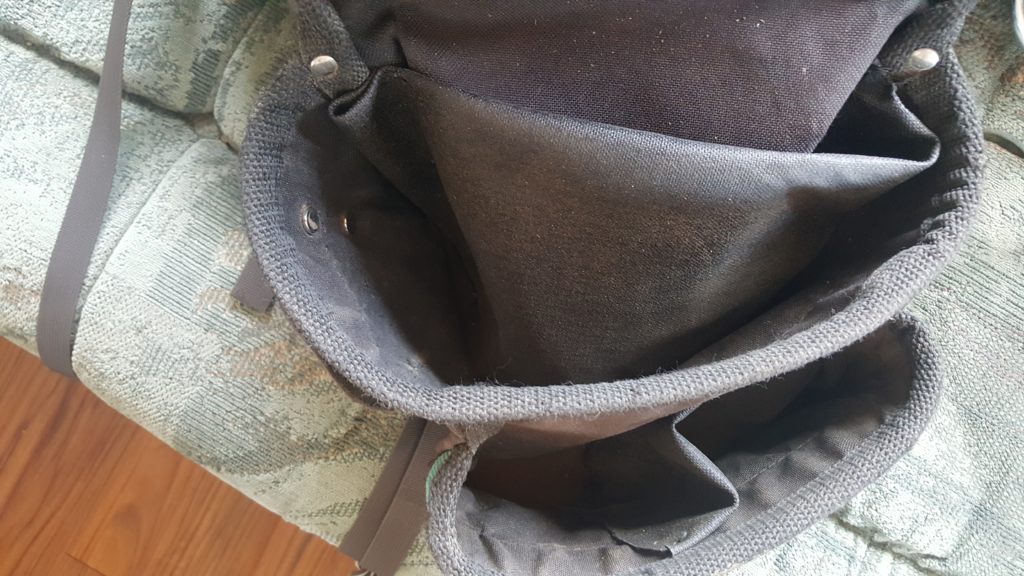
To strengthen the fabric even more and protect against fraying, I first cut a piece for a pocket a little more than twice as wide as I needed it, folded a side over just a bit and sewed it down. Then I took the entire piece and folded it in half and sewed that down too. Now I had a piece the right size for a pocket with a folded edge at both the top and the bottom. I took a tool and placed it in the belt, then wrapped the pocket around it. Pinning it in place would probably have been a good idea but I decided to do without and just started sewing it to the belt. I also tightened a couple of the already existing pockets so they fit snugly against my tools. At the end of the day I could literally turn the belt practically upside down without anything falling out. I accomplished this while still being able to easily remove and reinsert each tool into its pocket with ease. Like I said, I couldn’t be happier with the end result.


