Step 3a – Temp Power Pit and Utility Trench


I’m highly motivated to start getting some utilities going on the lot since I am currently living without electricity, water, and sewer (septic)! Even if I wasn’t living on the property while I was building, it would be incredibly difficult for someone to attempt building their own home without electricity or water. The first one to knock out was the water, which involved digging down next to the meter box to expose the stub and connecting my RV hose. I will be installing a hose bibb and rerouting the water line with PEX piping in the near future, but until I get electricity going it simply isn’t a priority. As I laid out in the previous post, the first part of the temporary power installation involved digging a pit to the specificiations laid out by the power company.

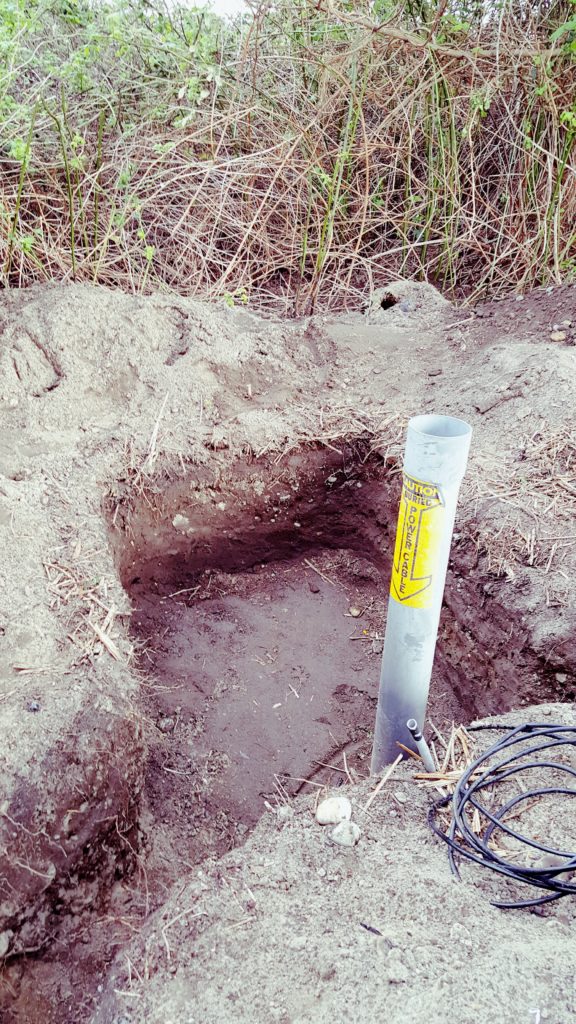
Here you can see how I’ve done just that, and if you look closely right in the center of the photo you can see some dirt above the pit that is slightly darker where I hammered in a 10 foot copper grounding rod. A 4’x4’x26″ pit didn’t seem like a lot to dig but when you have to tackle a thicket of blackberry vines and a rock quarry before you even get to the dirt it was quite the chore. That having said, there is something about working on your own land that can make even the most labor intensive or menial task highly enjoyable and rewarding. In addition to the pit, I dug an 18″ deep utility trench from the power pole to a smaller pole near my trailer. This way, I won’t have long extension cords running everywhere.
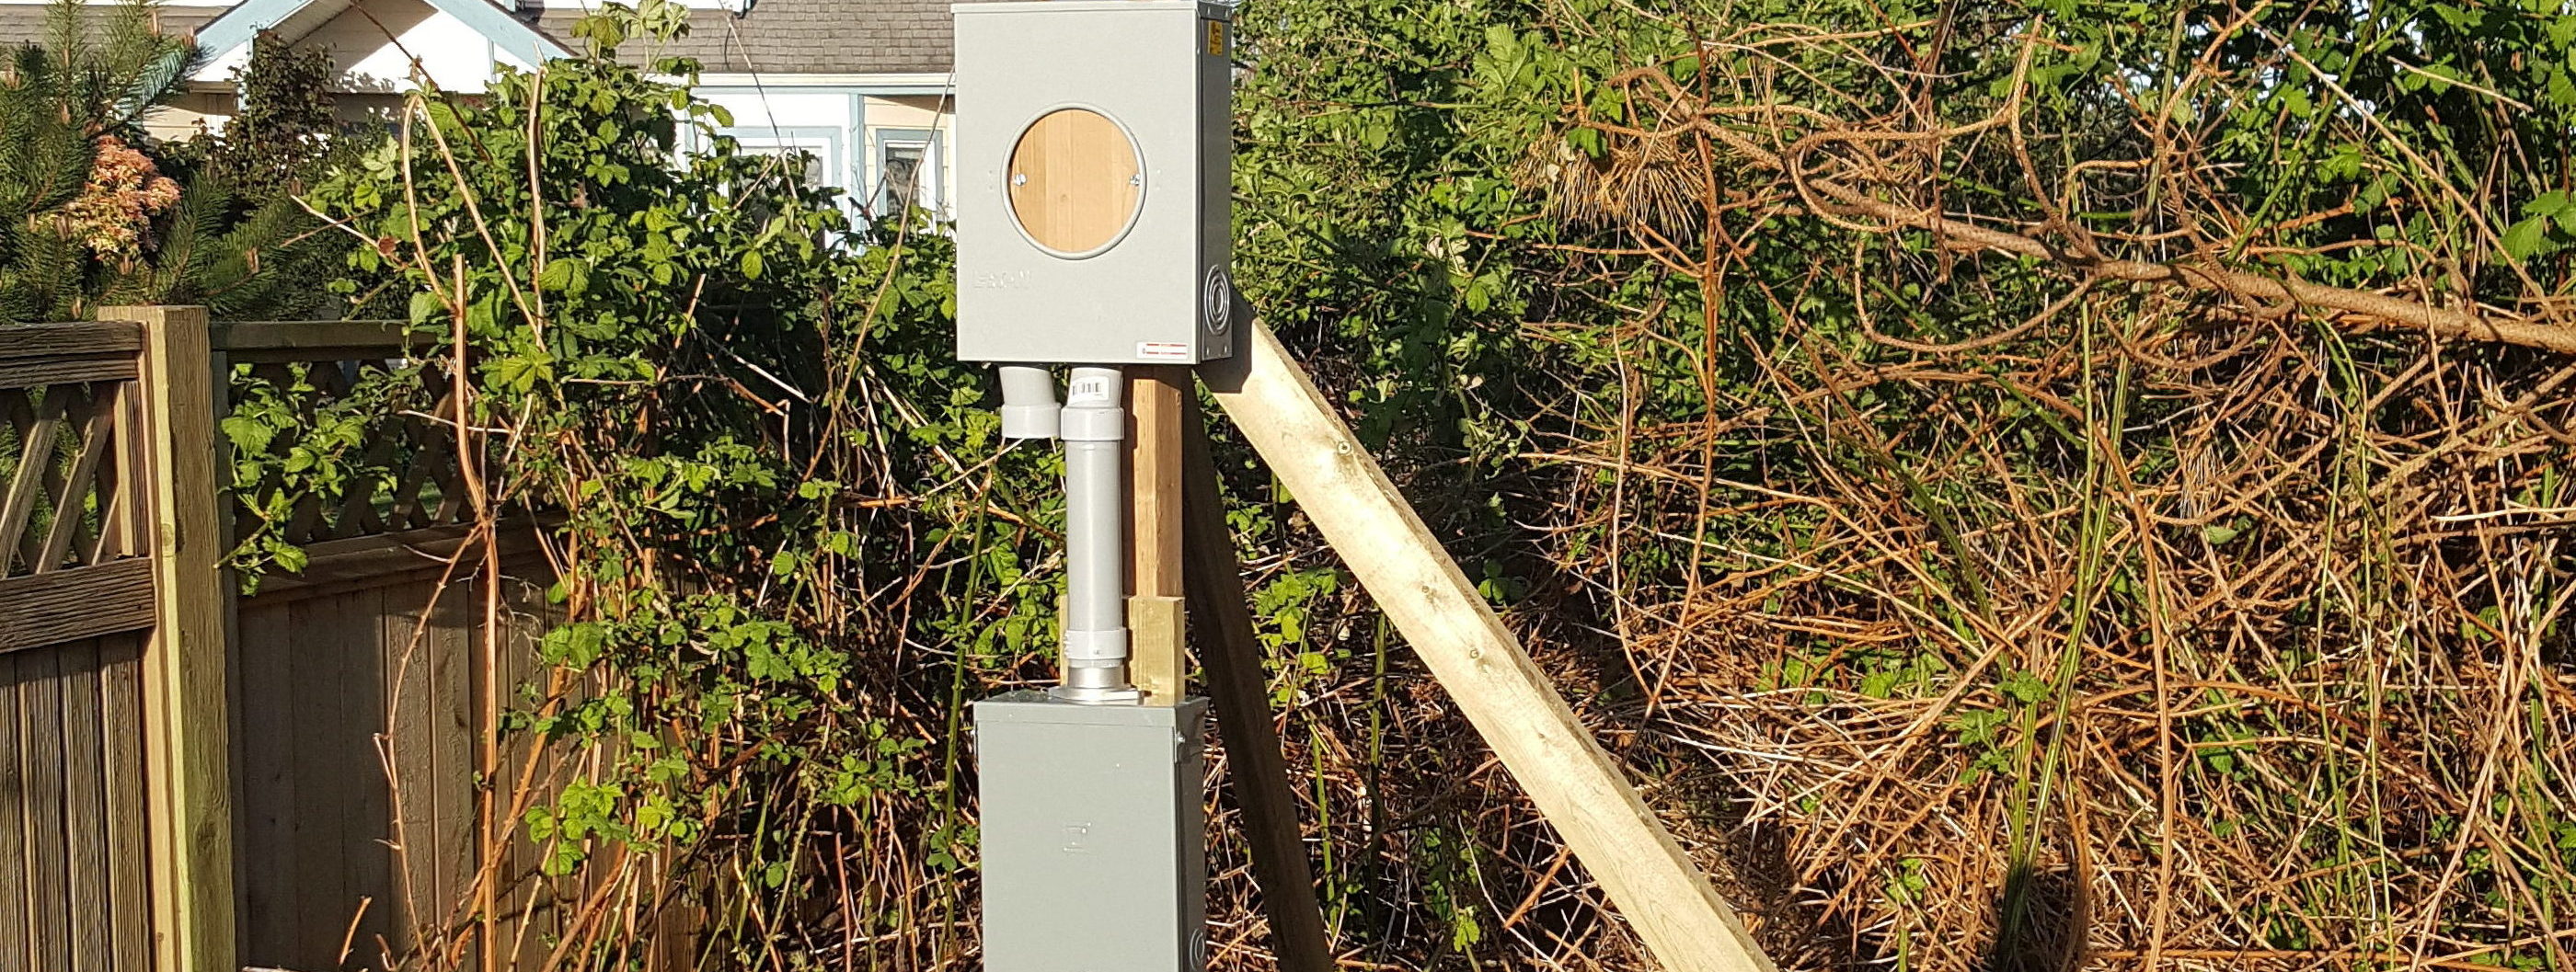
Once the digging was complete, I assembled the two poles and attached the conduit. It took a decent amount of research to figure out exactly what kind of conduit to use and what method to connect it all. I’ve spent months researching the IRC (residential building code), but the NEC (national electric code) is an entirely different animal. It took an extra week of mistakes and learning and setbacks, but now I have a system set up that will serve my purposes and (hopefully) pass inspection whenever it is the inspector decides to get out here. For those interested in the specs, I have 2 #2 Al ORD conductors running across the ground from the stubout to the pole (they will be buried) for the hots and 1 #3 Al for the neutral. These run up 2″ conduit (required to have an ‘end bell’ piece on the end, through an offset and into the bottom of the 100 amp meter socket. I had to use the offsets because conduit isn’t very malleable and I had to get around the panel. Alternatively, I could have used an L shaped piece of conduit and attached to the side of the meter base but I think my way looks better. On the other side of the meter socket I have #2 Al SE cable through more 2″ conduit running down to the service panel. I have a 30 amp single pole breaker for the trailer, a 20 and a 15 amp both to be used for the future septic system, a 20 amp for the outlets for tools, and a 15 amp to be used in the future for interior lighting. I’m running UF cable (#10 for the 30 amp, #12 for the 20’s, #14 for the 15) from the breakers down 1.25″ conduit back to the pit and then it picks back up in 2″ conduit in the trench. The reason for the oversized conduit is so I can run the main service cables through it when I connect permanent service. I ran the 2″ conduit up near the trailer where I returned to 1.25″ and ran it up a smaller 4×4 post into a 4x4x2 junction box. From there it branches off into 2 different directions. One branch continues up the post to the 30 amp trailer outlet. The other makes a turn around the post and down another side to the outlets I will use to power my tools. The septic wiring will be completed when I install the system in the next week or two. The last thing I need to do now is wire the UF cable to the breakers and outlets and then I’ll be ready for an inspection!

Advice? Questions? I'd love to hear your feedback or help you out in any way I can!