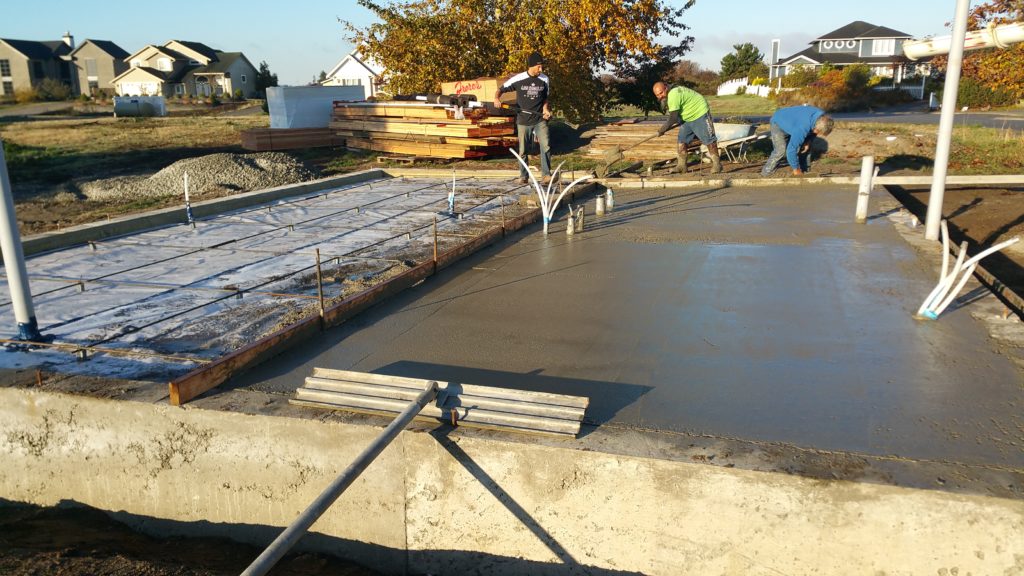
Step 7c – Pour the Slab

One thing I realized I forgot to document was that I placed a cardboard box around the DWV pipe for the downstairs tub and filled it with gravel. This will allow me to easily break the thin layer of concrete over the box and pull out all the gravel, leaving a nice area around the pipe giving me plenty of room to work when I hook it up to the tub. With that final step complete I was ready to pour the slab.
A freshly poured slab is an incredibly beautiful thing. When it first comes out of a truck it looks like a messy slop of oatmeal with blueberries in it (the blueberries being the gravel). A long, straight 2×4 is used as a “screed” and run back and forth to level the slop.
After about 20-30 minutes, the slop has started to gel a bit, and the gravel sinks down just a little. At this time, a long pole with a metal “float” attached is run across the concrete. The float pushes the gravel further down and brings this very creamy part of the concrete up to the top. It is this stage where the concrete really starts to take on a new personality, like an awkward teenager emerging from acne-filled puberty.
Another 30-45 minutes go by, and the concrete really starts to harden, but when you run a float over the top you can still get a tiny layer of cream to appear. You continue working this cream back and forth over the top, smoothing and smoothing, until it too begins to harden. At this time, a strong force over a small area of concrete will create an indentation, but by kneeling on pieces of plywood, the force is applied over a larger surface area and the concrete doesn’t move. Using these “kneeboards”, you can get over to the center of the slab and work that as well.

I must admit that I had another learning experience during this pour as well. Although I was certain I ordered the same amount of extra concrete as the last pour, in which we had quite a bit leftover at the end, we ended up running out of concrete with a tiny corner of the slab left. I made a quick trip to the hardware store and we dropped 13 bags of concrete in, mixed it with water, and finished the job. When it was all said and done, you can’t tell the difference, and hopefully there will be no negative side effects down the road.
After the concrete hardened, I went out and sprayed it down with a fine mist every 15 minutes or so. While excess water added to the concrete before it has set will reduce the strength, when it is added after setting it slows the curing process and will prevent the cracking that can occur when the concrete sets too quickly.


I am very interested about your comments about misting the slab. How do you know when it is hard enough to start misting it? You mist it every 15 minutes for how long? 3 days?
I’d call it soaking more than misting. Just be careful not to spray it with force. You want to keep the slab as evenly moist as possible without applying pressure to it. As far as timing goes I would say 3 or 4 hours after floating the slab should be sufficient to start “wet curing”. Ideally you wet cure for 7 days, but you can attain 80% of the results of a 7 day wet cure by just wet curing for 3 days. Just don’t wait for the end of those 3 days to remove your forms. Take those out after 24 hours or they’ll be very difficult to remove.