Step 15 – Potable Water System
The DWV and water supply systems are inspected at the same time, during the plumbing inspection, so since I already had one of them complete I figured I might as well finish the other and get the inspection done. I …
The DWV and water supply systems are inspected at the same time, during the plumbing inspection, so since I already had one of them complete I figured I might as well finish the other and get the inspection done. I …
The whole point of working on the plumbing first was to make it easier to install the shingles. I will be using interlocking aluminum shingles due to their proven record of longevity and ability to stand up to the high …

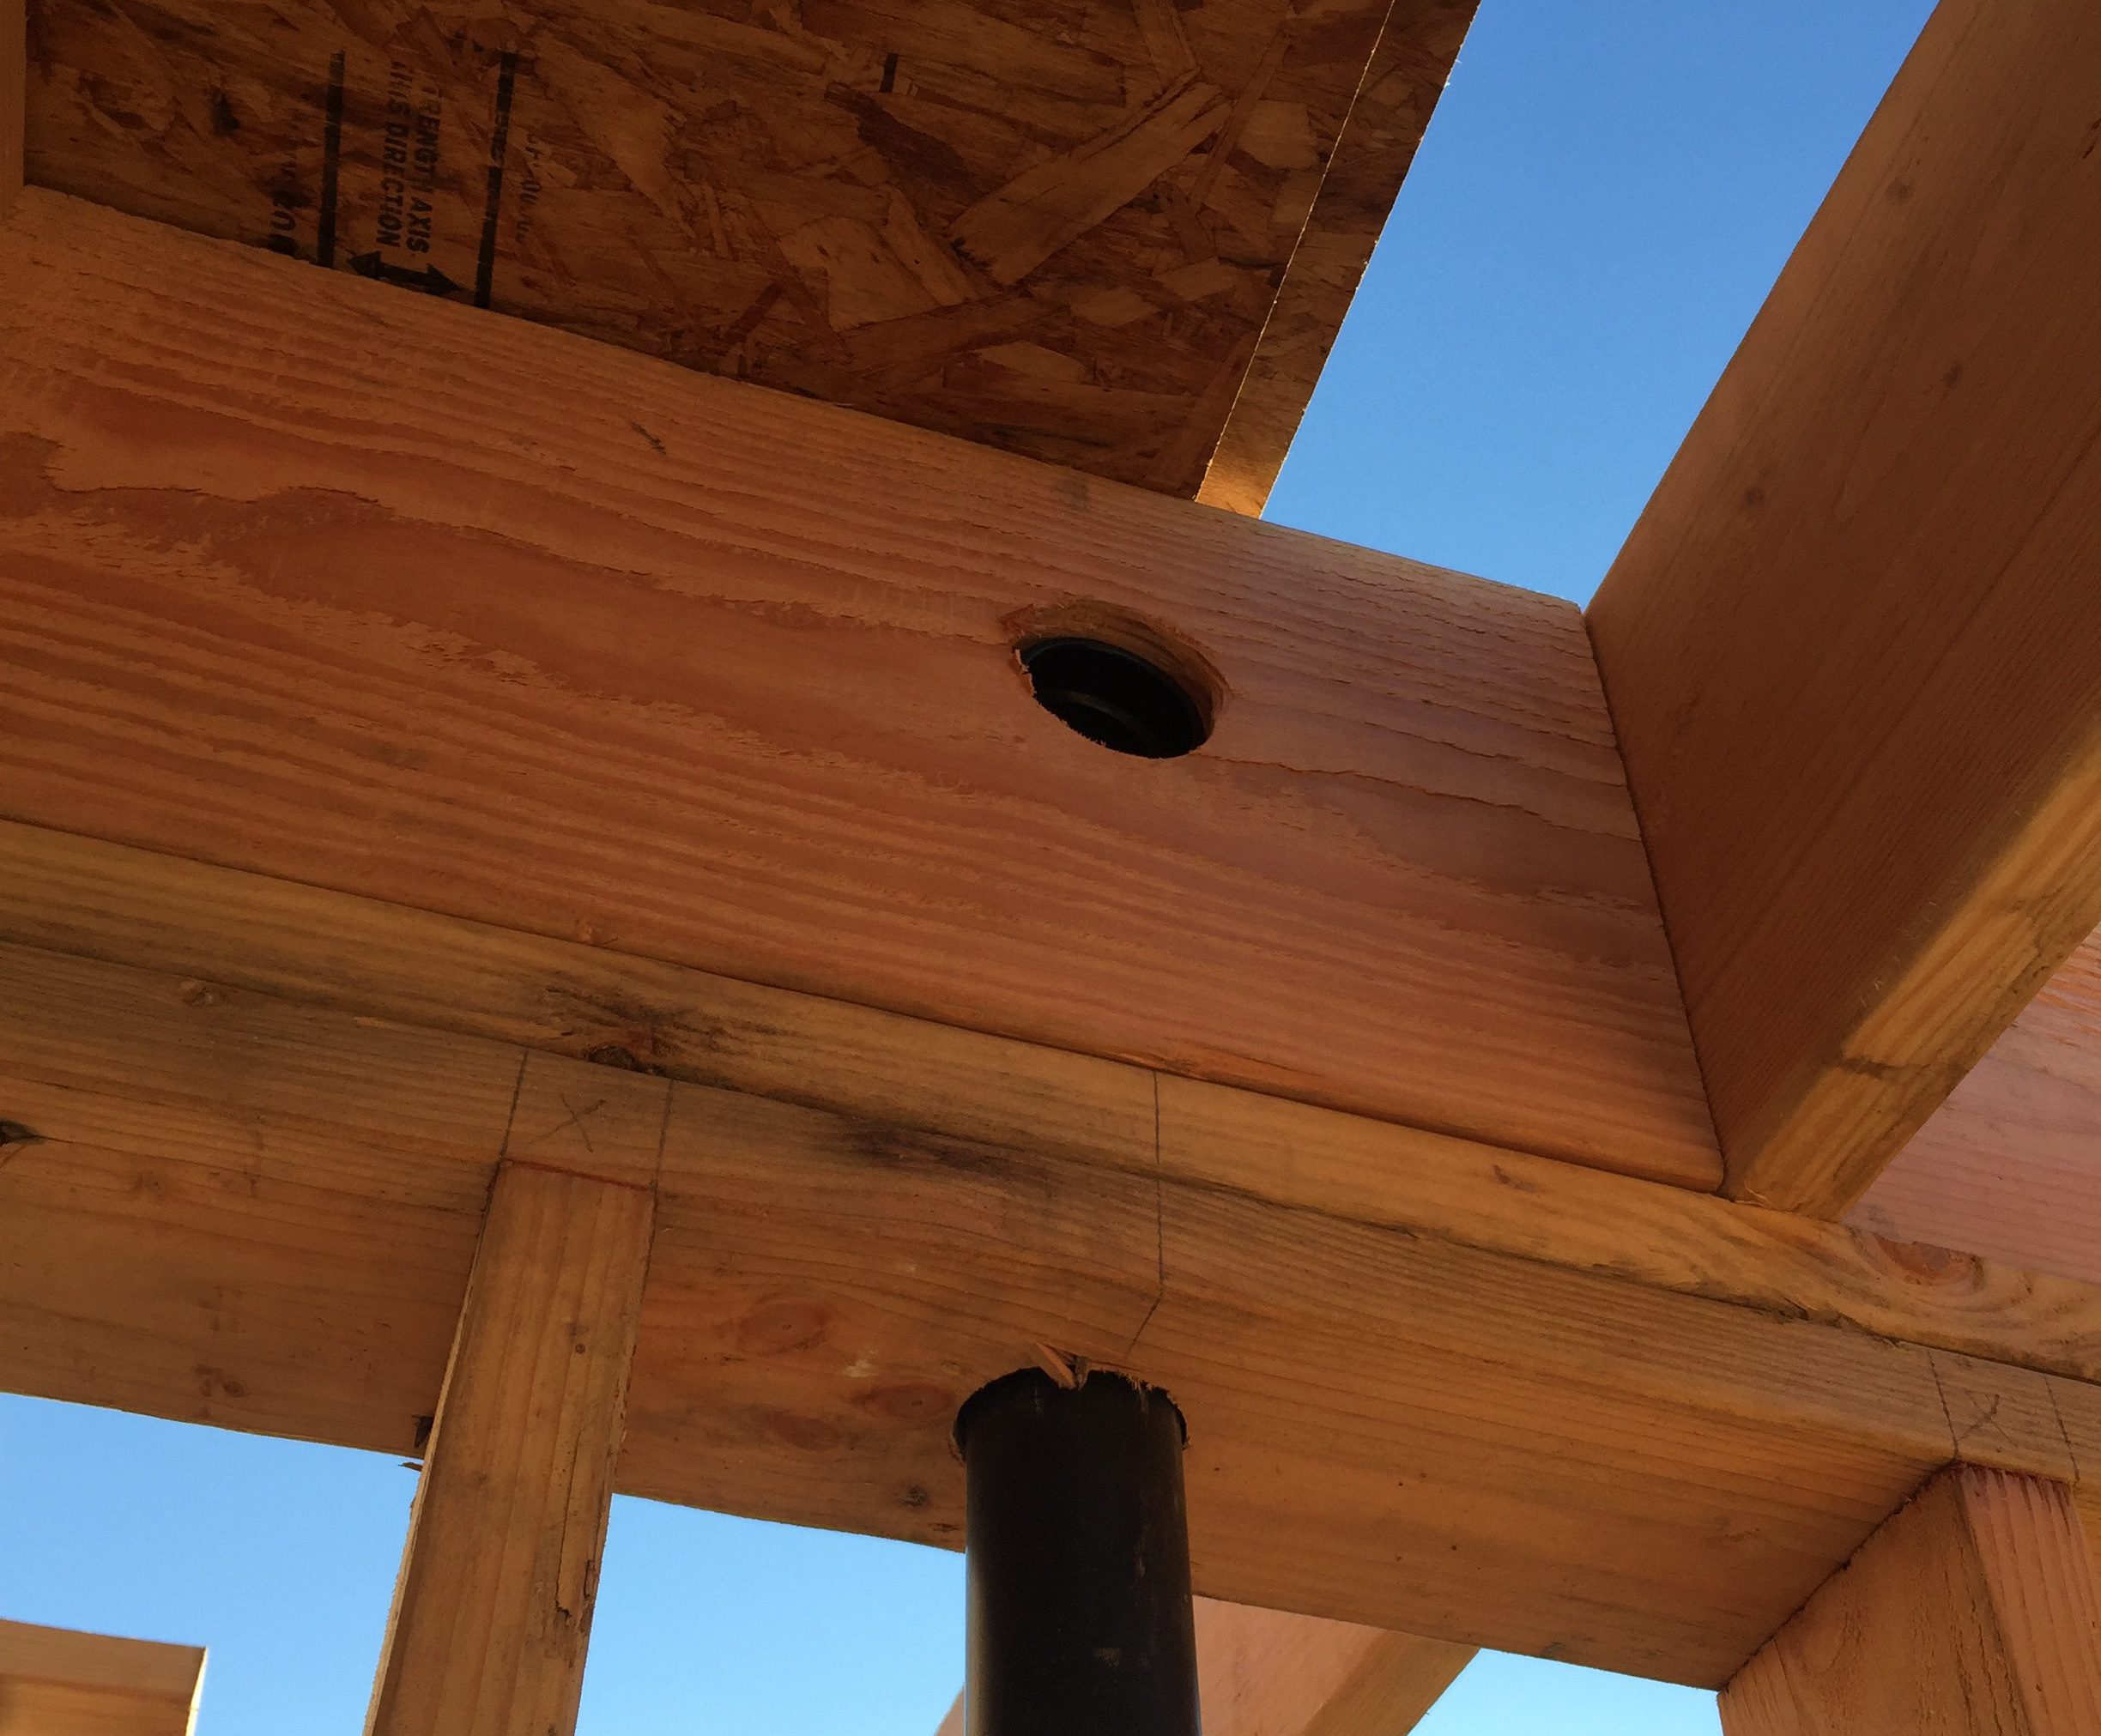
Once the DWV has been planned out, installing the plumbing is a relatively simple process that involves drilling holes in studs and joists, cutting the pipe to fit, and cementing the fittings to the pipe. The key is to always …

Now that the frame of the house is complete and safe from the elements, there stops being a necessary order of doing things. I could, for instance, decide to finish the exterior of the house, put the shingles on, run …
Before the subfloor can be nailed onto the joists, small sections of 2×12 called “blocking” must be installed. Together with the rim joists they ensure that the floor joists won’t roll onto their flat sides where they can easily bend. …

One thing I realized I forgot to document was that I placed a cardboard box around the DWV pipe for the downstairs tub and filled it with gravel. This will allow me to easily break the thin layer of concrete …

After a couple weeks of frustration, I was rewarded with my second passing inspection today, giving me a green light to pour the concrete slab that will complete the foundation. I do have a few more steps to take before …
Step 7a – Pull Stakes and Forms, Insulate, and Reinspect Read more »
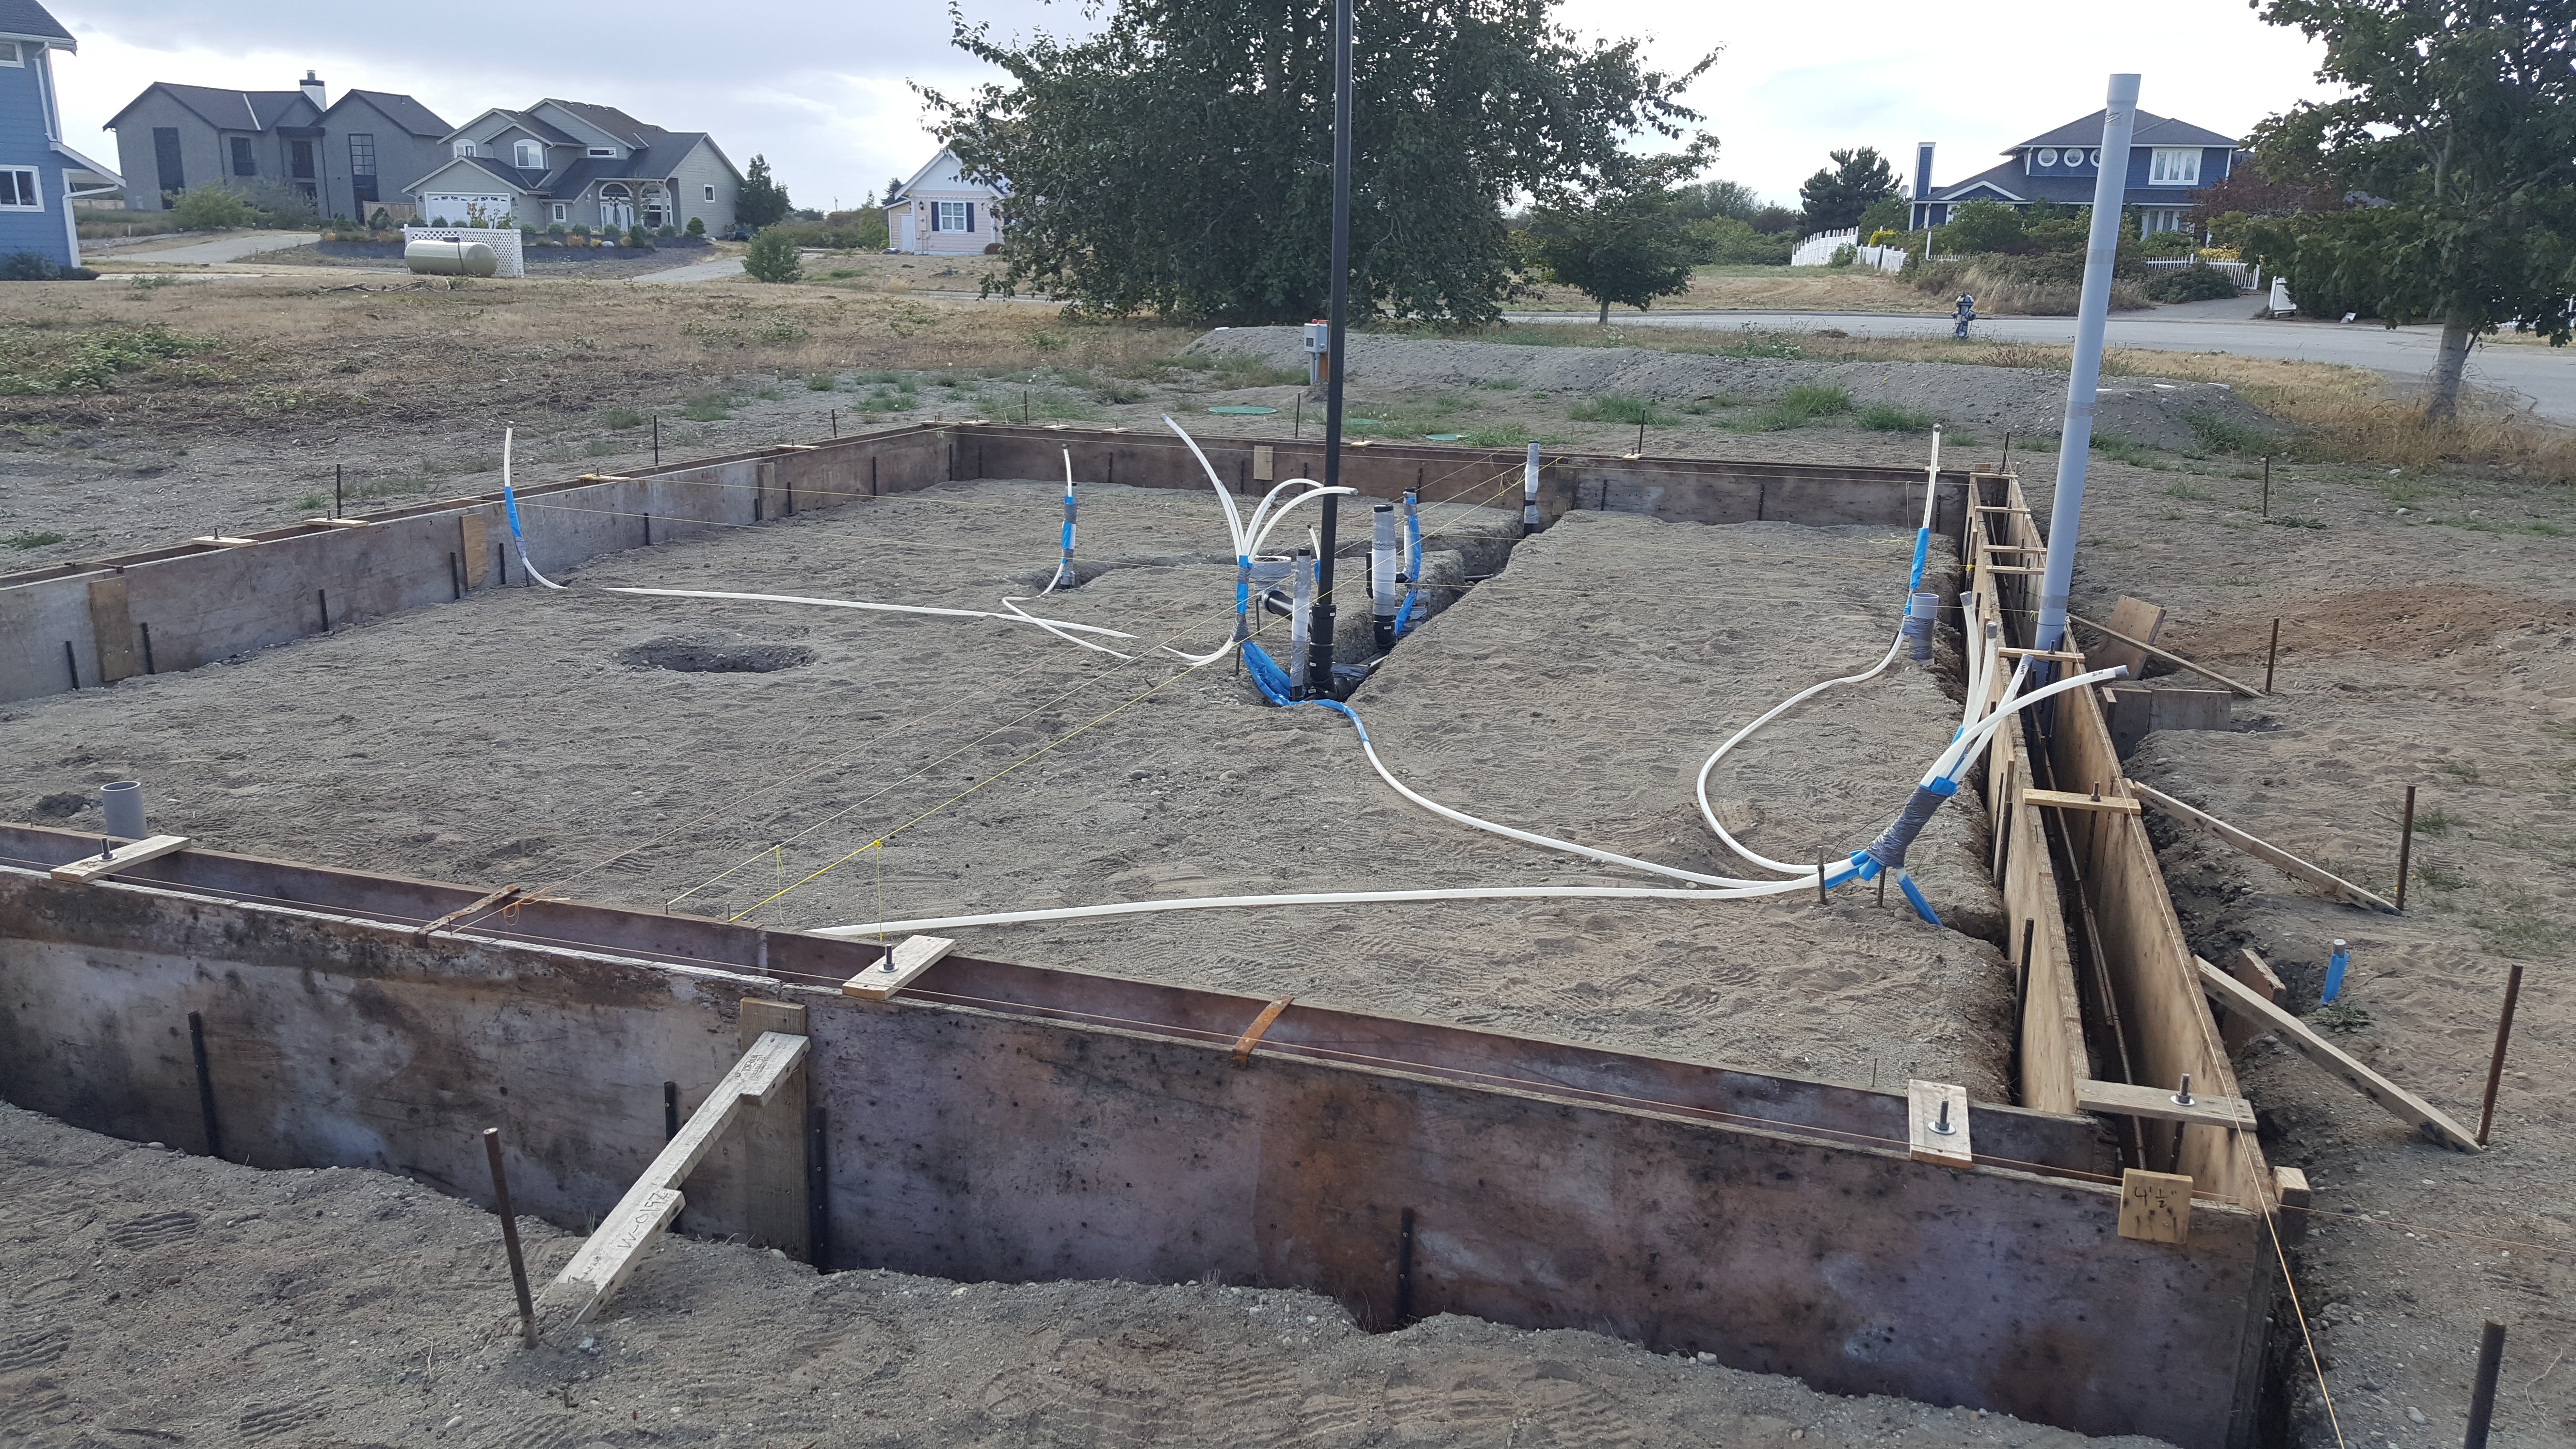
Building your own slab on grade foundation requires you to install the plumbing before you pour the footings. Here’s how I did it..