Step 8c – Plumb and Line

With all of the 1st floor walls complete, it was neat to be able to navigate the rooms and get an idea of the feel of the dimensions of the house. Before moving on to the 2nd floor I needed to take some time to ensure that all of my framing so far is straight, level, square, plumb, and true. (For those who don’t know what the last two are, plumb means perpendicular to level and true means both level and plumb at the same time) Once the subfloor is nailed to the floor joists it will tie everything together so this was my last chance to make sure it was just right.
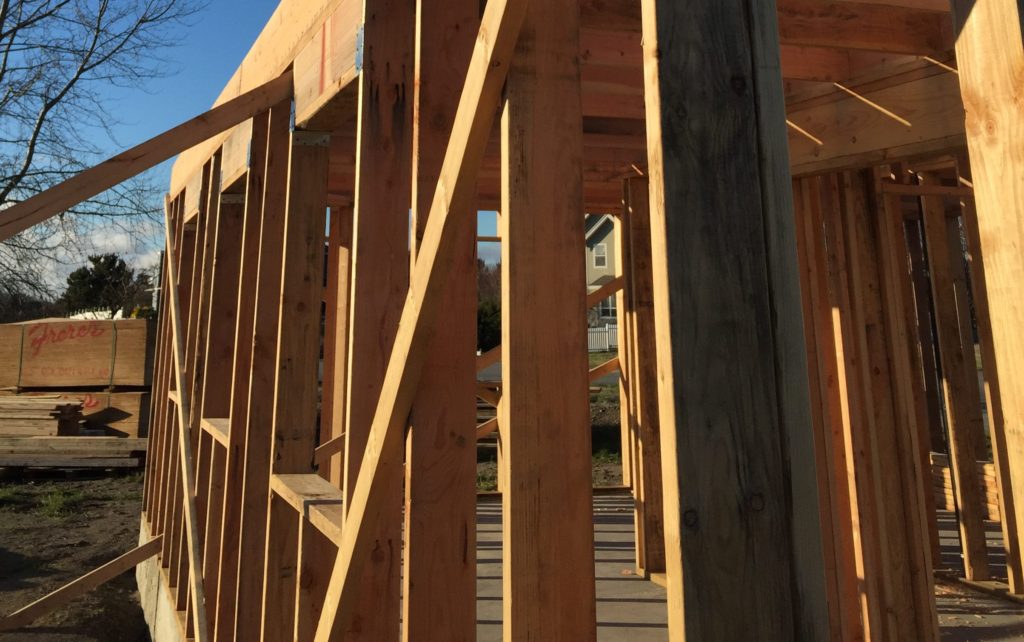
I started by double checking the lengths of the top and bottom plates, and the lengths of the corner studs. Next, I used a plumb bob to ensure each of the corners was plumb. I used long 2×4’s nailed diagonally and nail stakes in the ground to push or pull the end of each wall as needed to plumb the ends of the wall. I knew the foundation was level, so since the wall lengths were equal and plumb, I knew the walls were square and true as well. I repeated the process for each wall, and then checked each wall for straightness. Now I knew the corners were right, but in the middle of the wall there might be some waving. I nailed a 2×4 block to the top corner on each end of the wall and stretched a string tightly between them. Using a third 2×4 block, I checked all along the wall to ensure this block fit snugly between the wall and the string. Where necessary I used additional bracing to make the wall straight.
With the exterior walls (hopefully) perfect, it was time for the interior walls. I used a powder actuated hammer tool to nail the bottom plates of the interior walls into place. This uses a .22 caliber explosive to drive the nail into the hard concrete. You insert the nail into one end, put the .22 caliber load in the middle, and then strike the other end with a hammer. The blow ignites the load, driving the nail in. I double checked all of the measurements for the walls to ensure they were straight and then used the powder actuated hammer tool to attach them to the concrete.
 Once again, I used the plumb bob to square up the walls and attached them to the exterior walls with a splice plate. I used additional bracing on the one long wall, but the others were so short that they should stay straight.
With this crucial step of straightening done, I was now confident enough to get going on the joists.


Advice? Questions? I'd love to hear your feedback or help you out in any way I can!