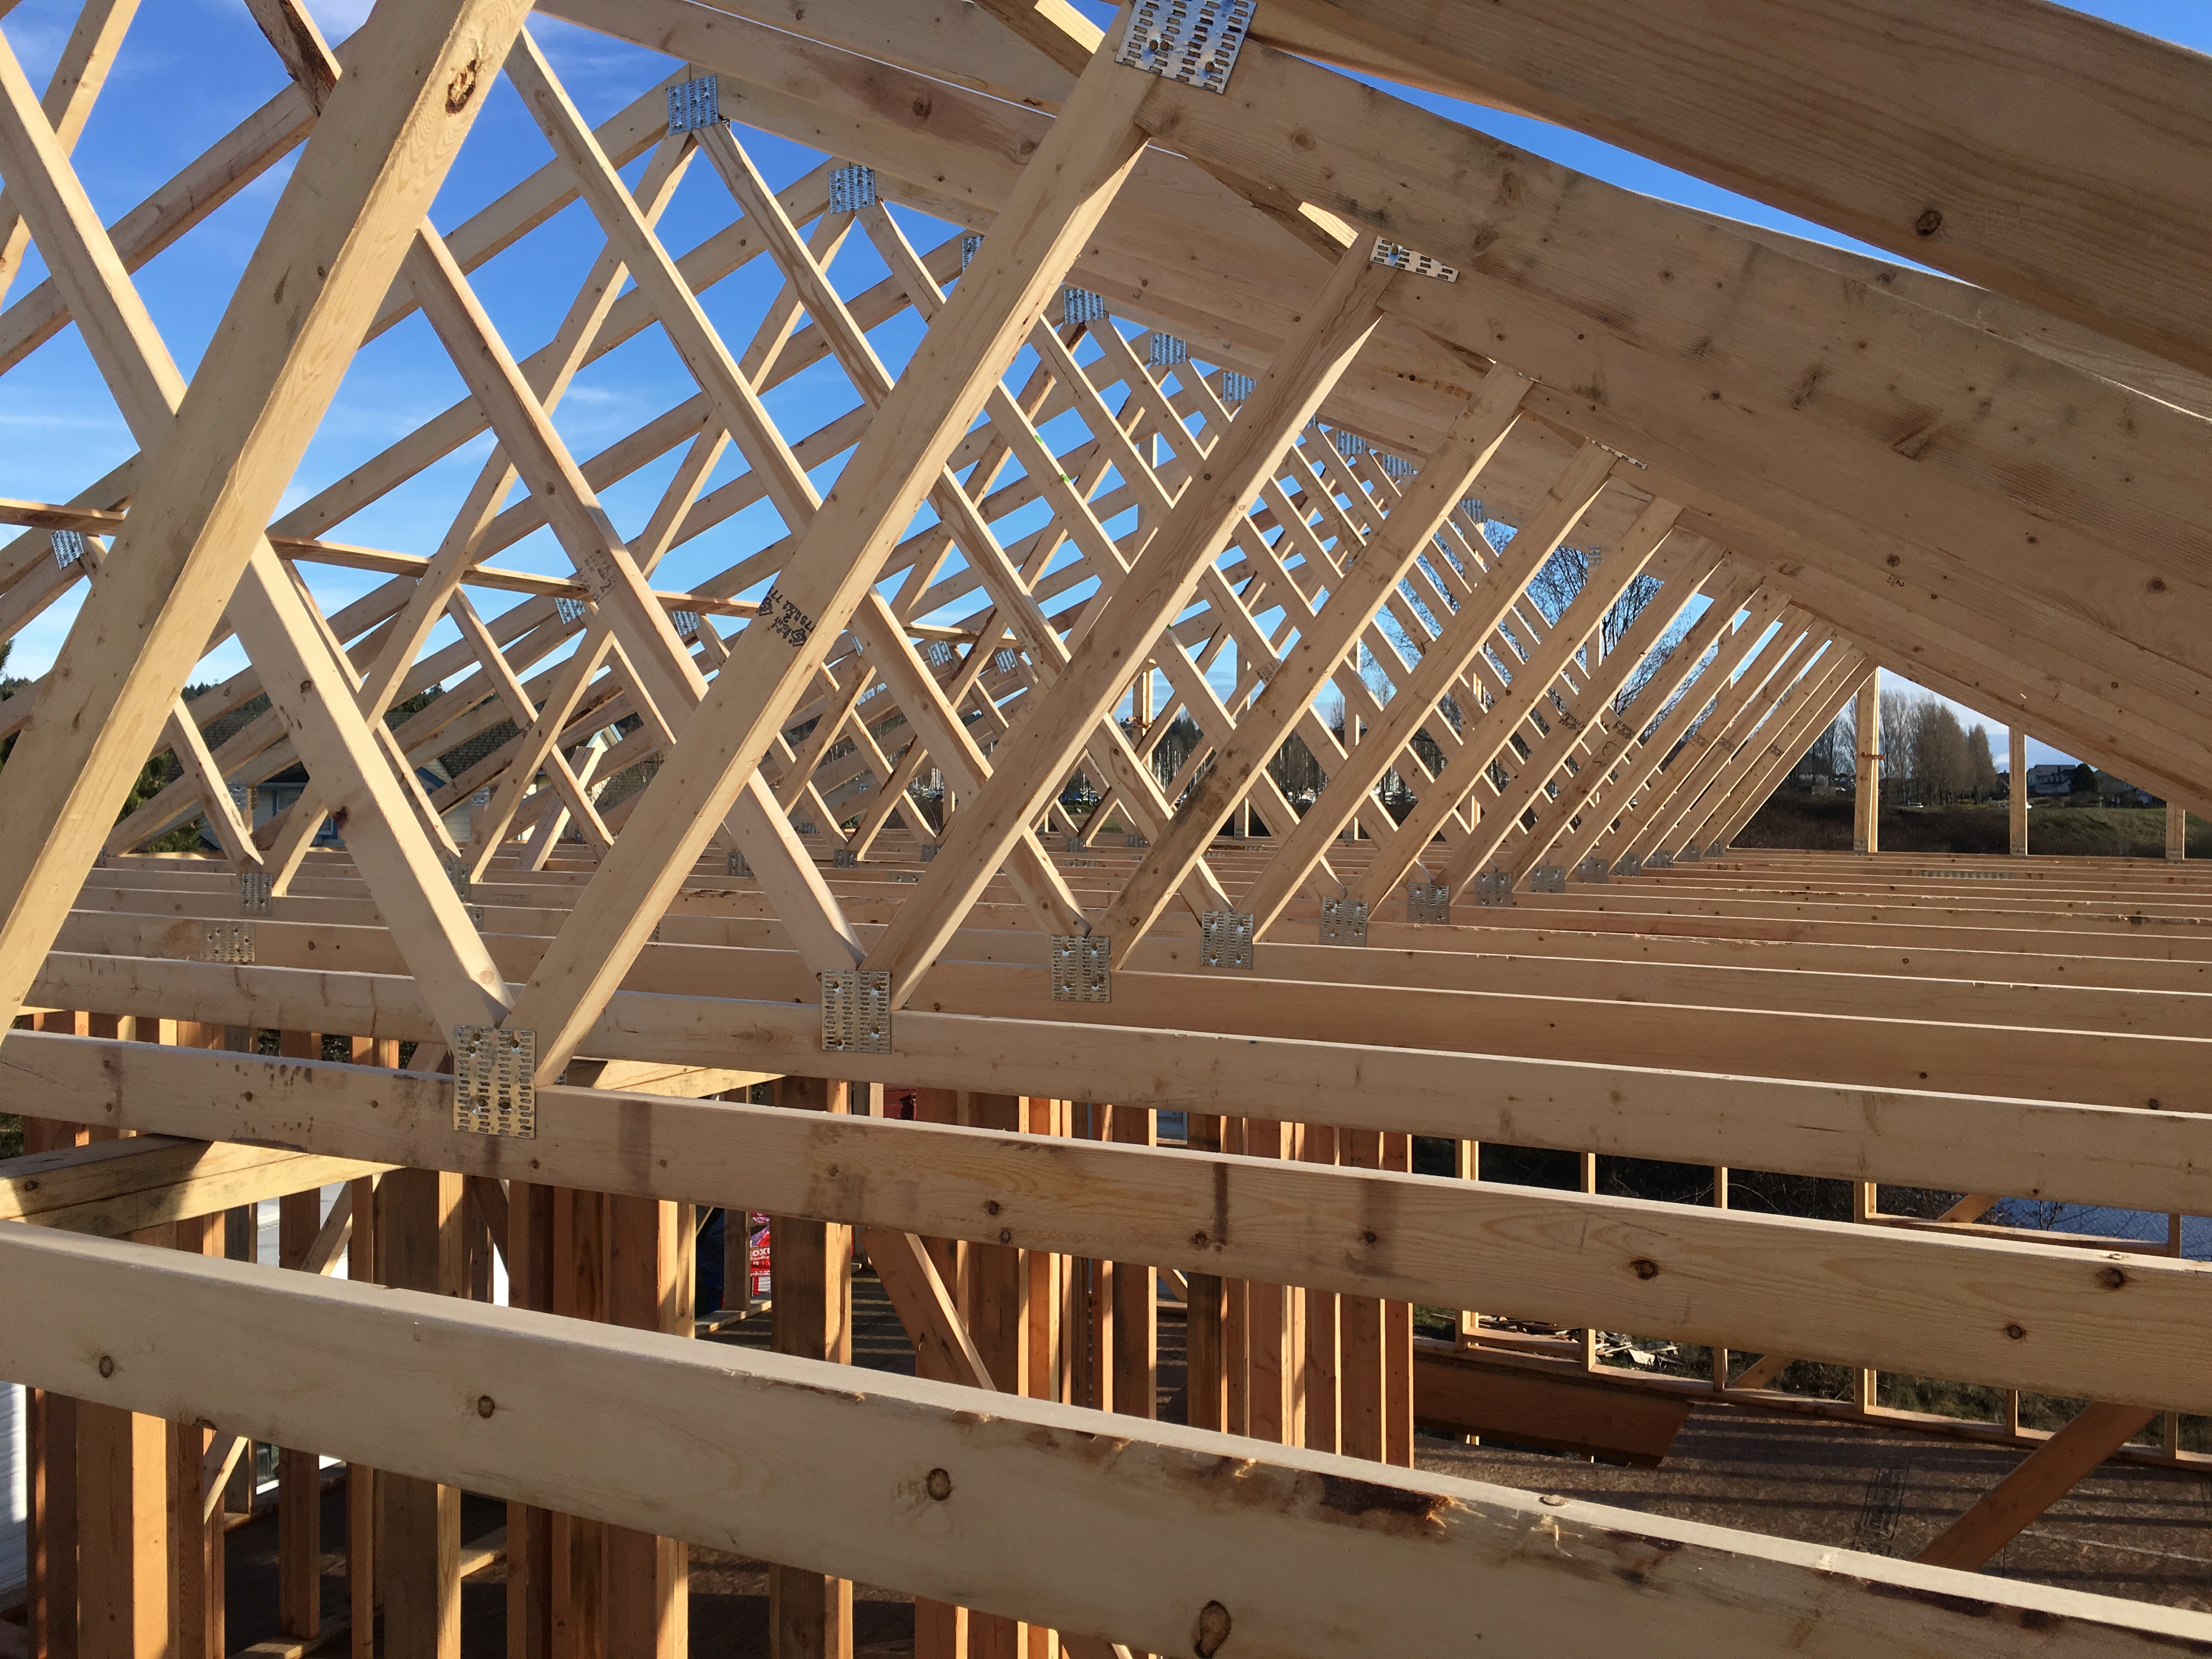
Step 11 – Install the Roof Frame

The first part of building the roof frame is to “roll trusses”. Although some old fashioned builders prefer to frame their roofs one piece of lumber at a time, when building solo it can be dangerous to handle large roof framing members when you are two stories up in the air. Most modern builders order the roof trusses premade and then have them placed on their sides on top of the house with a crane. Then all you have to do is to drag each truss to it’s proper location and roll it upright to a vertical position.
Before they arrived I made sure to plumb and line the second story walls. This was relatively easy because with the floor already in, I knew the first story was locked in very tightly. This meant I could use it to brace the second, which I did with the plumb bob and 20’ 2x4s just like I did on the first. On a side note, if anyone ever tells you that it’s impossible to carry 20′ 2x4s in a Ford F-150 without a $300 rack you can show them this as proof they are wrong.
The trusses arrived on a long flatbed, and the driver used a crane to hoist them 20’ up to the top of the second story wall. They came in two stacks so I had him lay one down in the middle of the house and the other standing up at the other end. I used some long vertical 2x4s to support the vertical set so they wouldn’t fall over the side of the house. I was fortunate to have my friends Michael and PJ helping me as the 24’ long, 5’ high trusses are pretty heavy for a one man operation.

We started with the stack that was lying down. We grabbed the gable end truss and slid it down to the other end of the house where we slowly, carefully stood it up against vertical 2x4s just like the ones at the other end. We nailed it to the top plate flush with the end, and then nailed a small 2×4 block to prevent the truss from falling back down. I had precut these pieces, which are called bird blocks, to 22 7/16” so they would fit snugly in the spaces between the trusses. We slid the next truss down and lined it up against the bird blocks, then used a 2×4 as a pole to push the truss up into its vertical position. At that point we would end nail it into the bird blocks, and toenail it into the top plate. Below you can see all 3 pieces together, with the trusses resting on the top plate, and the bird block fitting in between them.
We continued to repeat this process until we had rolled all the trusses in the first stack. At that time, we ran a few 1×4 boards along the inside of the top chords to ensure they were spaced properly. They also help to add lateral strength to the trusses to prevent them from rolling back over on their sides. You can see them as the two darker lines near the center of the photo .
.
The second half of the trusses were installed in much the same manner, but was a good deal easier since the crane had already placed them standing up. For these trusses, I installed the 1x4s first, and then used them as rails to ensure that the trusses would remain upright as we slid them into position one at a time. If you can imagine how the rings on a shower curtain slide across the curtain rod, it might help you visualize the trusses sliding along the 1×4 rails.
If I haven’t made it clear before, building a house can be quite a surreal experience. Here I am standing on top of a second story wall taking the above picture and marveling at what a phenomenal day it is while most of the rest of the world is hard at work, slaving away at jobs they don’t like to slowly chip away at 30 year mortgages. If they only knew they could build a beautiful net zero home in such a serene suburb of a major city for less than 200k. Oh, and not just any city – Vancouver was the only North American city to crack a European-dominated top 10 quality of living ranking of global cities.  (Mercer – 2017)
It looks a little messy with all the long 2x4s sticking up at the top and diagonally bracing the walls but this is the complete skeleton of the house!


Advice? Questions? I'd love to hear your feedback or help you out in any way I can!